Role Permissions for Users This tutorial gives a quick overview of the different settings and how to set permissions for user's roles.
1. Introduction
Let's do a quick run through of the different tabs within Settings.
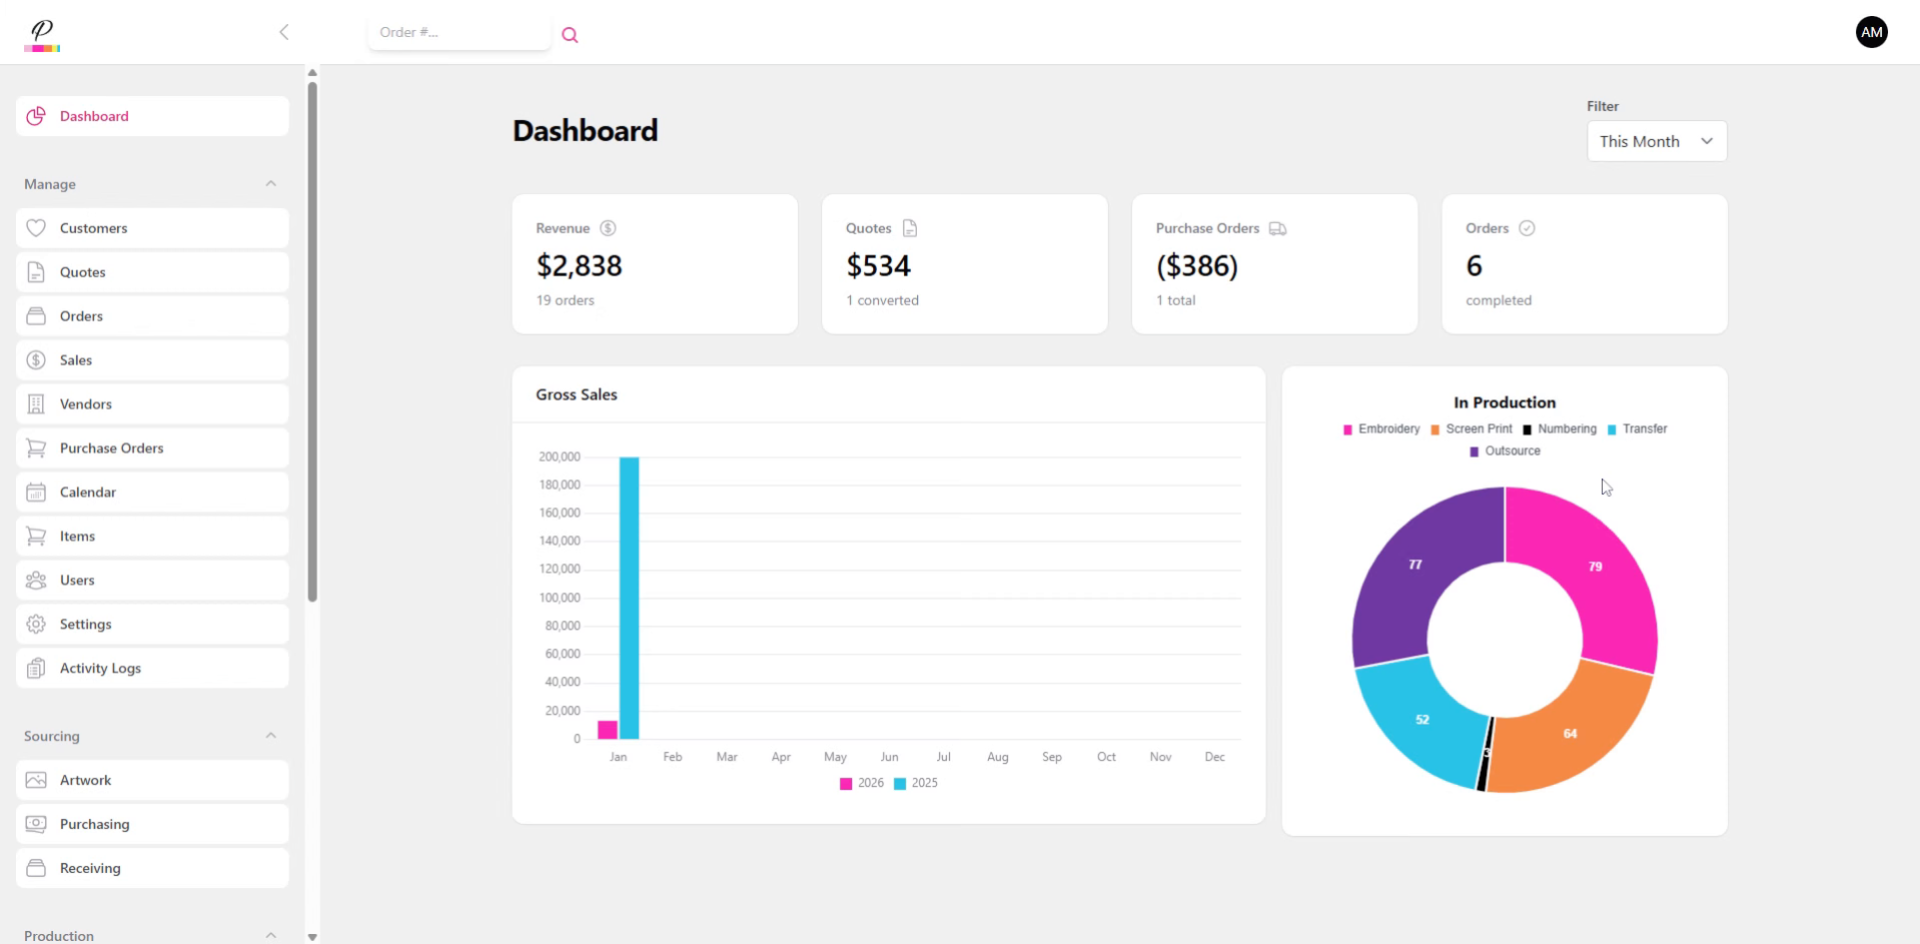
2. Navigate to Settings
First, navigate to Settings on the side menu.
3. Open Edit Settings Page
Here under General, is where you will enter the basic information about your company such as business name, address, phone number, and website.
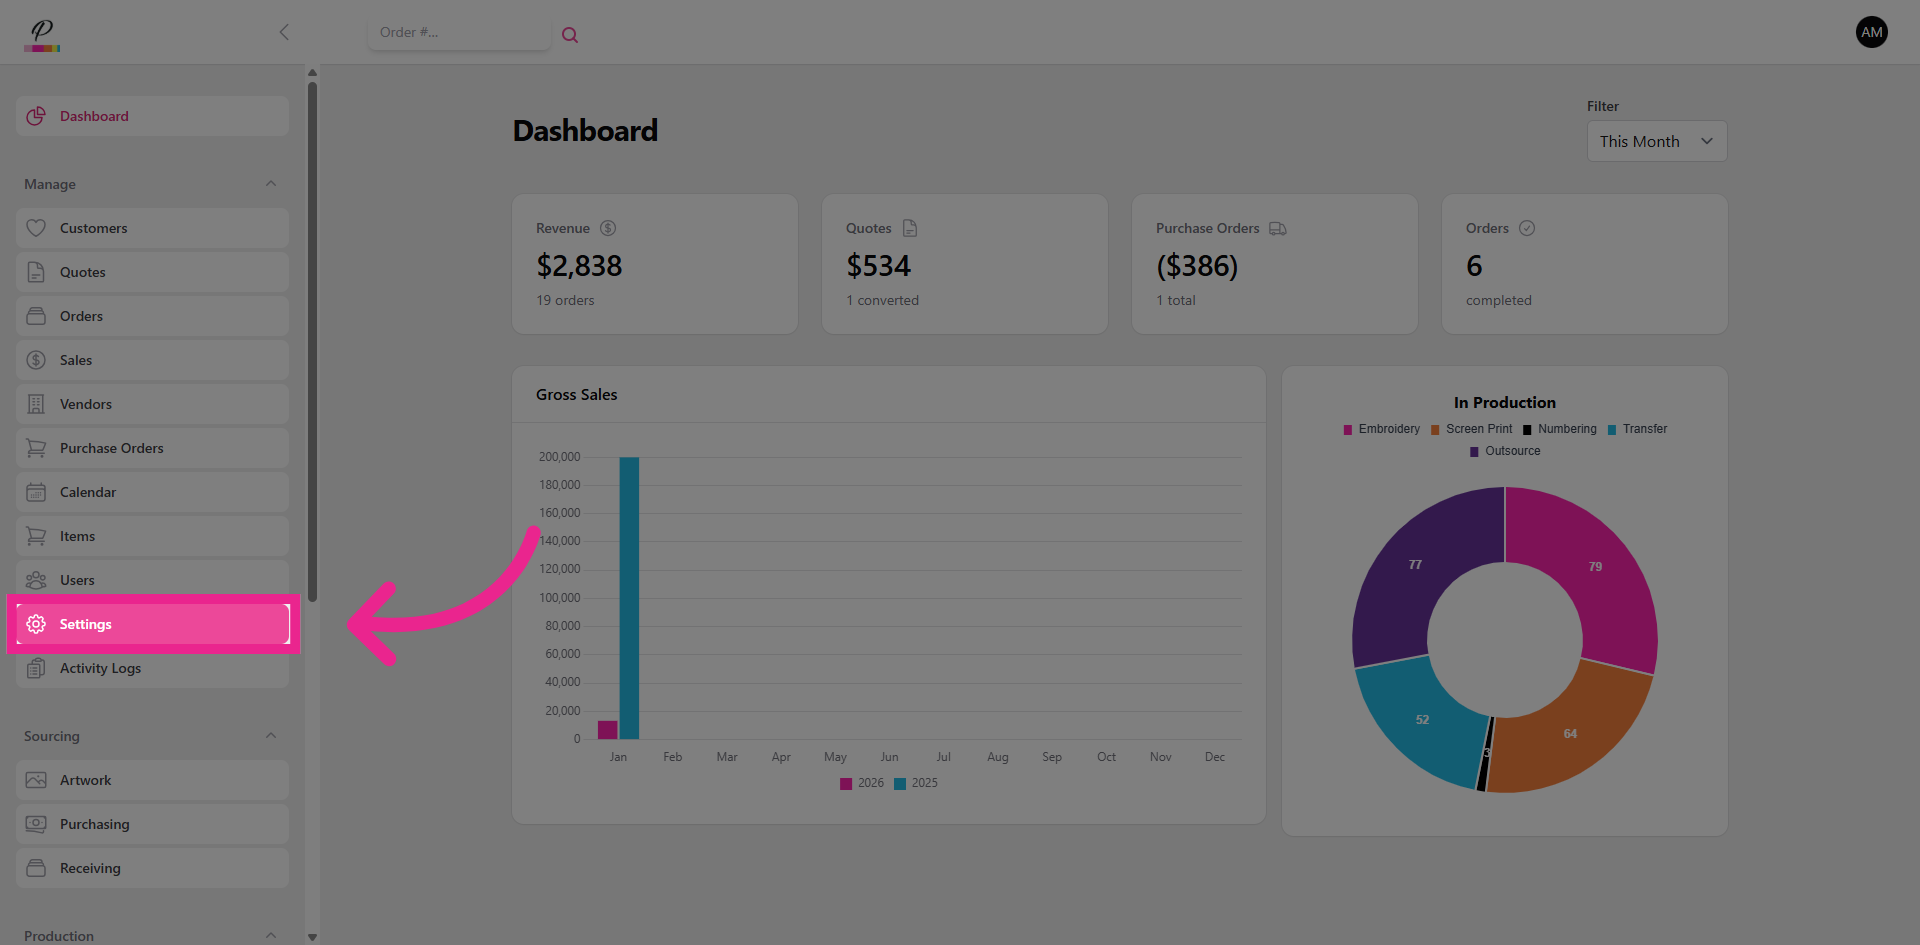
4. Open Edit Settings Page
Under the Brand tab, you can customize the color scheme and logo to match your company's branding.
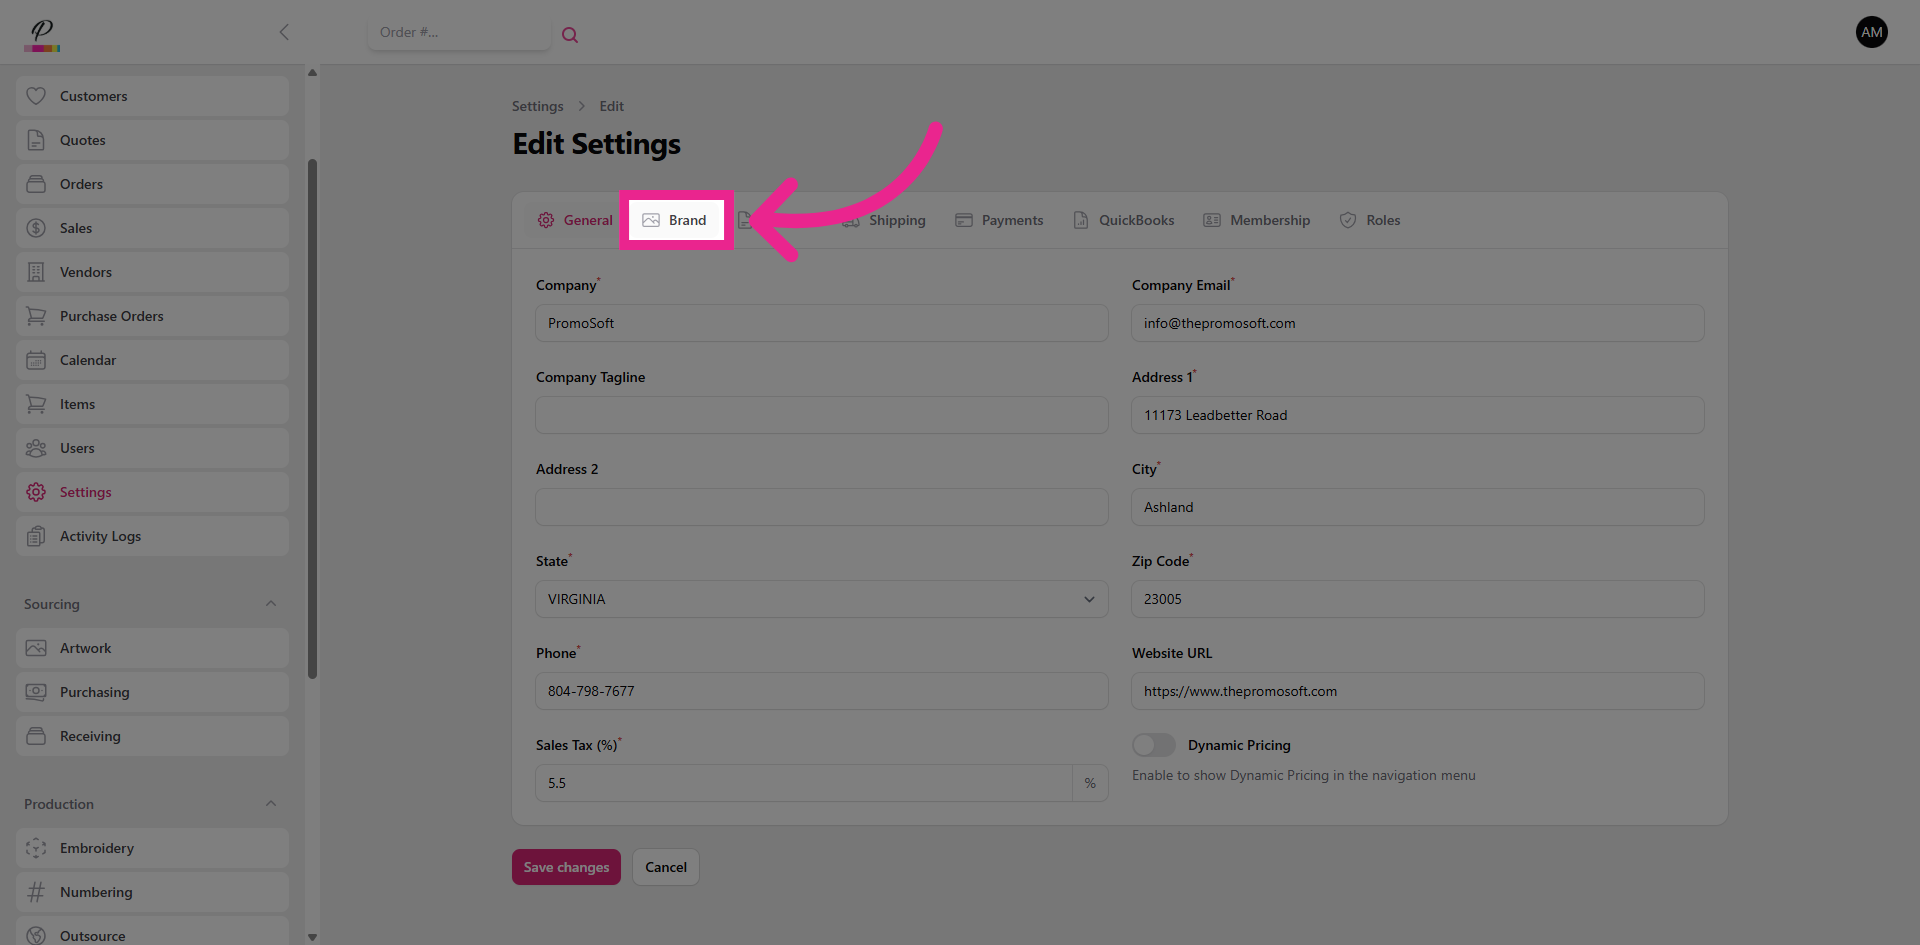
5. Open Edit Settings Page
In content, you can enter your company's terms and conditions.
6. Open Edit Settings Page
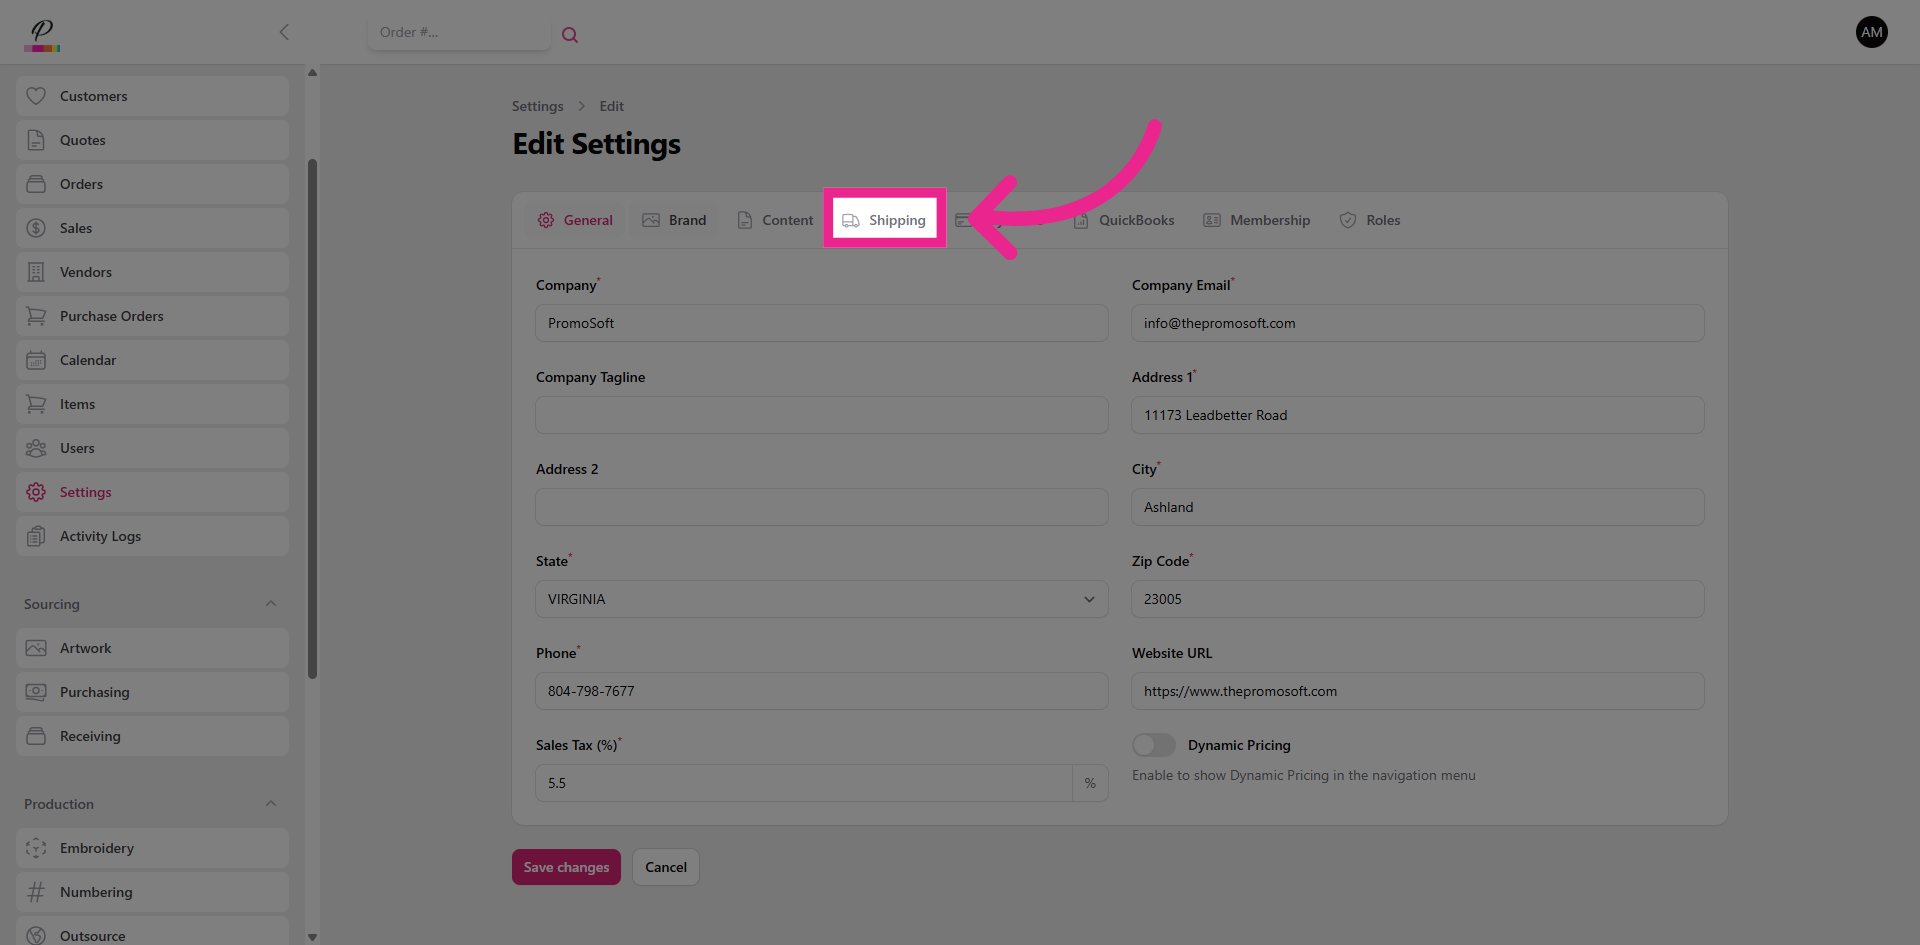
The Shipping tab is where you will link your shipper accounts to be able to calculate rates and generate labels within the shipping queue. Currently you can use UPS, USPS, and FedEx.
7. Open Edit Settings Page
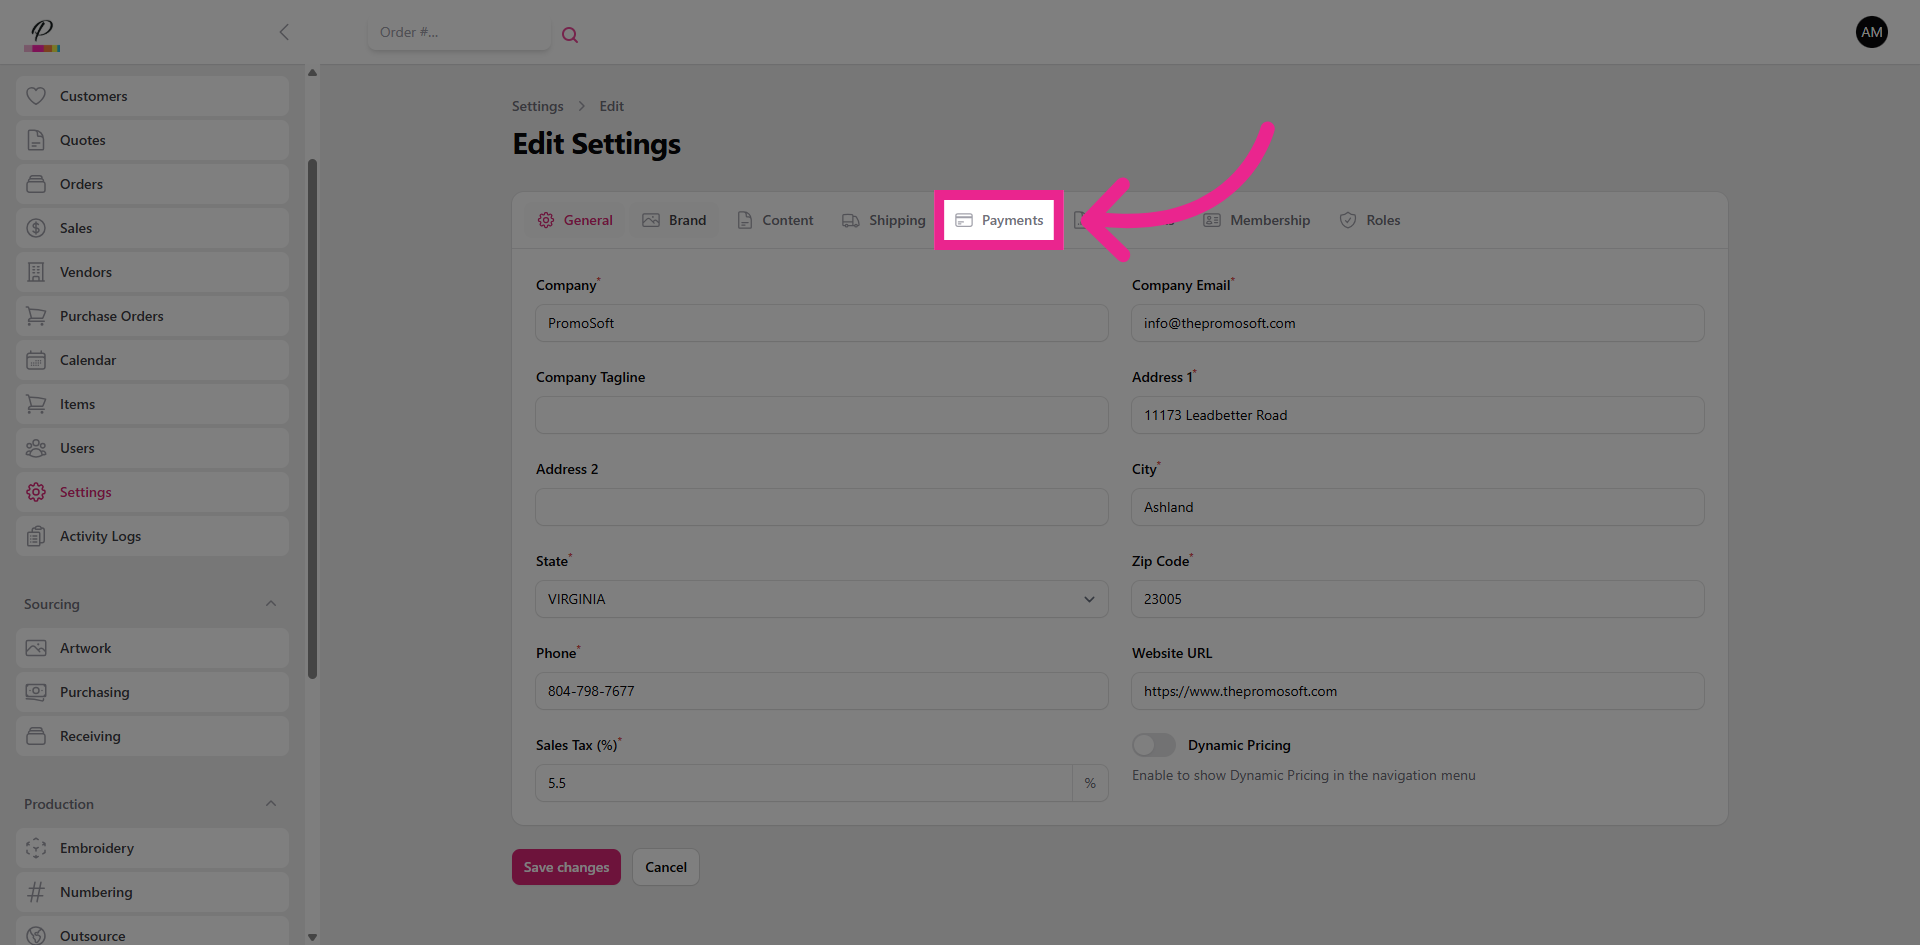
The Payments tab allows you to toggle which payment methods your company will allow the customer to use.
8. Open Edit Settings Page
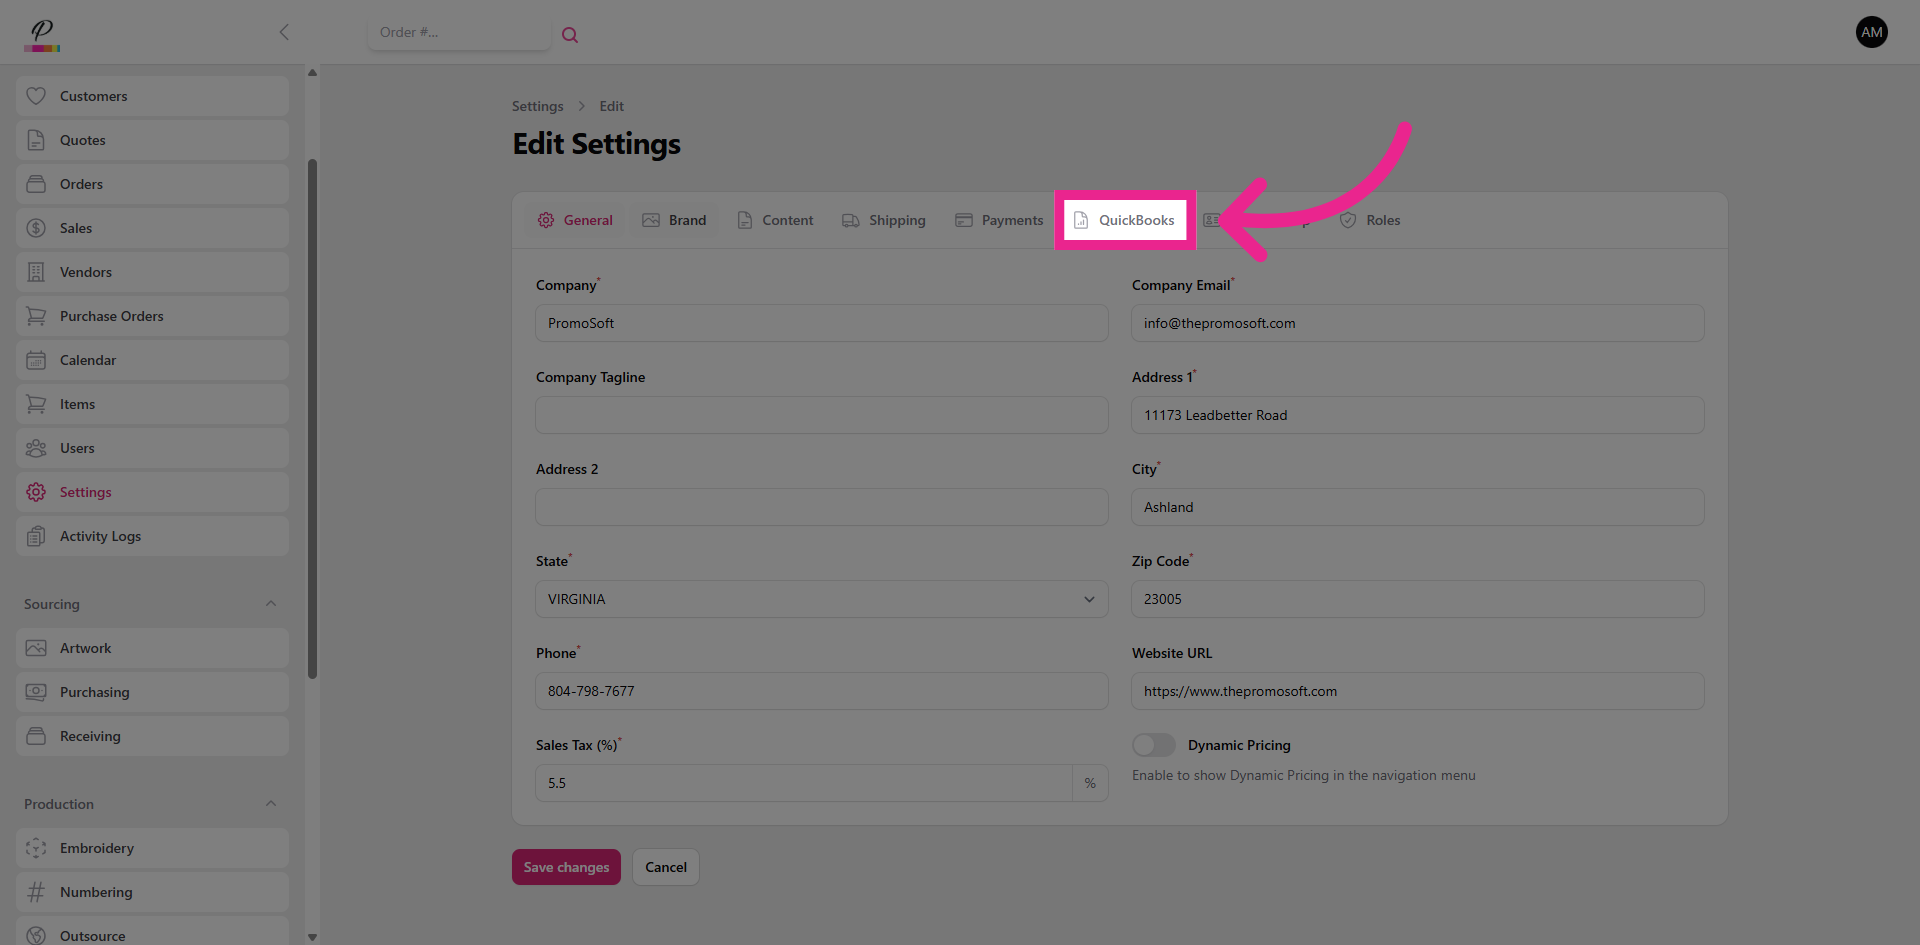
The QuickBooks tab is where you will add the integration for invoicing purposes.
9. Open Edit Settings Page
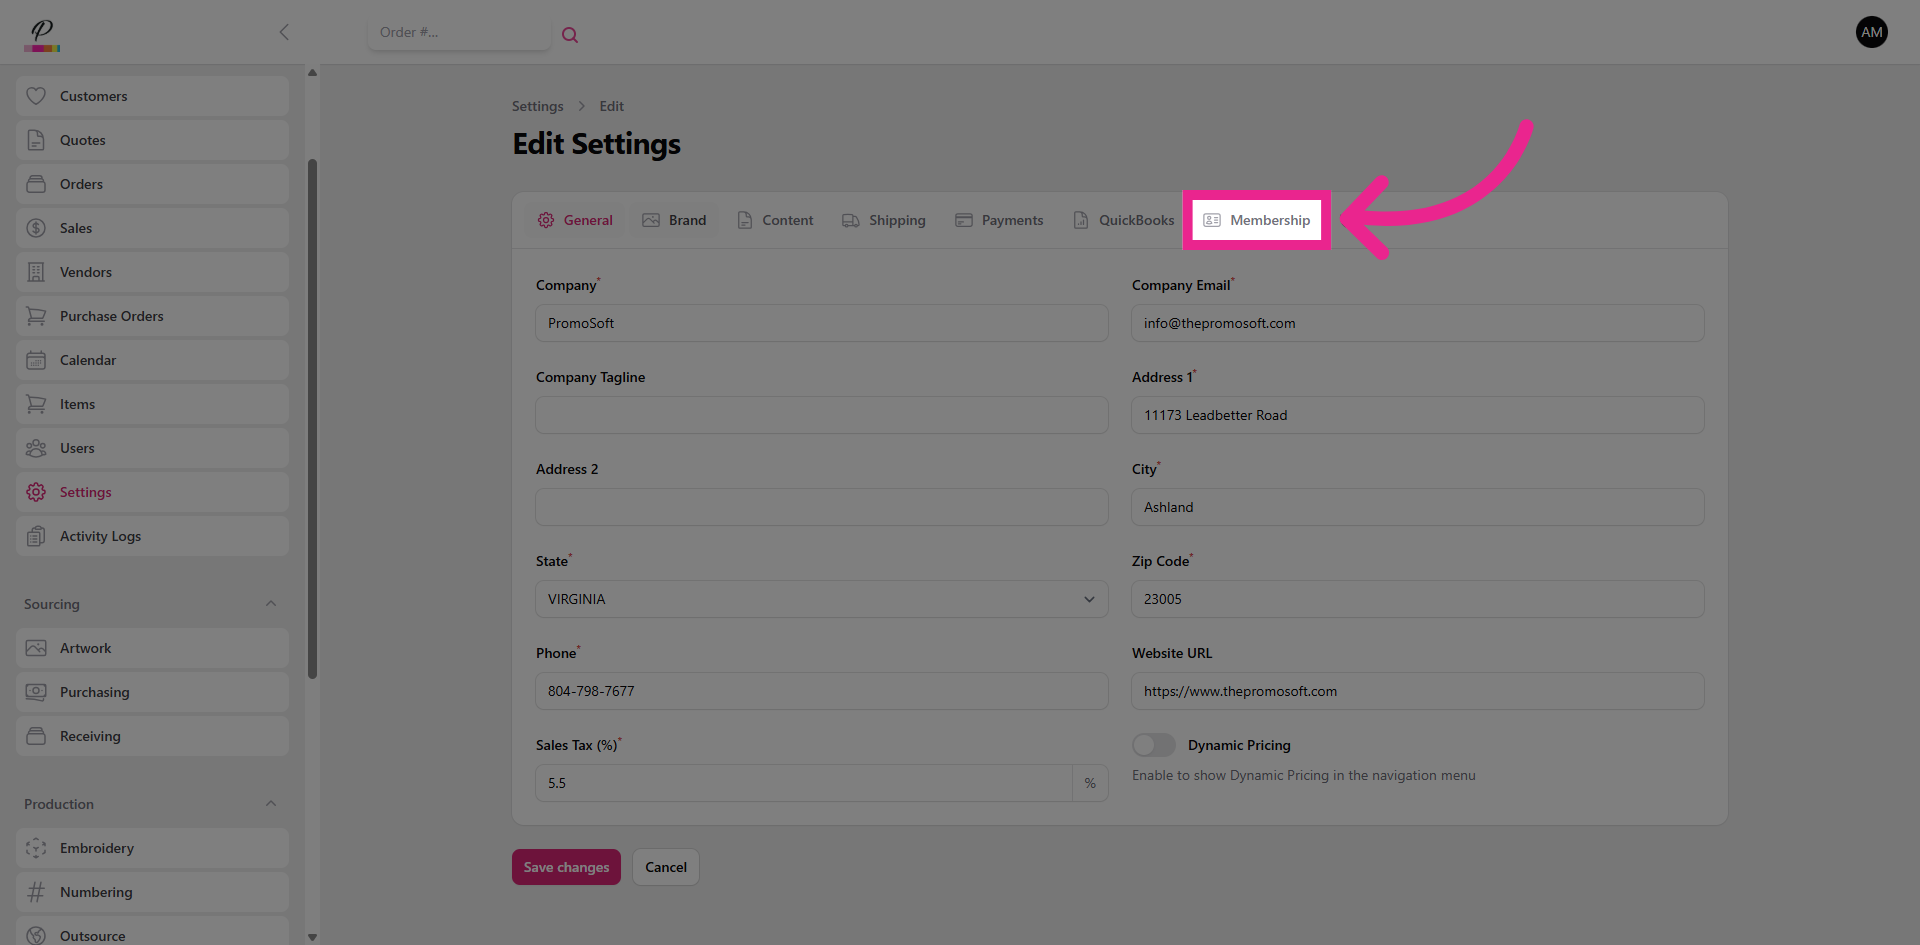
Under Membership, you can manage your subscription with PromoSoft.
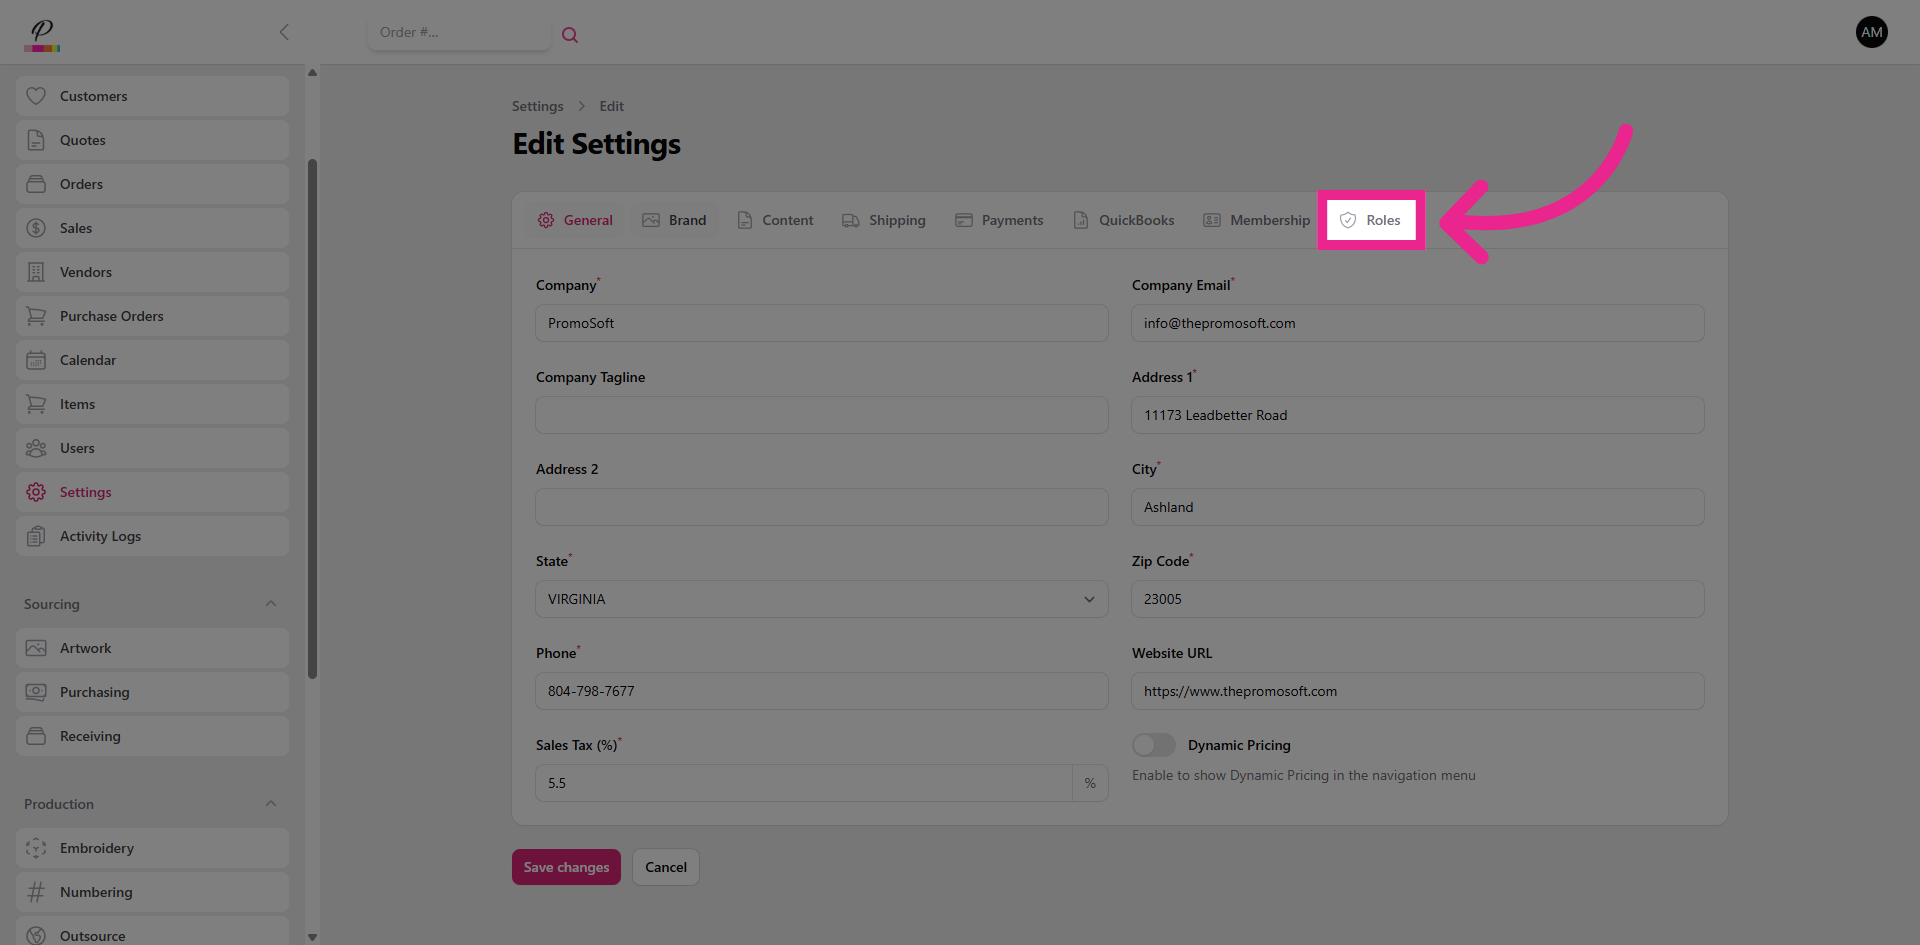
10. Open Edit Settings Page
In the Roles tab, here is where you will determine the permissions for the user accounts. Let's take a closer look at that.
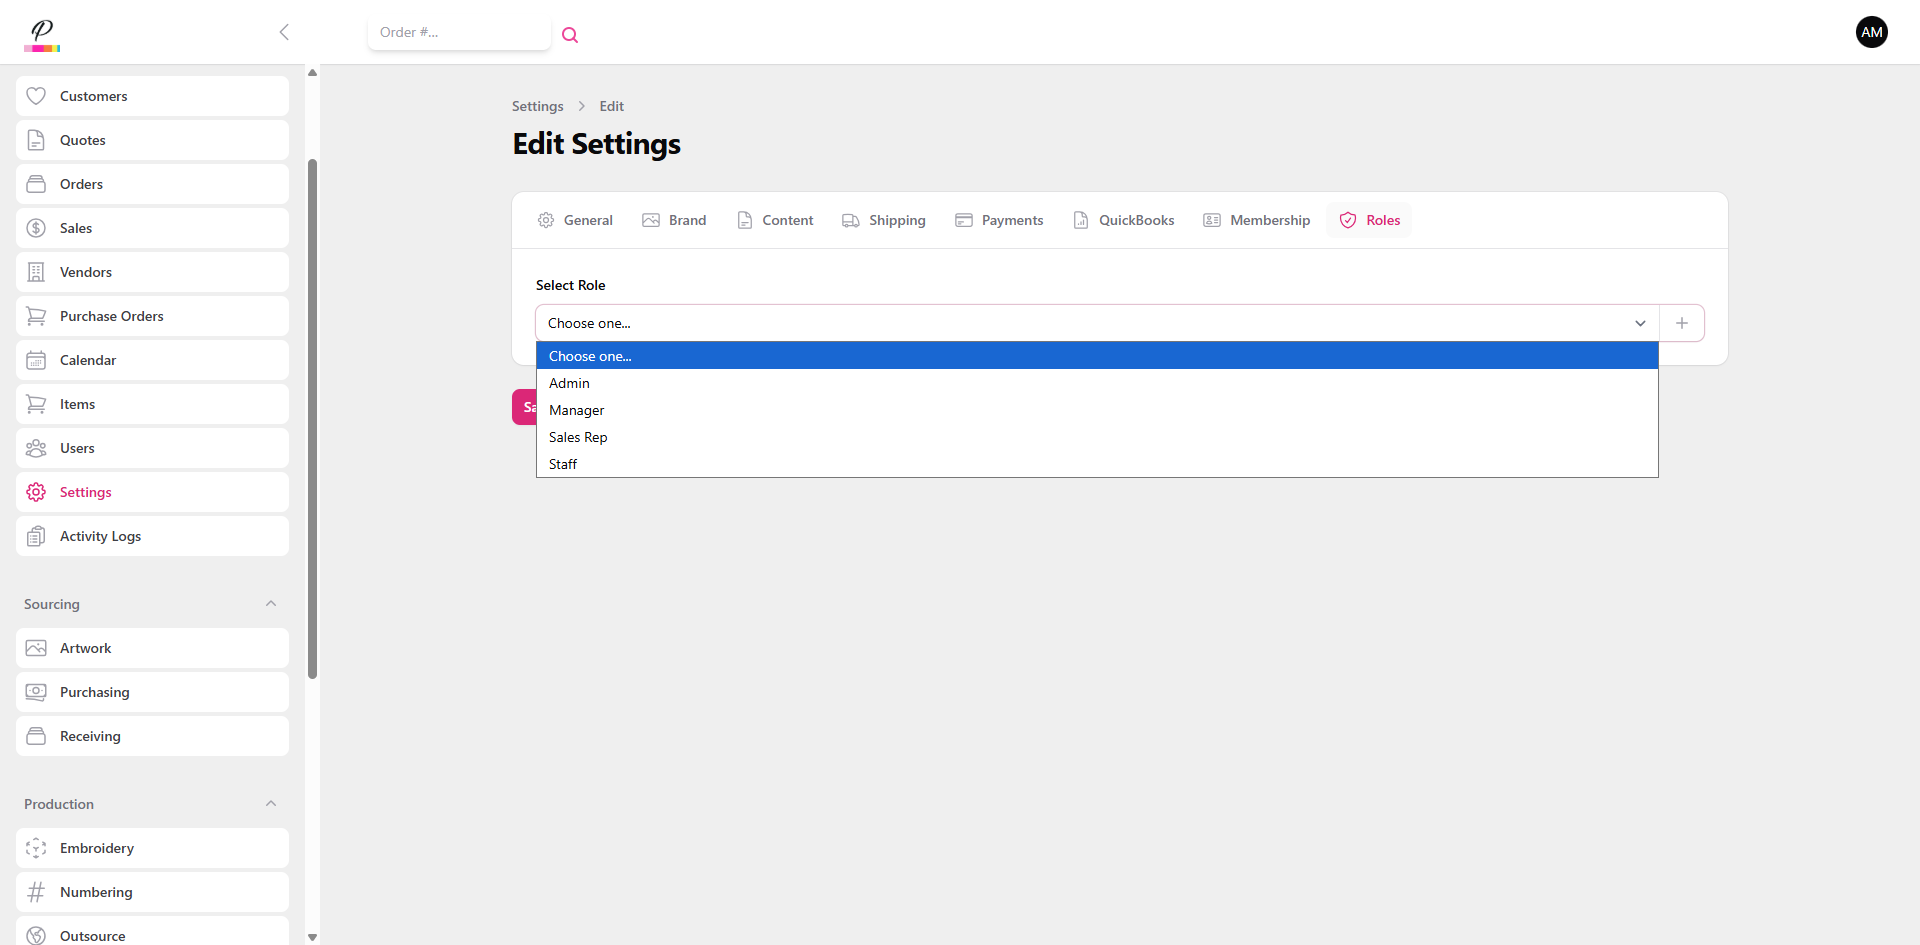
11. Open Role Selection Dropdown
First select the role that you would like to set the permissions for.
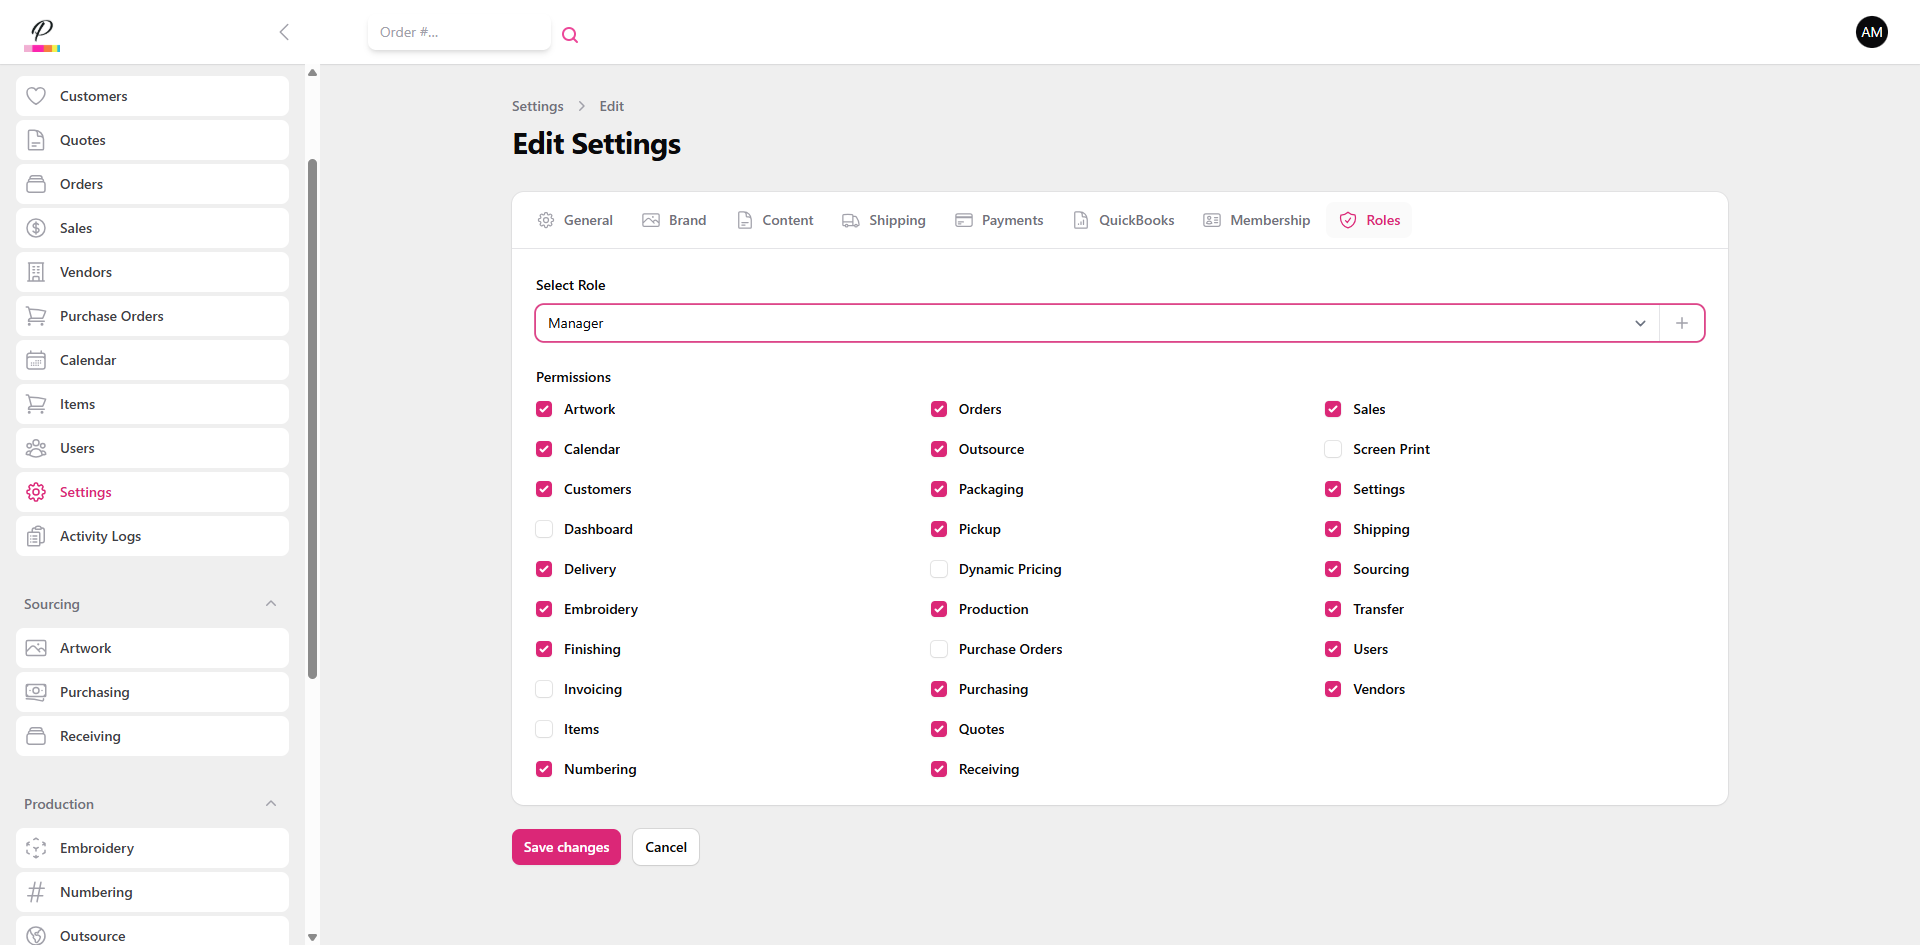
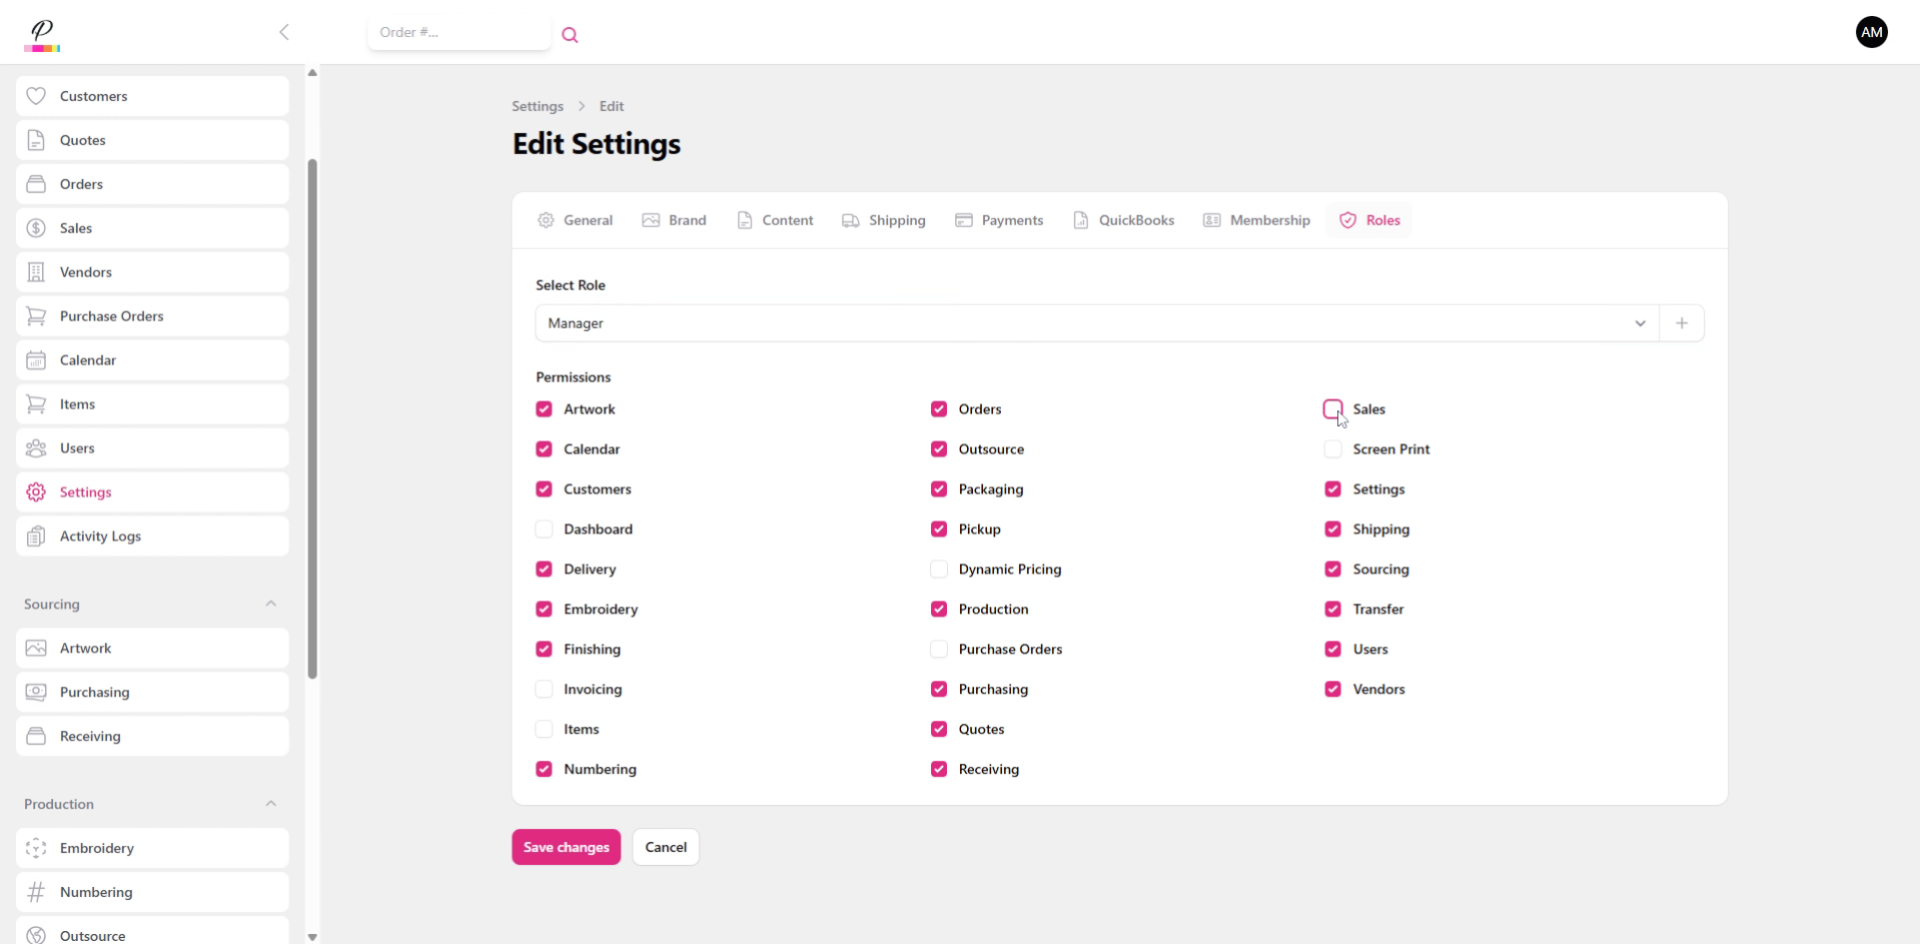
12. Access Sales Settings
Then, check the permissions for whatever best suits the needs for that specific role and uncheck anything that the users within that role should not have access to.
13. Enter Sales Information
14. Input User Details
15. Fill Settings Information
16. Save All Changes
Be sure to save any changes Great! PromoSoft keeps things simple and as easy to navigate as possible.