
Learn
How do I create a Quote?
Learn how to create quotes in PromoSoft.
This tutorial guides you through creating a detailed quote using PromoSoft.
1. Introduction
We will go over how to write up a quote to send to a customer prior to the finalized order.
2. Navigate to Quotes Section
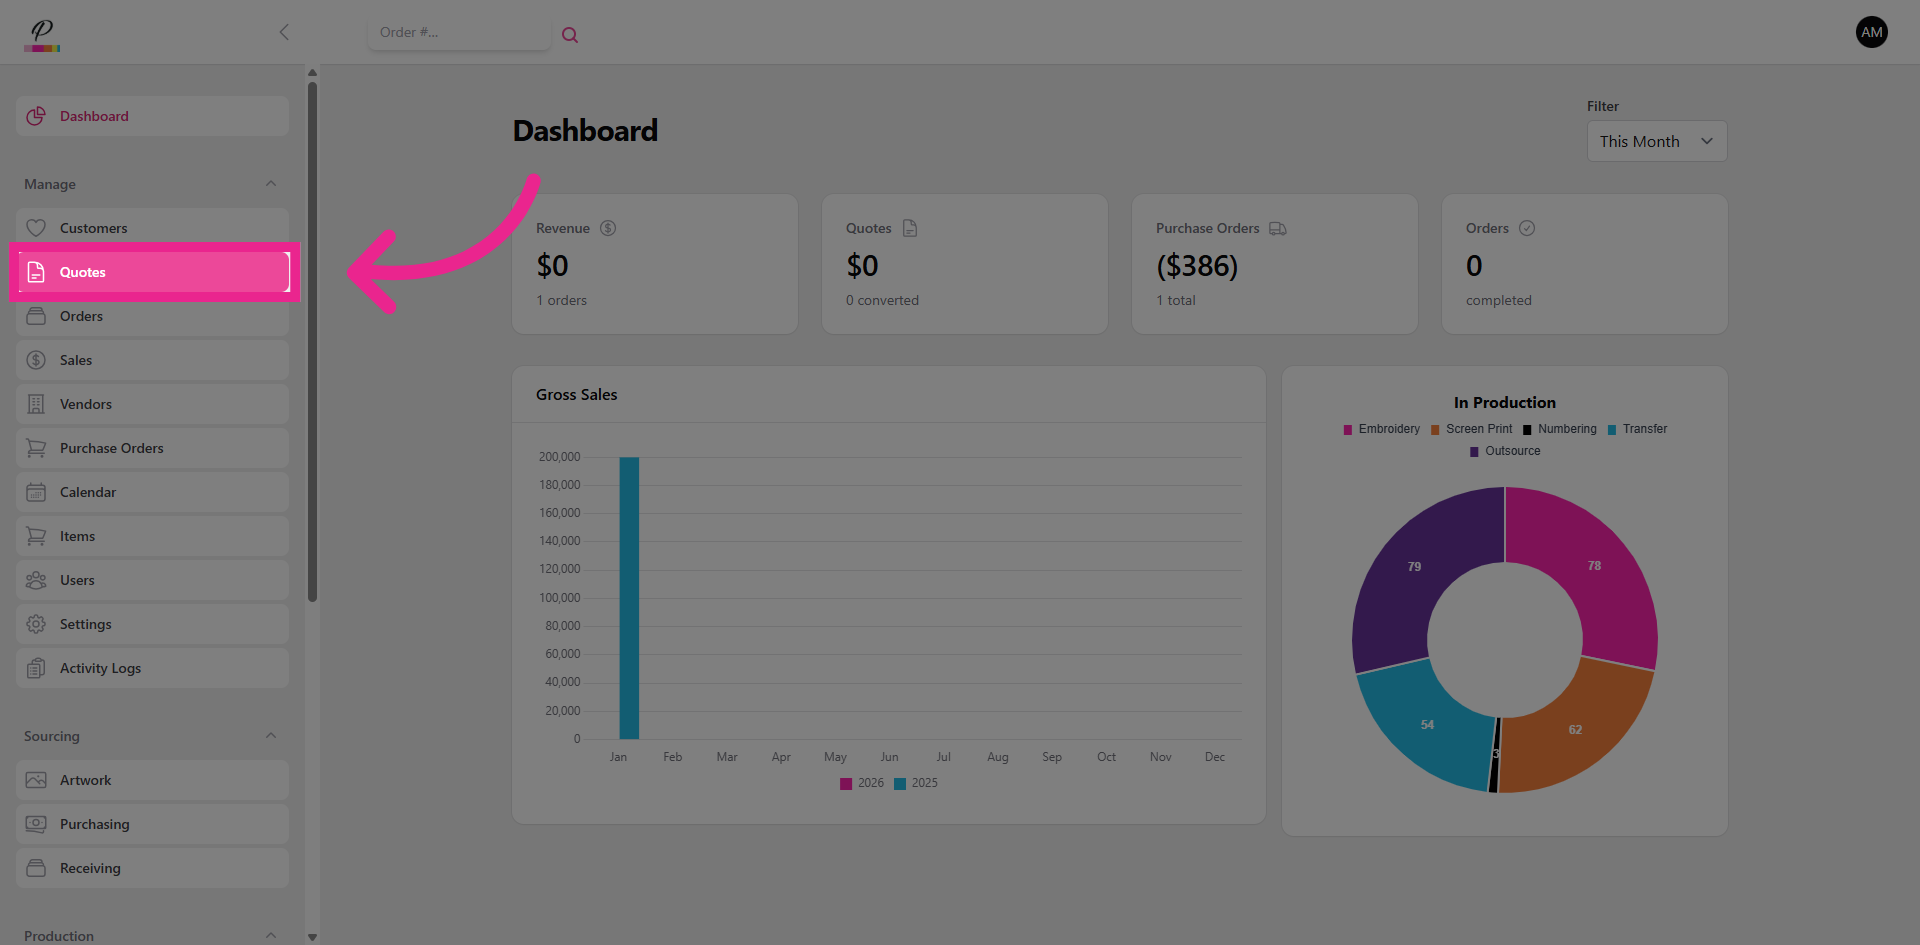
Click the Quotes section on the side menu to begin.
3. Start New Quote
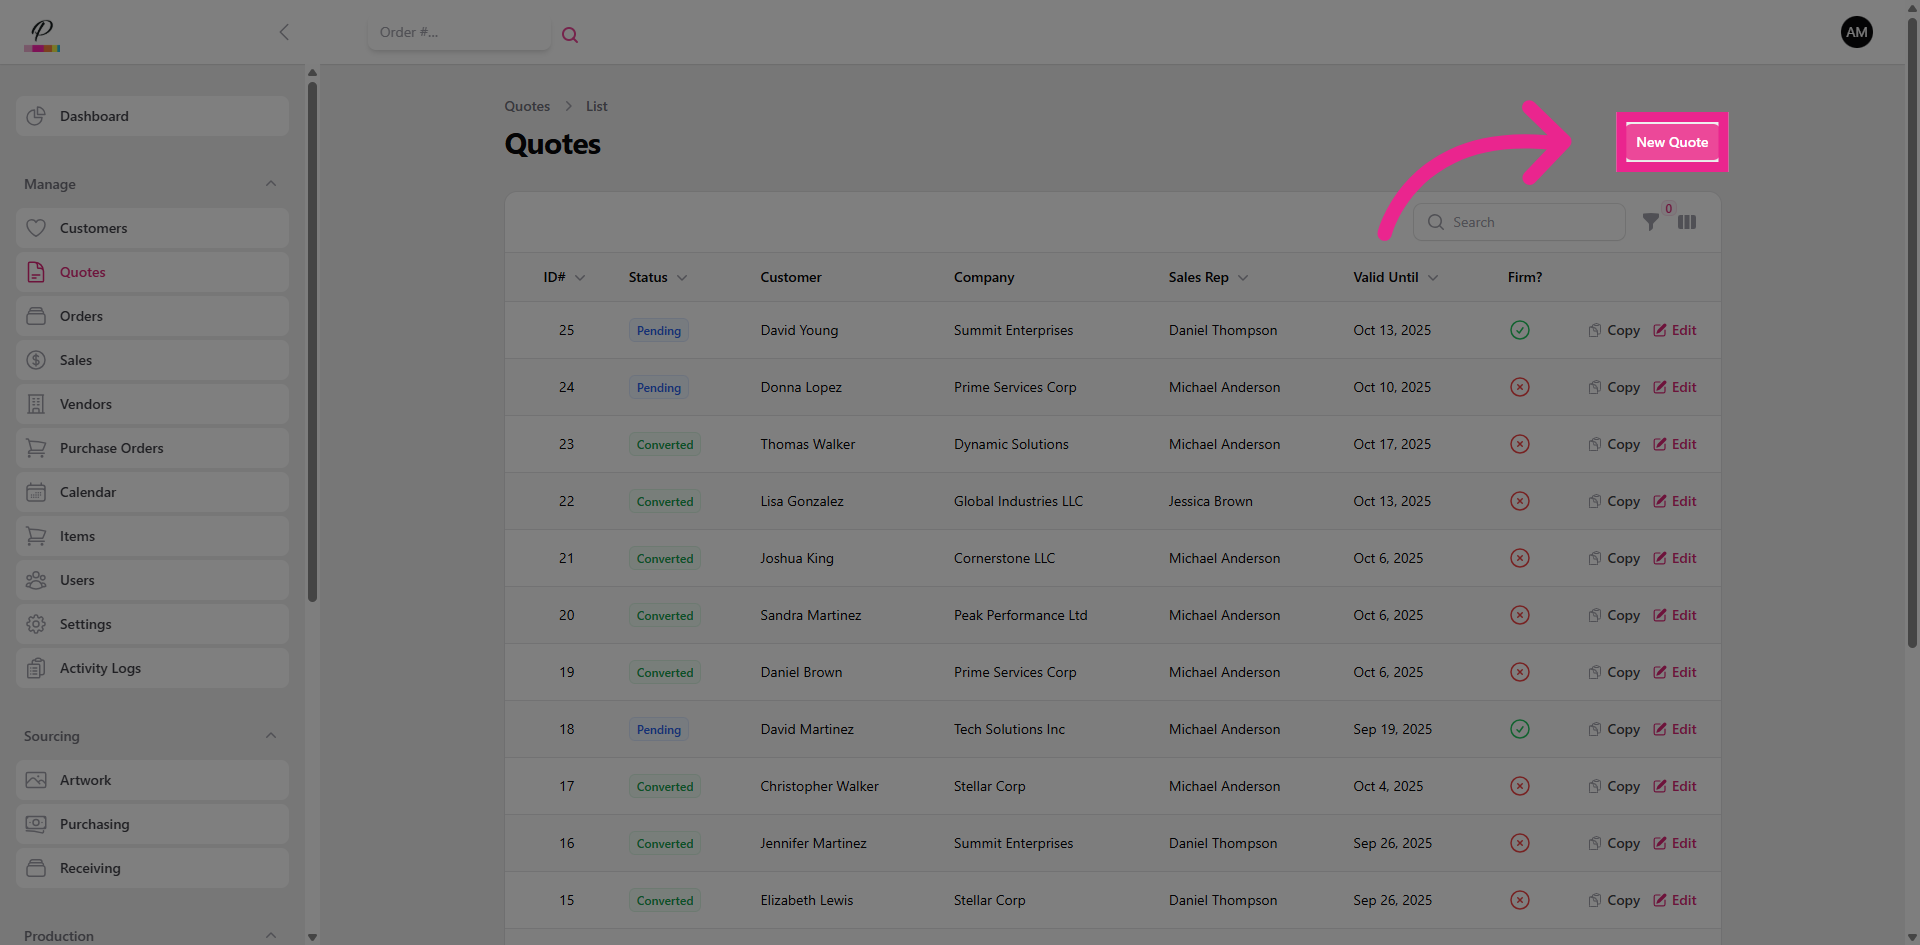
Click New Quote.
4. Select the Customer
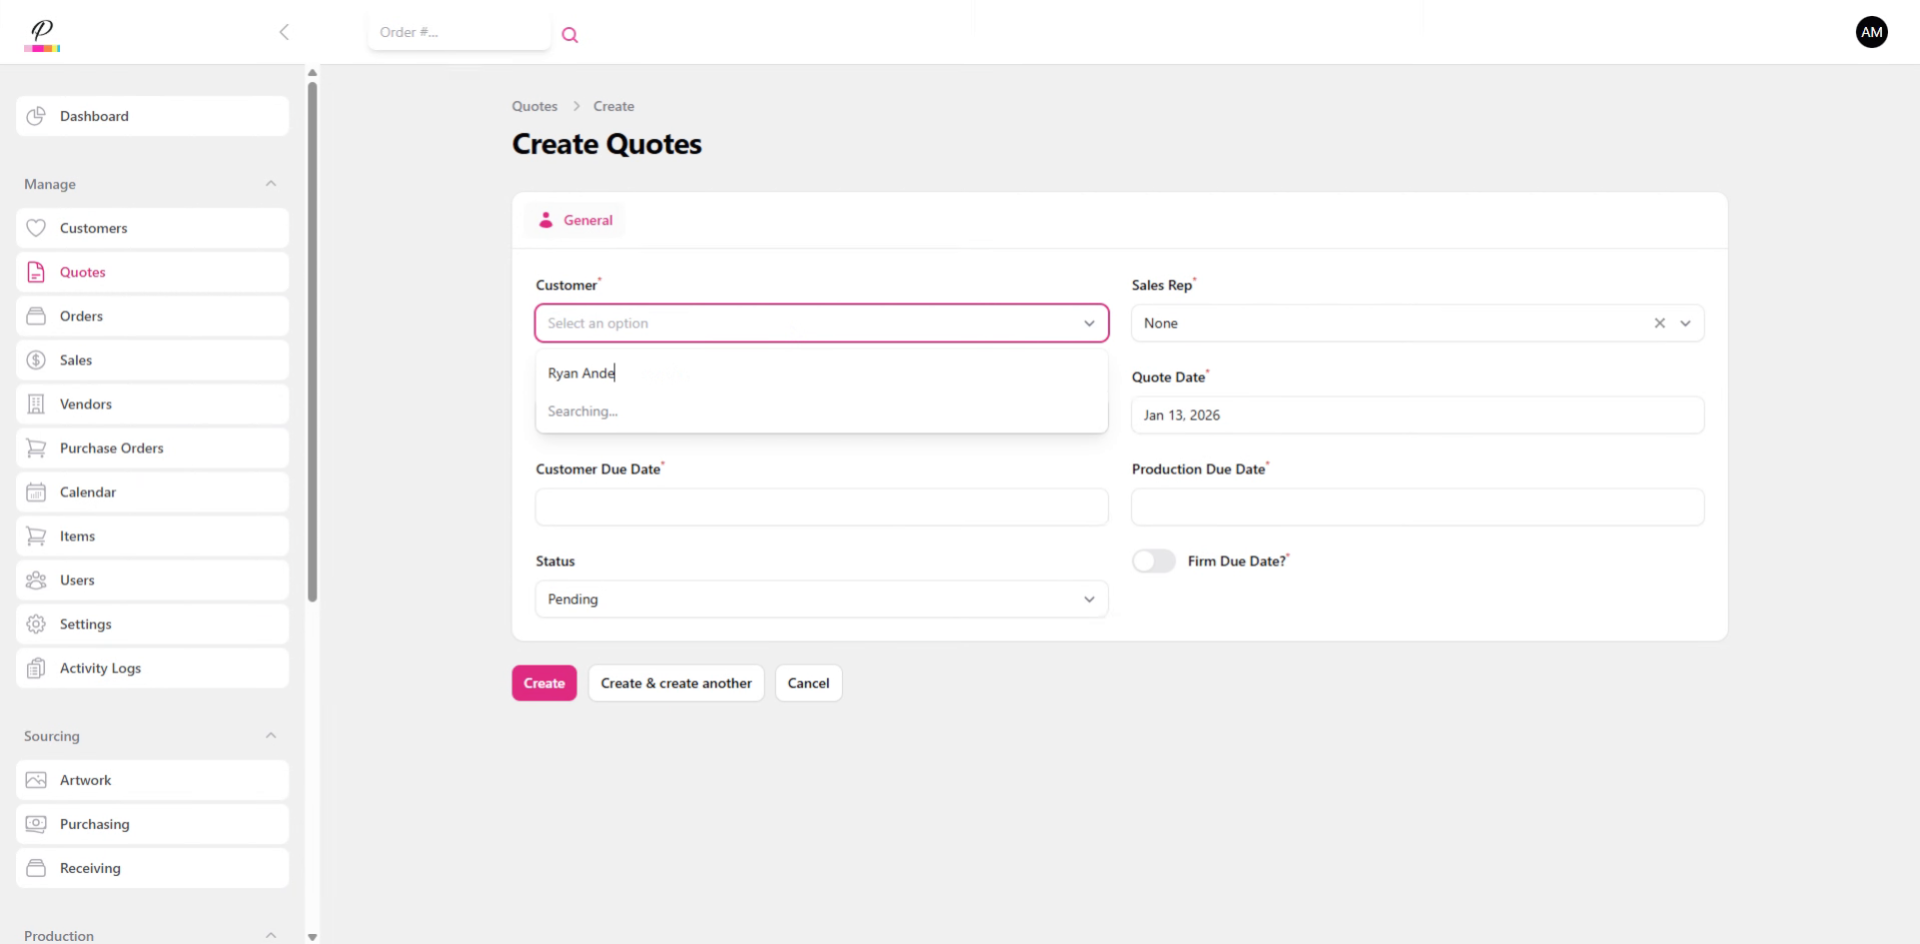
Begin typing to search and select the customer.
5. Select Sales Rep and Account Manager

Select both the Sales Rep and Account Manager.
6. Select Due Dates
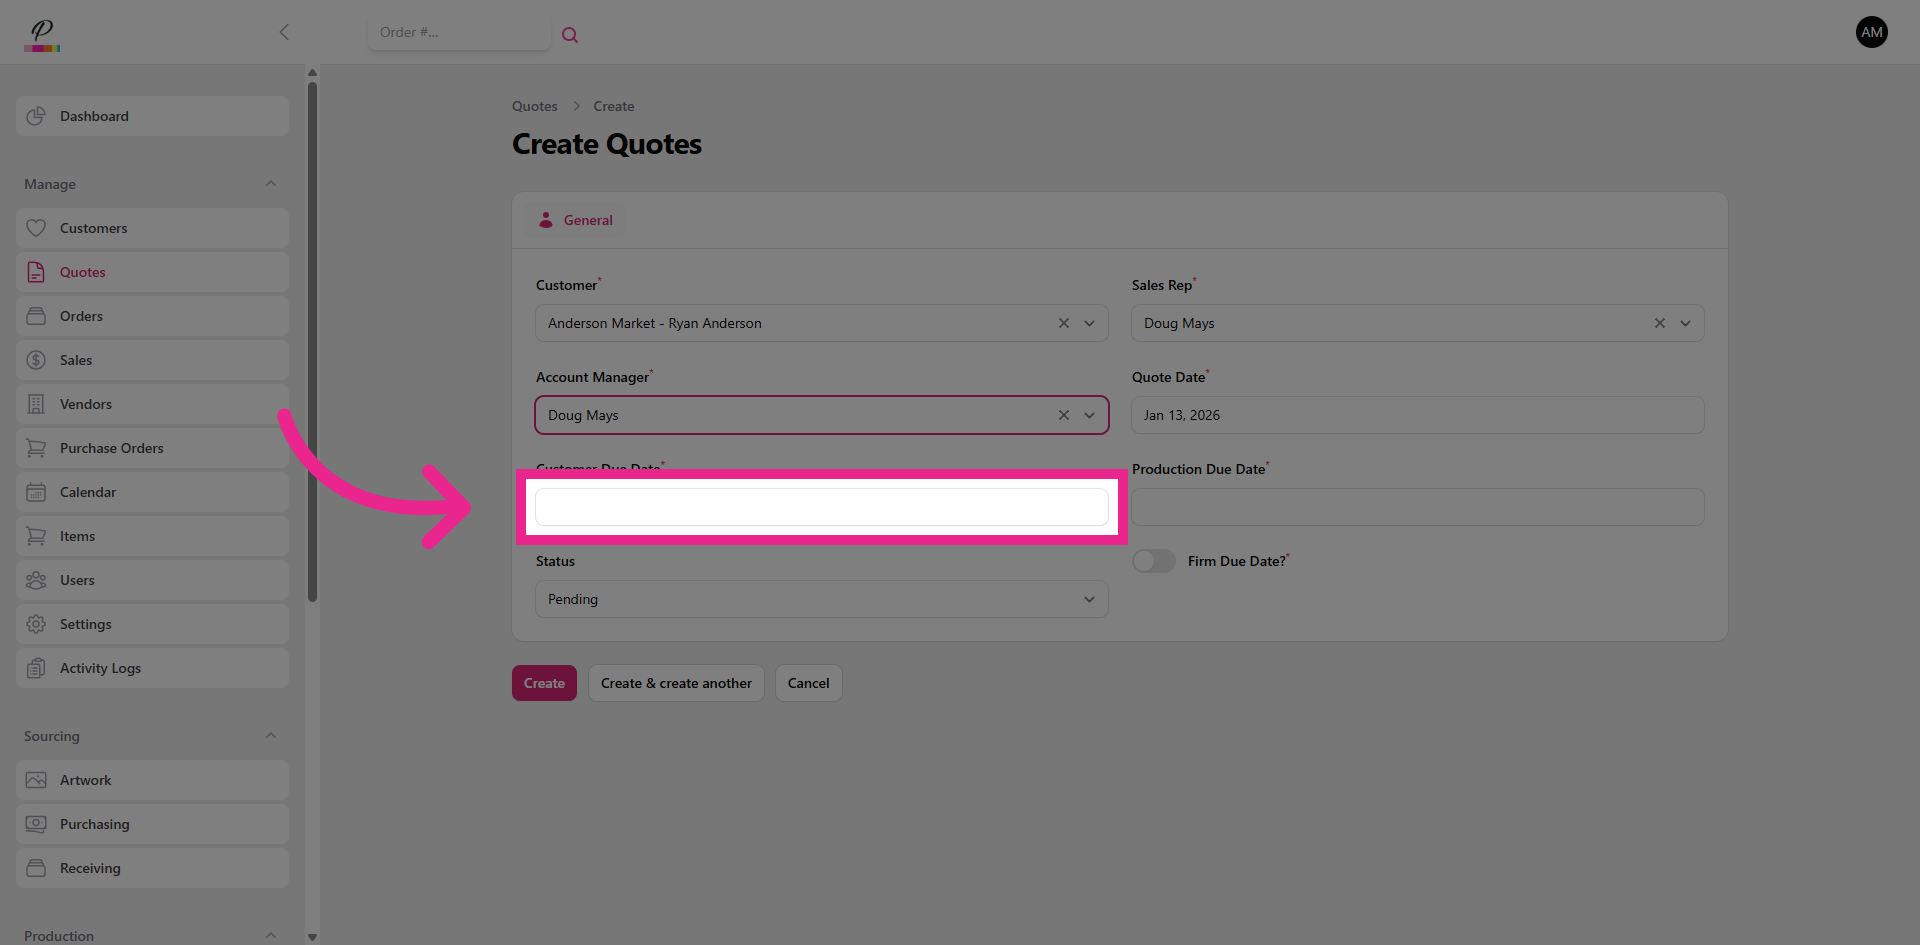
Select the due dates; these can be changed later if needed.
7. Create Quote
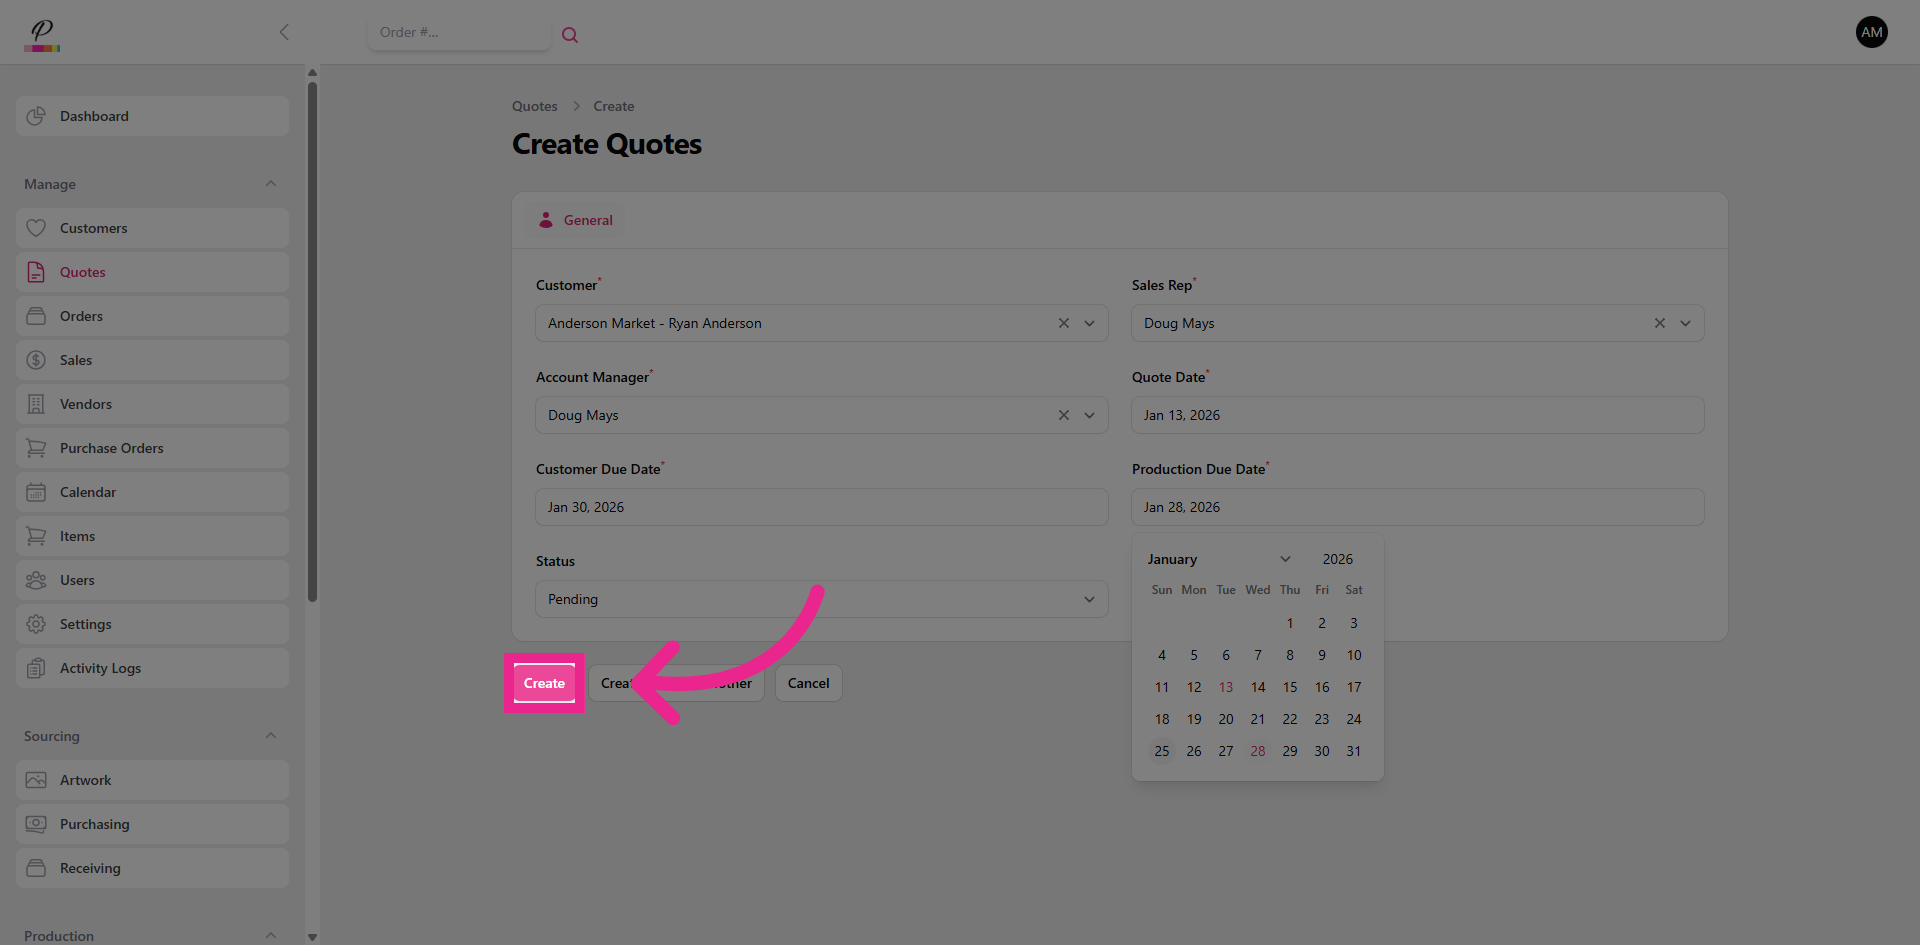
Click Create to generate the new quote with the entered details.
8. Items Tab
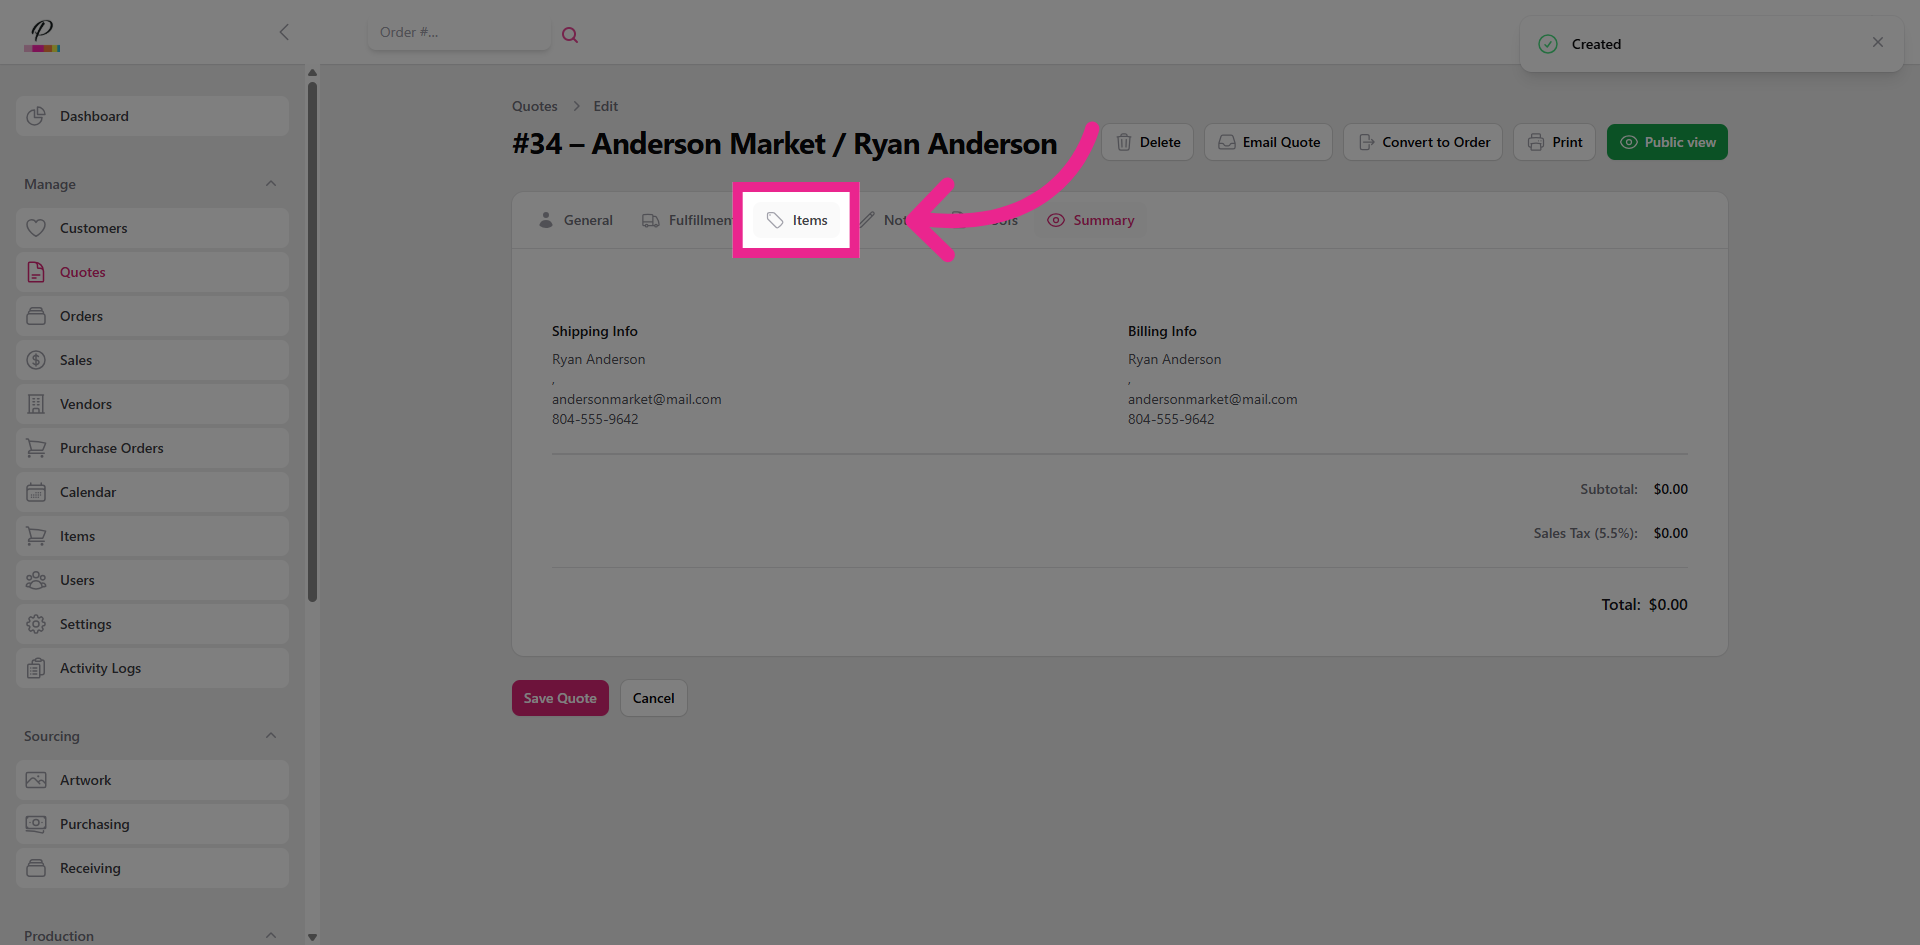
Click Items to continue creating the quote.
9. Add Item
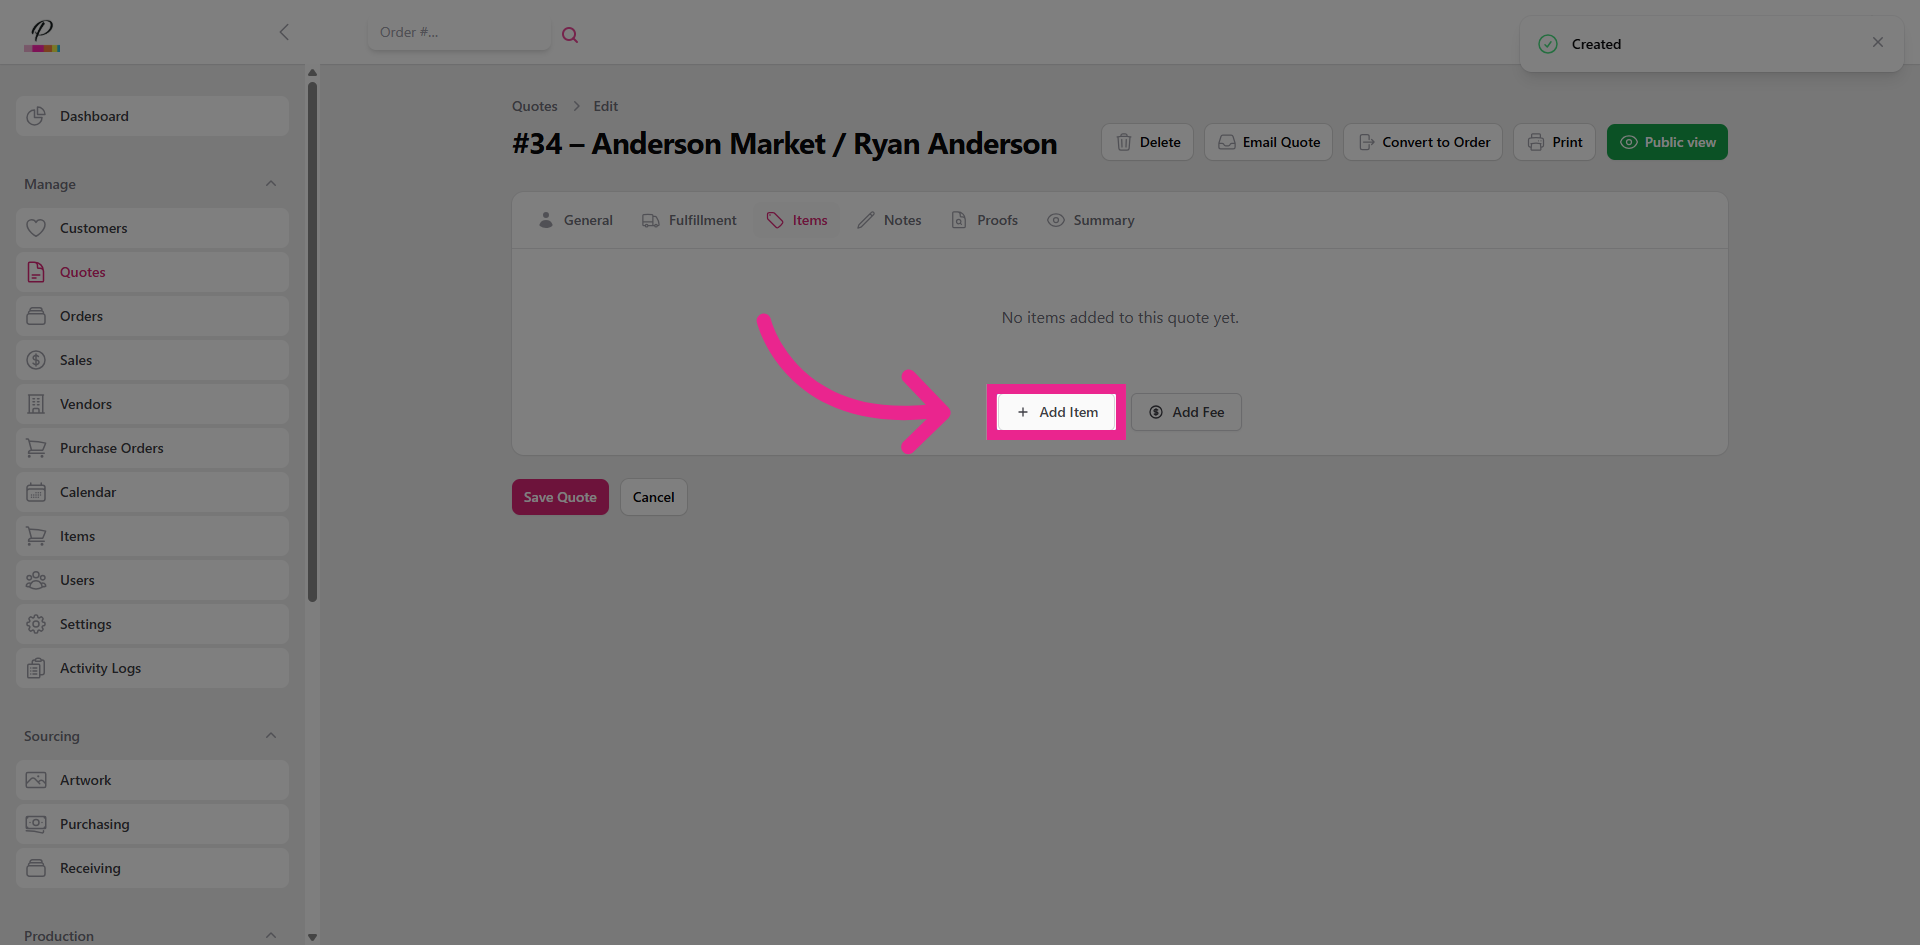
Click Add Item.
10. Enter Item Number
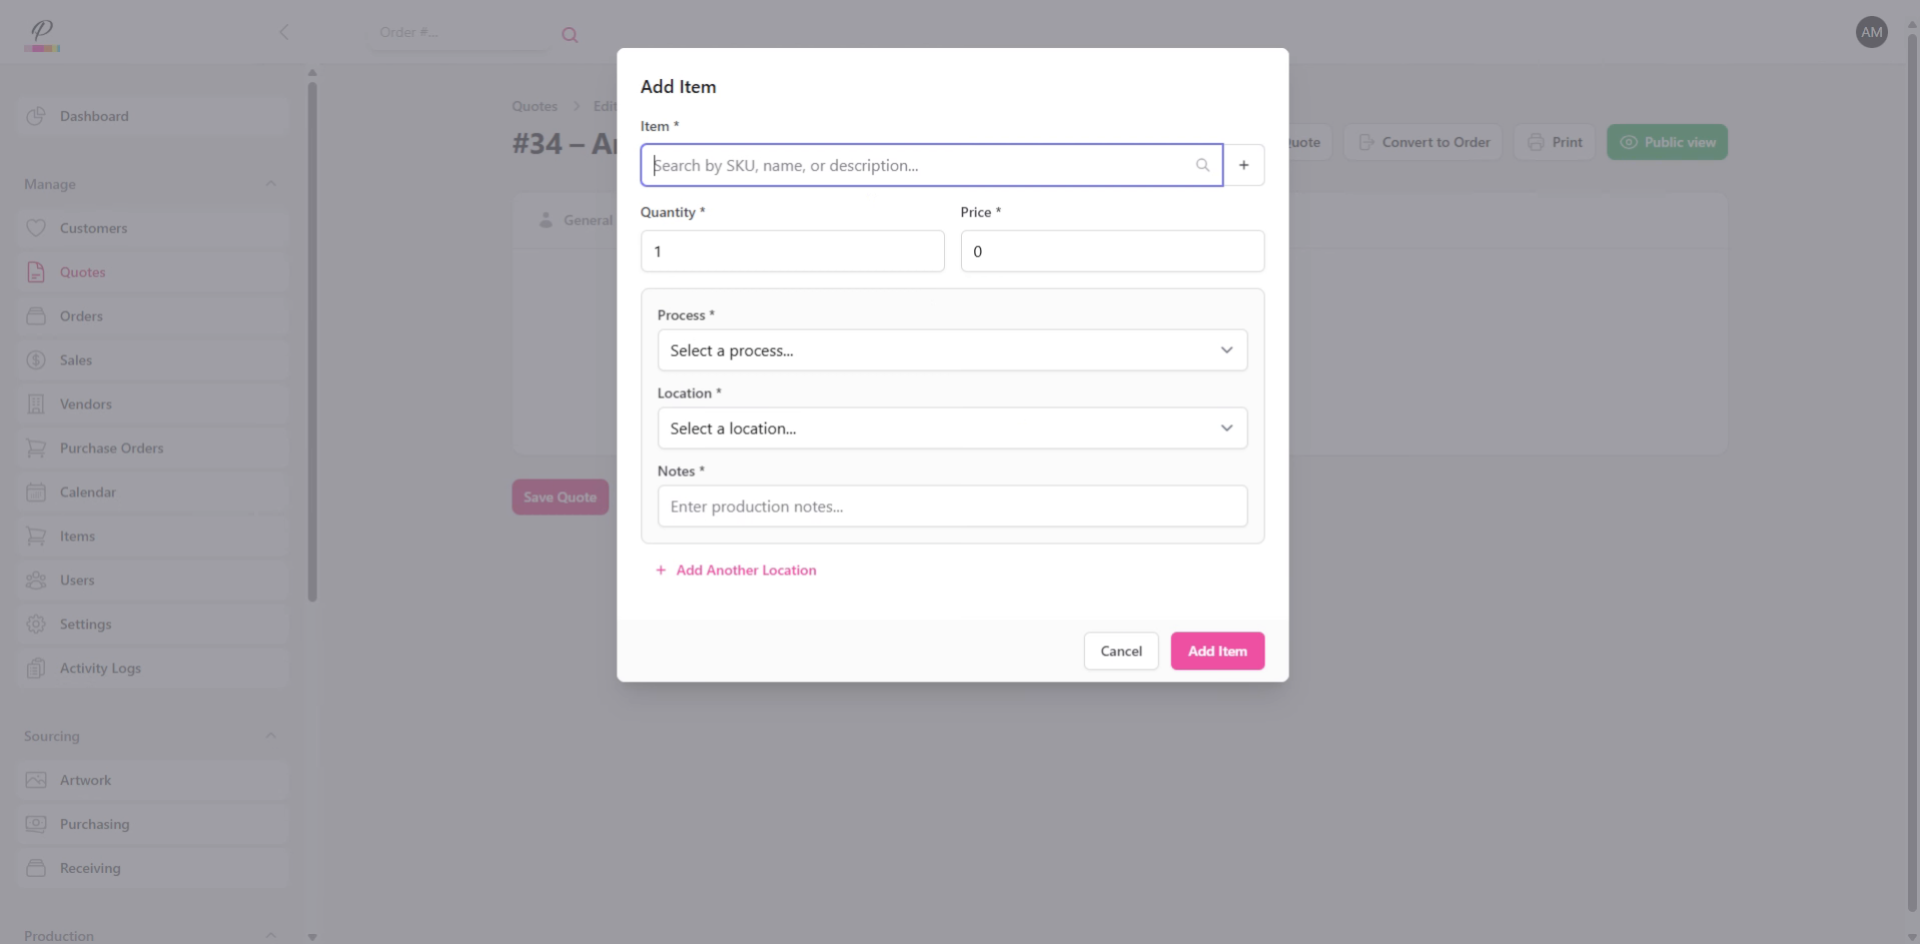
Enter the item number to locate the desired product.
11. Select Product Color and Size
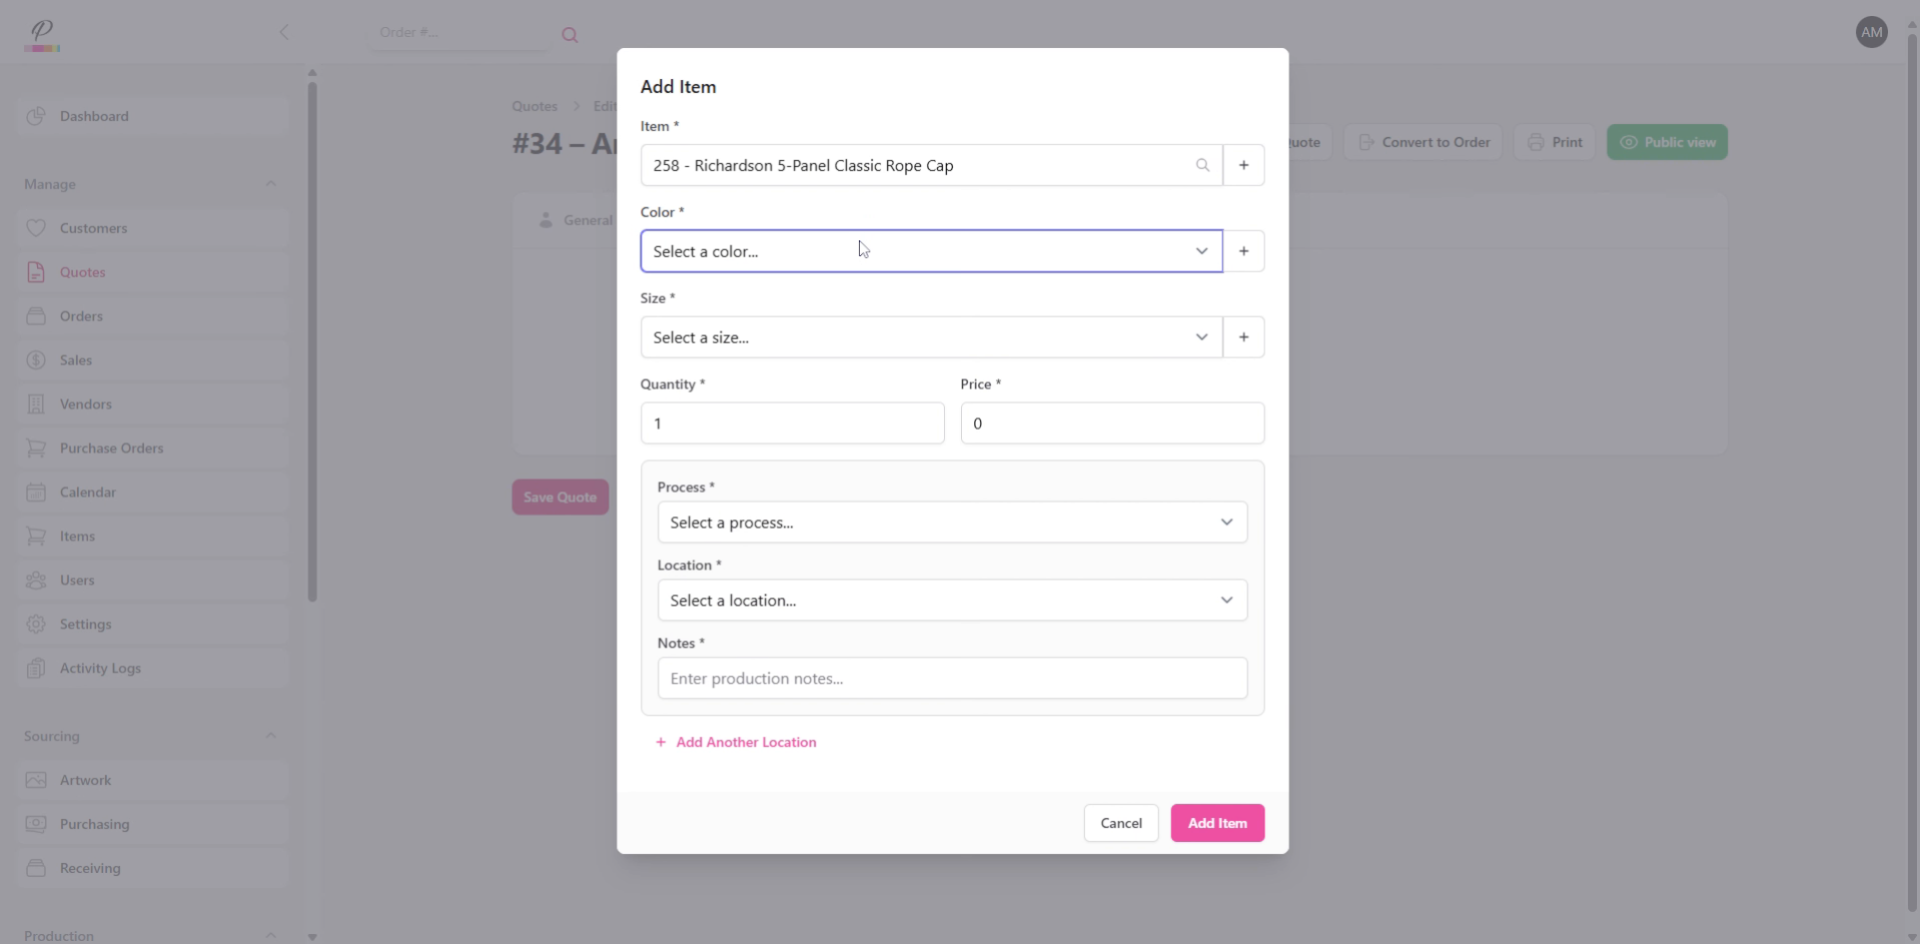
Select the appropriate color for the product, and select the size.
12. Enter Quantity and Price
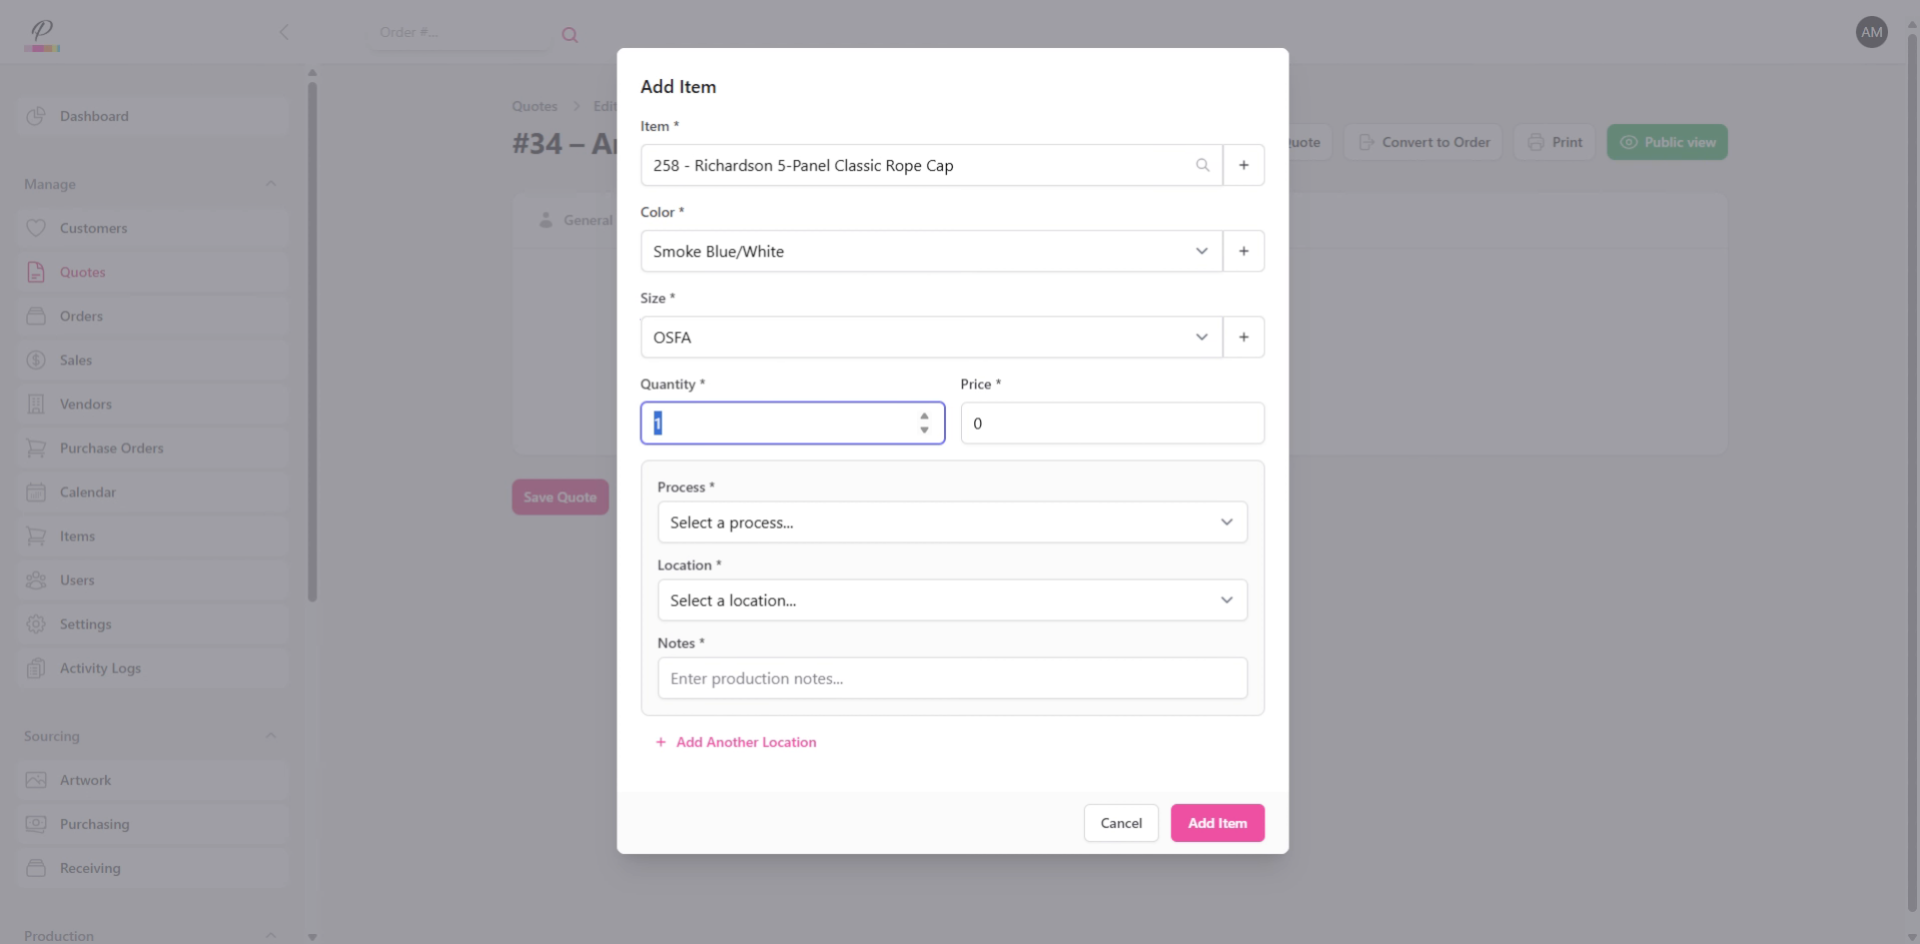
Enter the number of units for the product and the price for each unit.
13. Enter Production Details
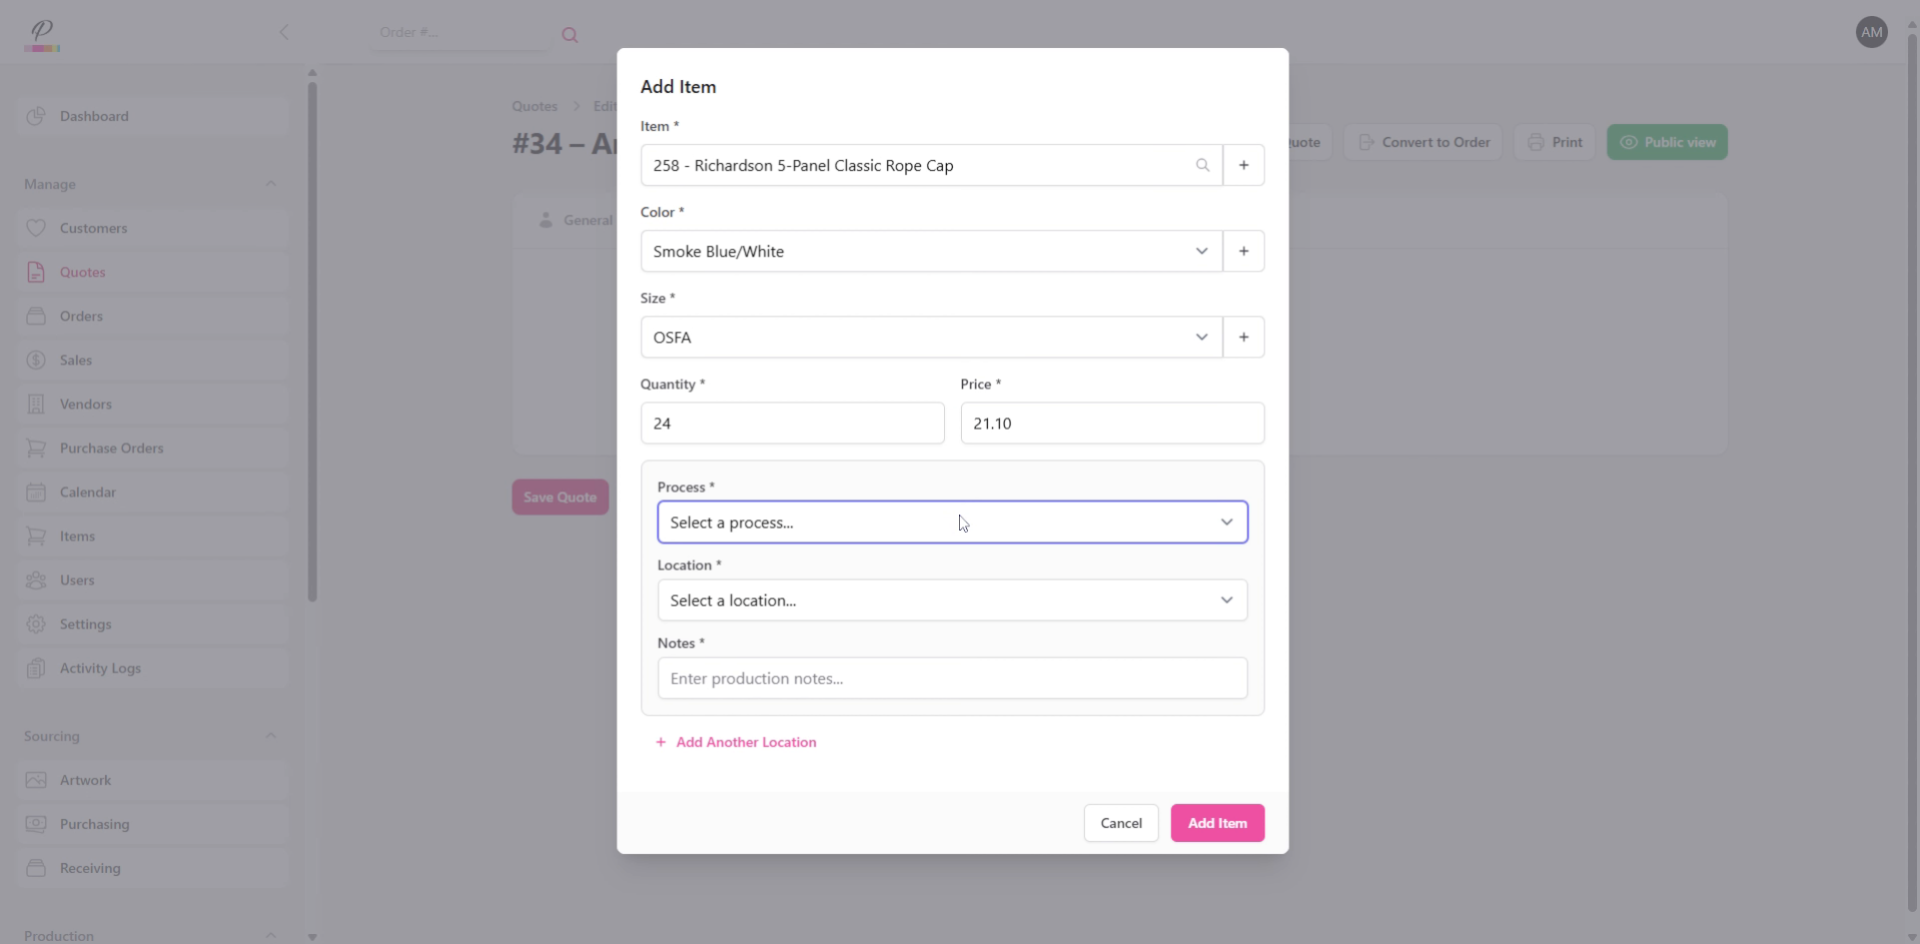
Select the appropriate production process from the drop-down, then select the location for the production process and enter production details such as logo, and logo color..
14. Add New Item
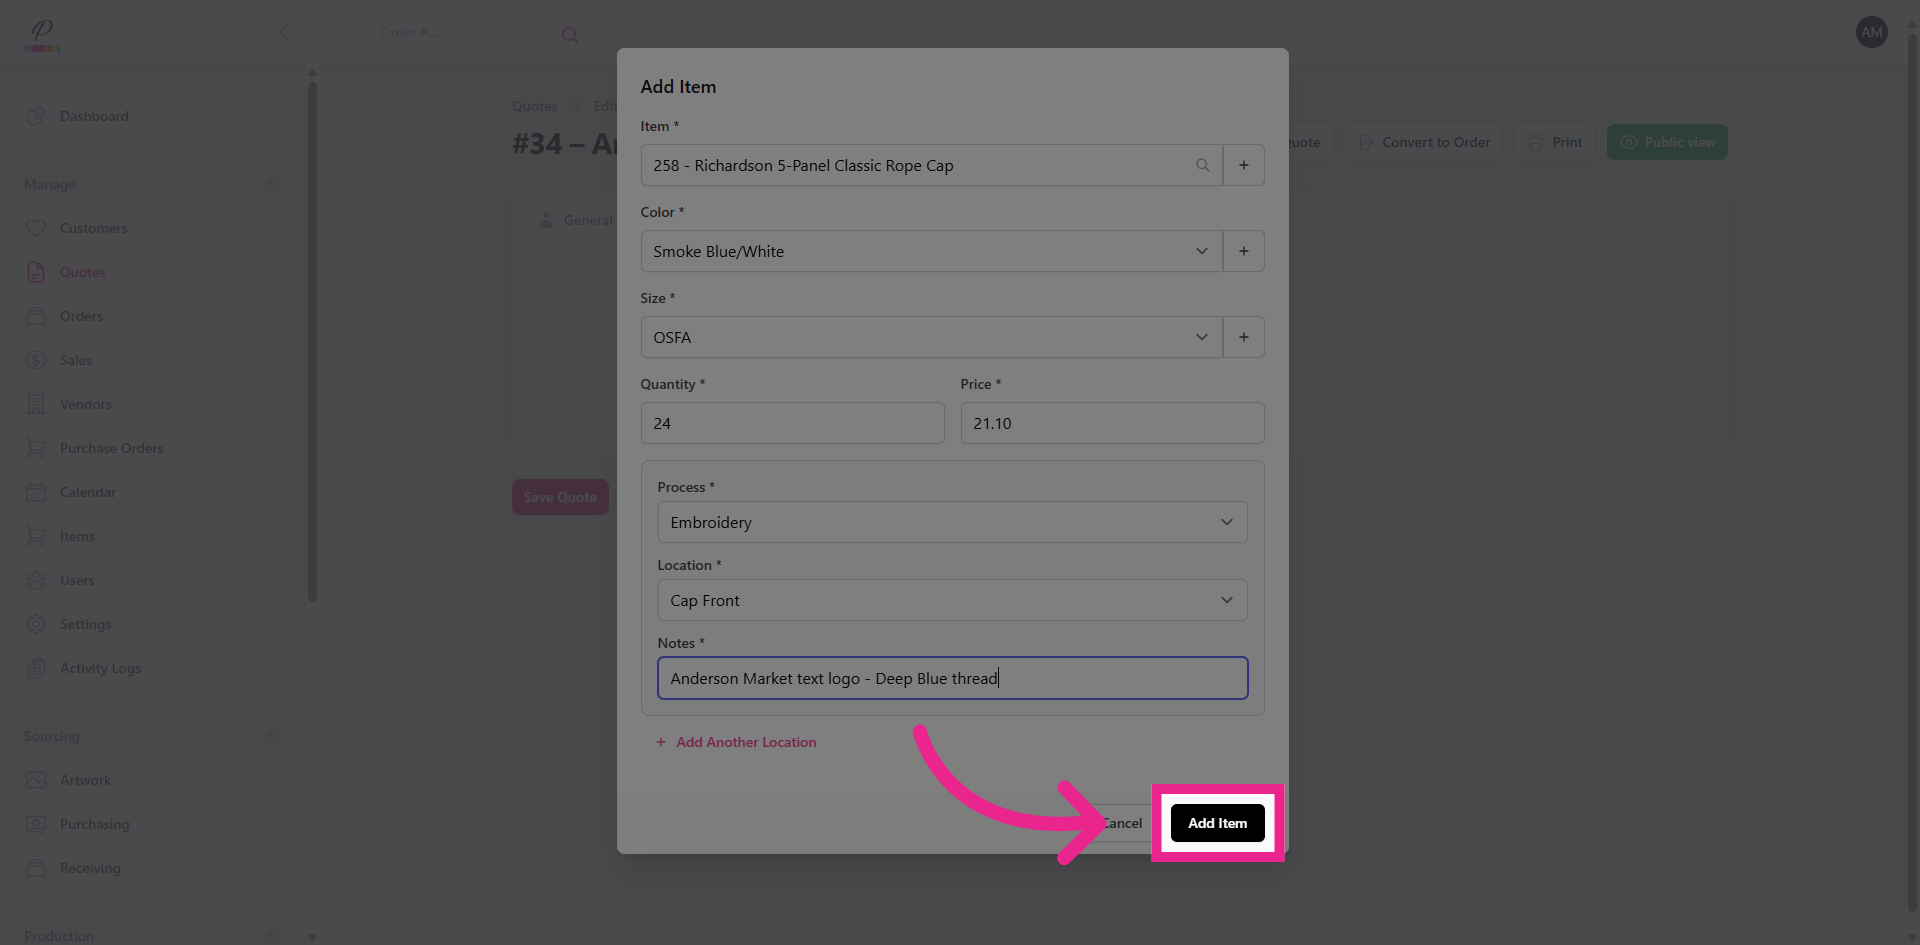
Click Add Item to complete this product and add it to the quote.
15. Add Fee to Quote
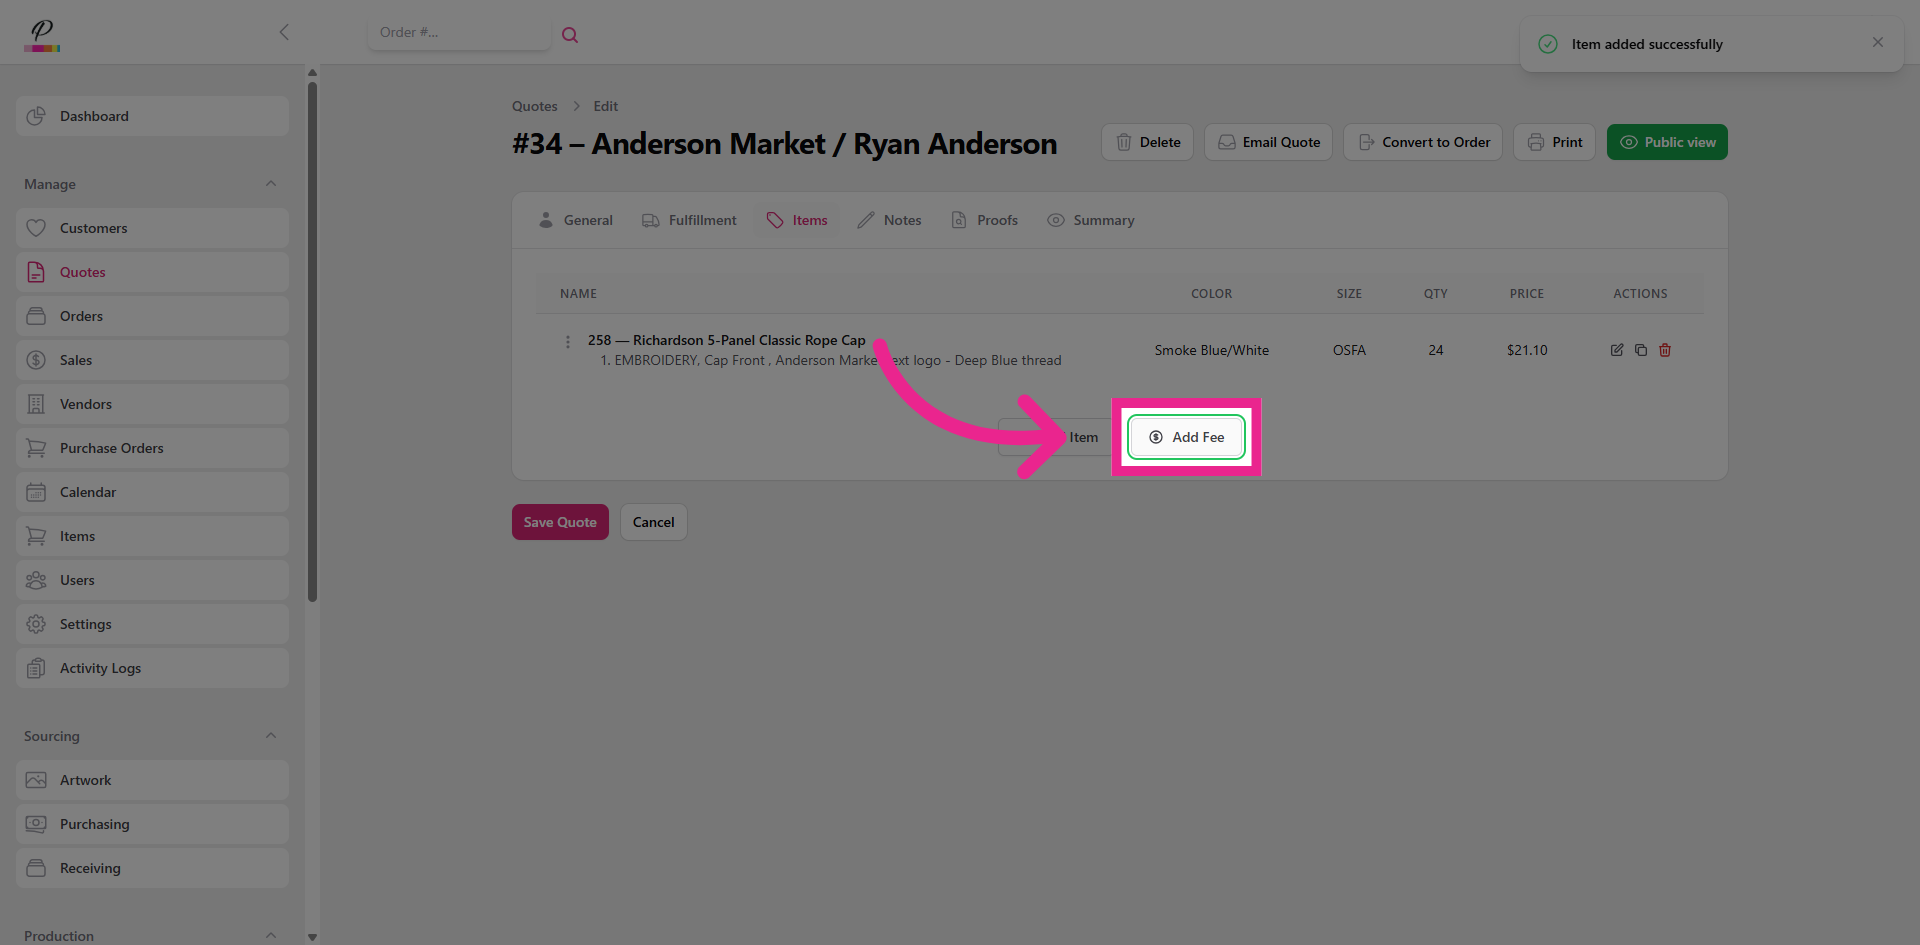
If needed, you can click Add Fee to include extra charges such as set-up fees.
16. Upload Proofs
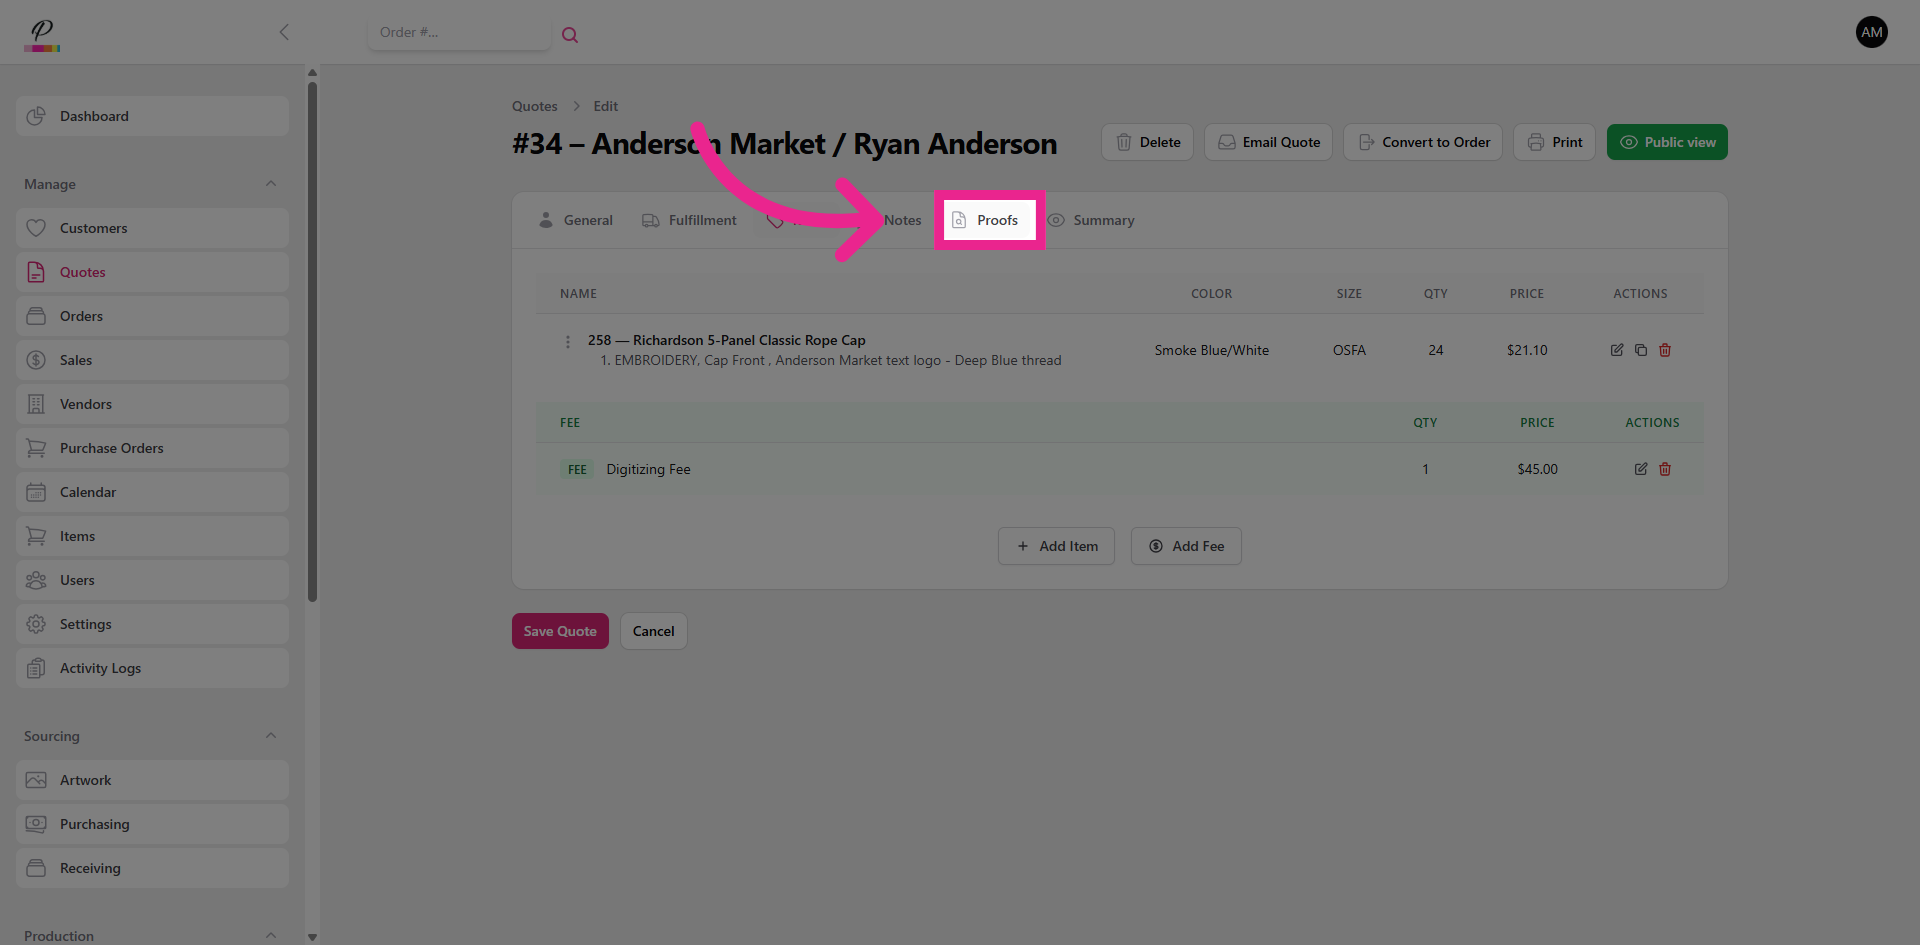
Next, click proofs to upload the product mock up for the customer to view.
17. Add Fulfillment Details
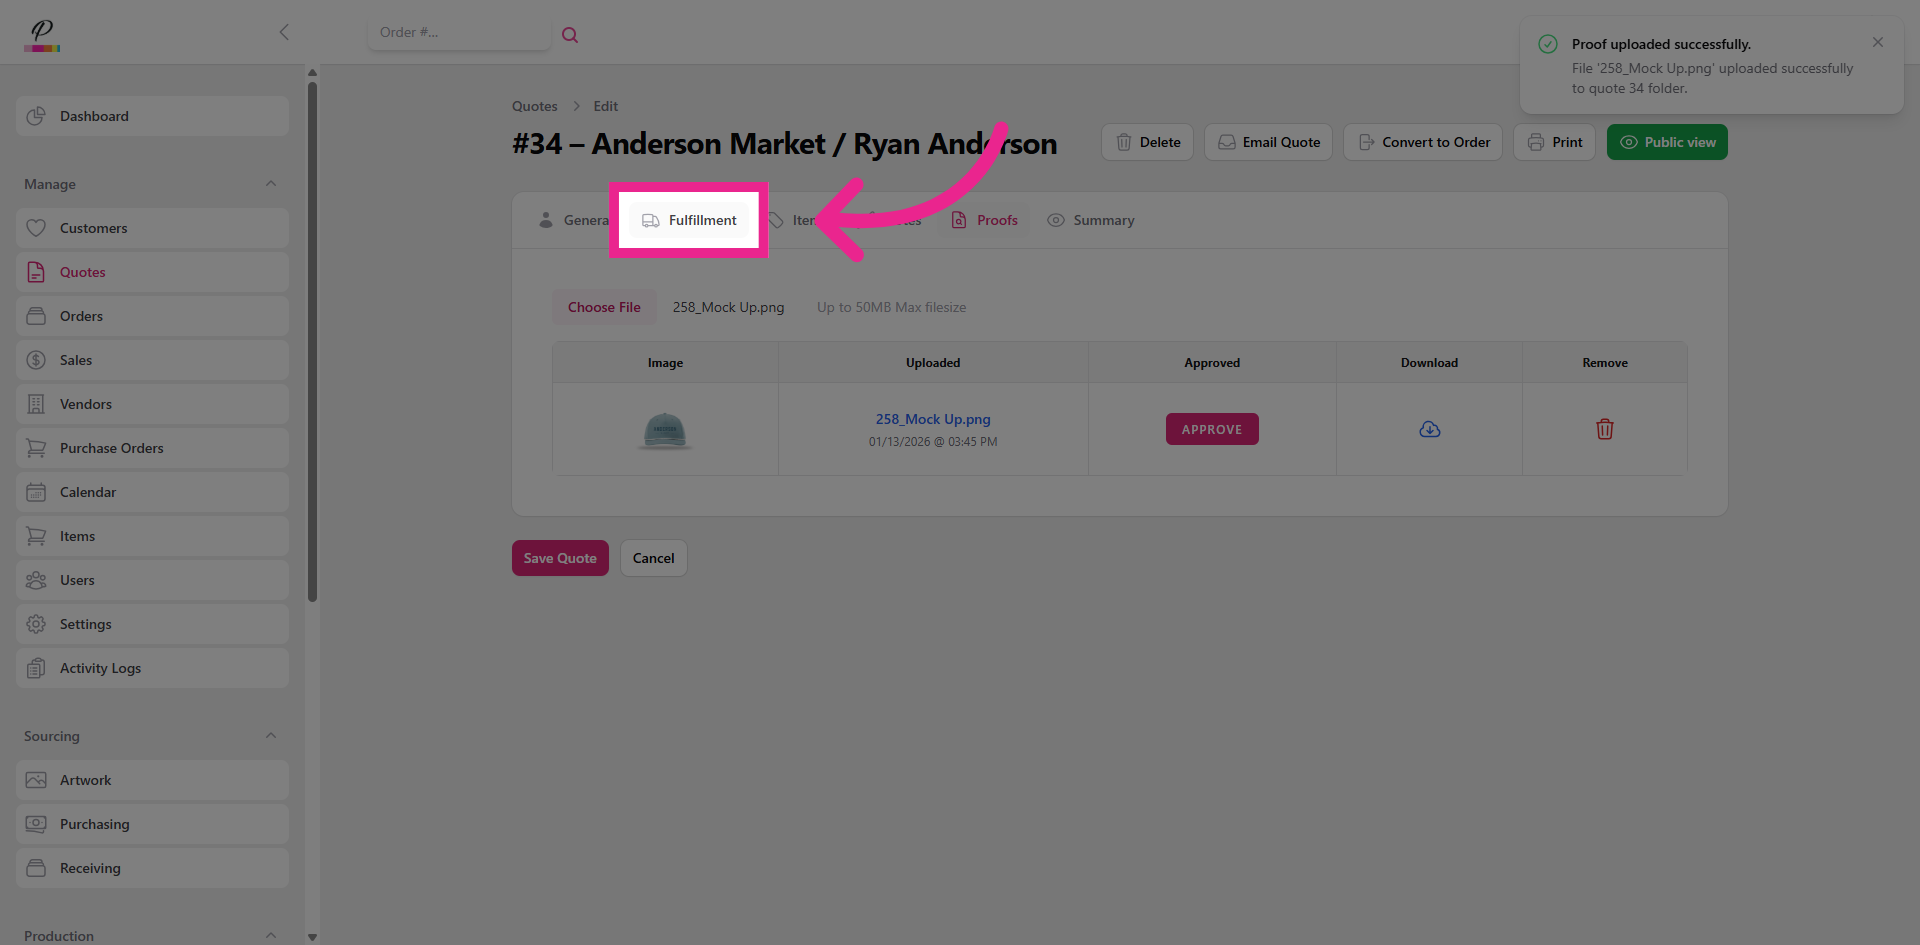
Now, you can go to fulfillment and add shipping or delivery estimates if needed
18. Notes Tab
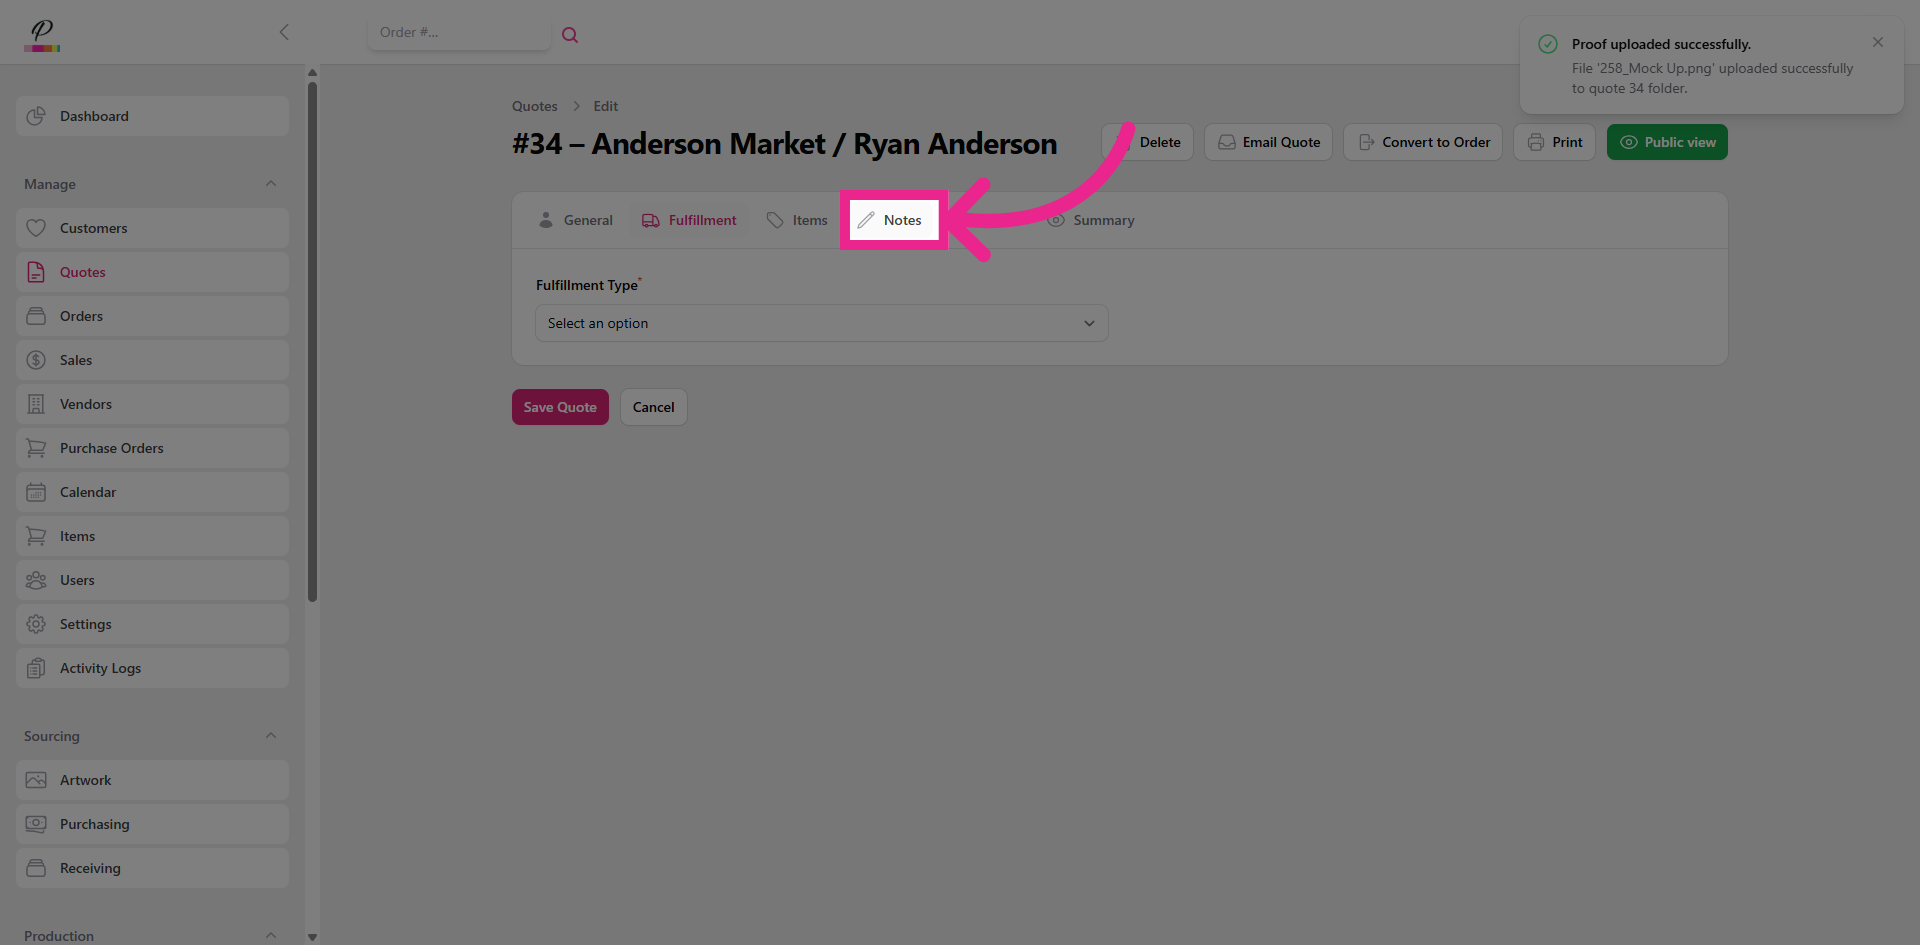
Or you can add any notes. Just keep in mind that the notes are for the account manager's use and not for the customer to view.
19. View Quote Summary
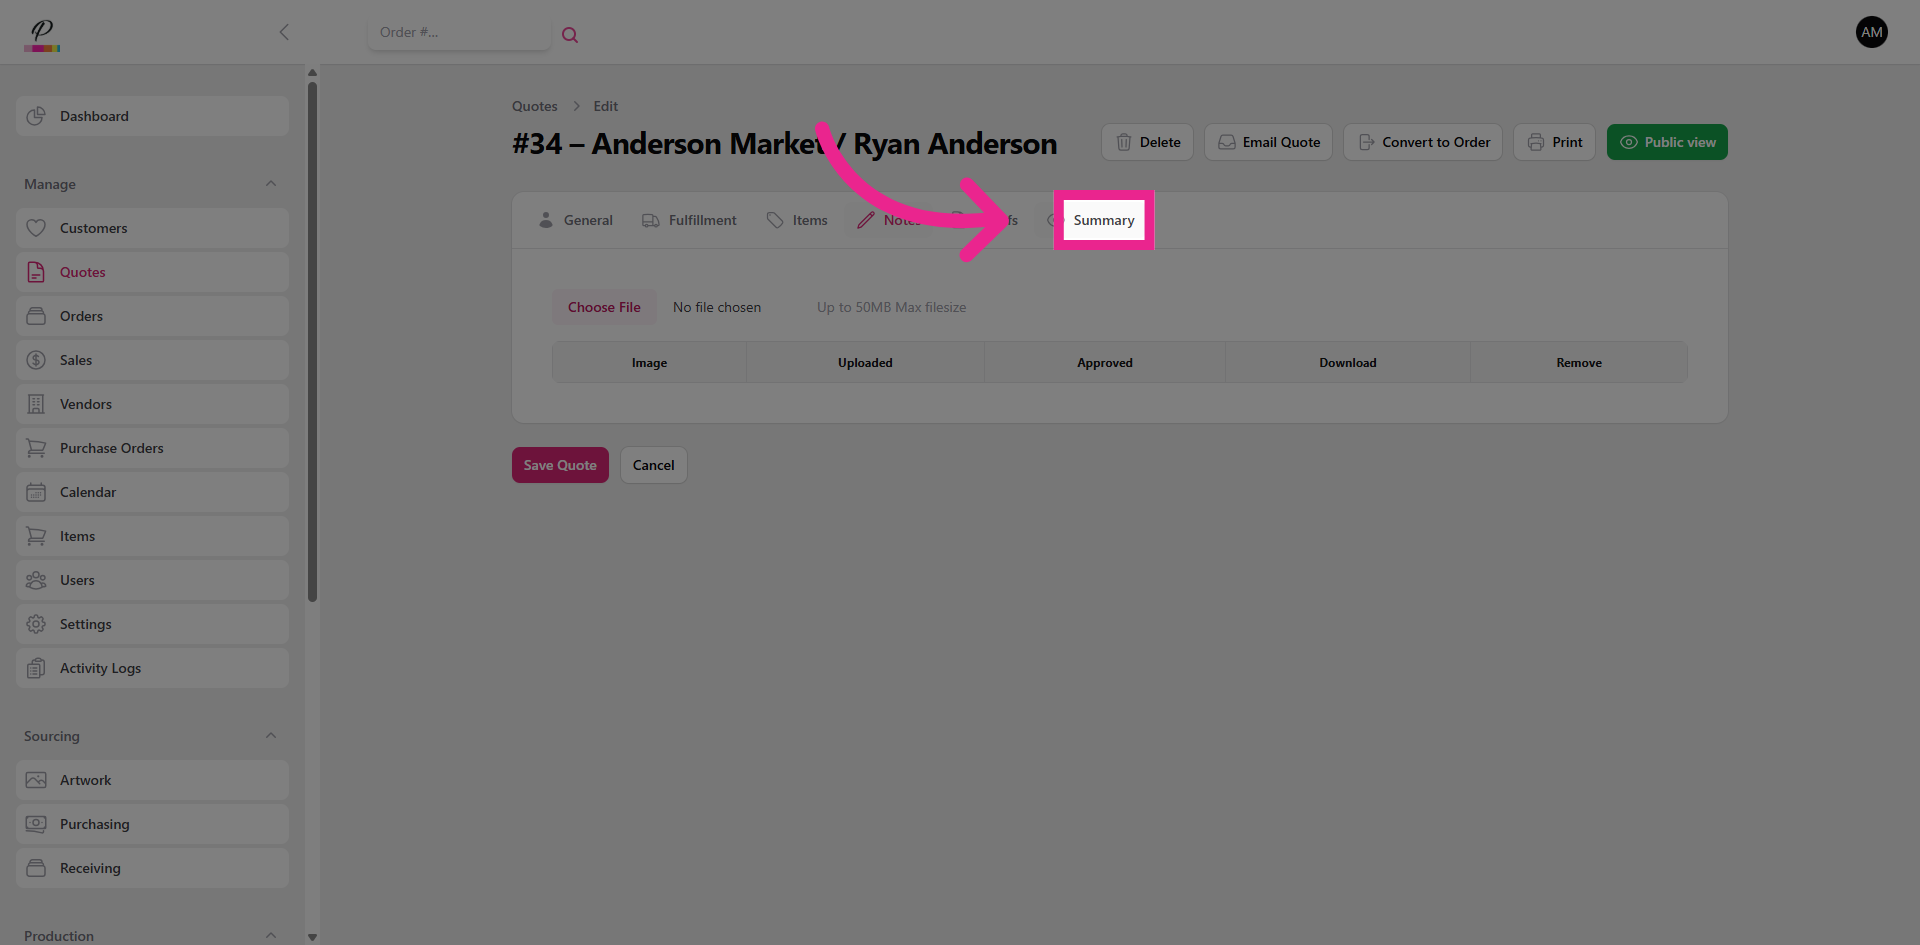
Click Summary to review the complete quote details and ensure everything looks accurate.
20. Email Quote to the Customer
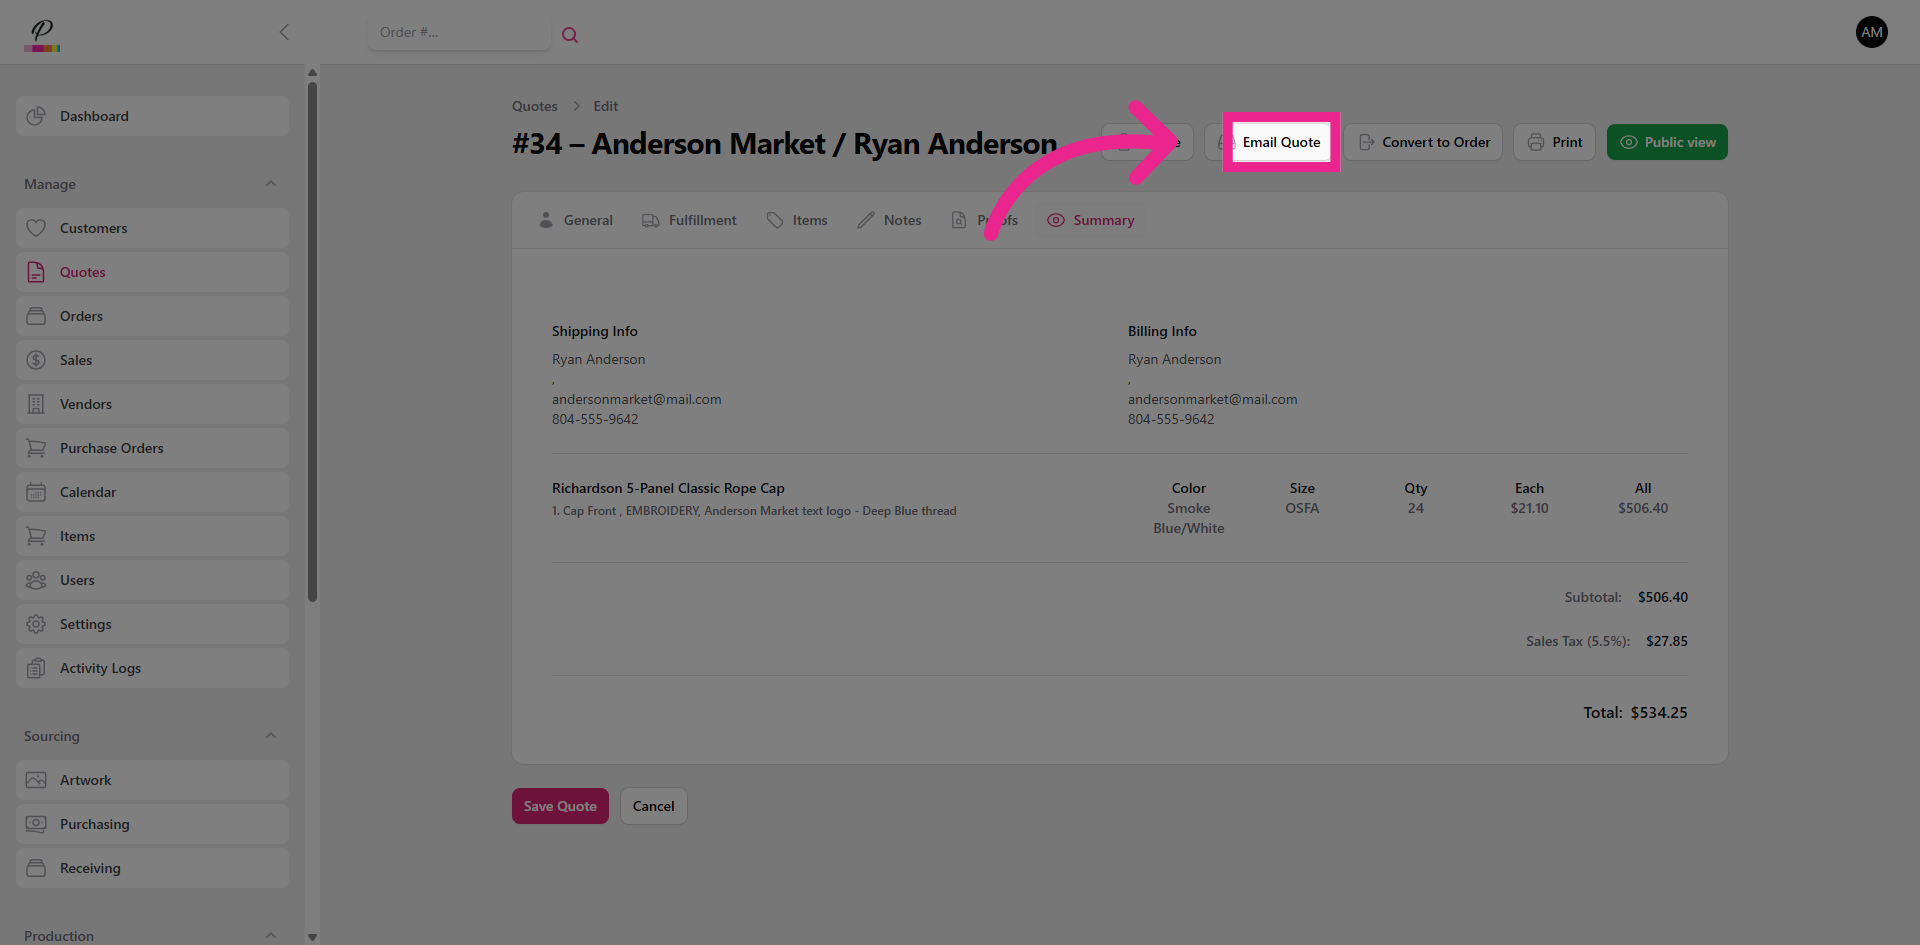
Now, you re ready to send the quote to the customer.
21. Enter Reply-To Email
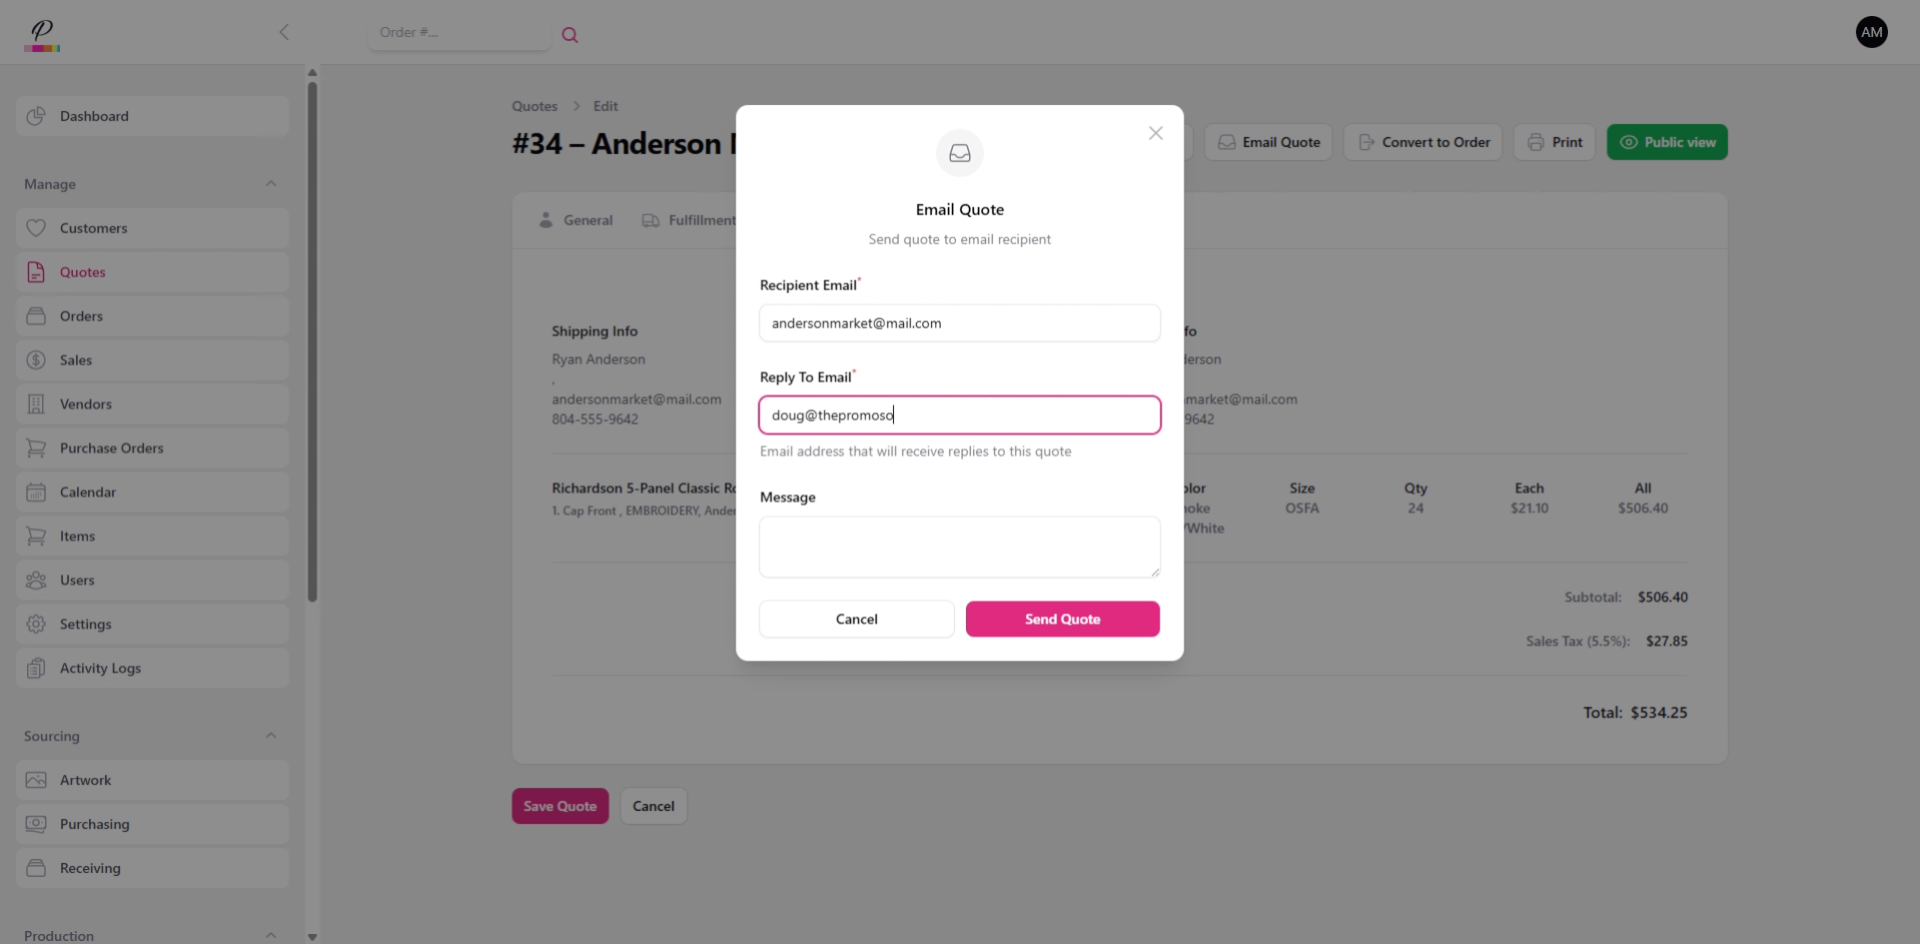
Verify the reply-to email address.
22. Enter Email Message

Type a quick message to the customer.
23. Send Quote Email
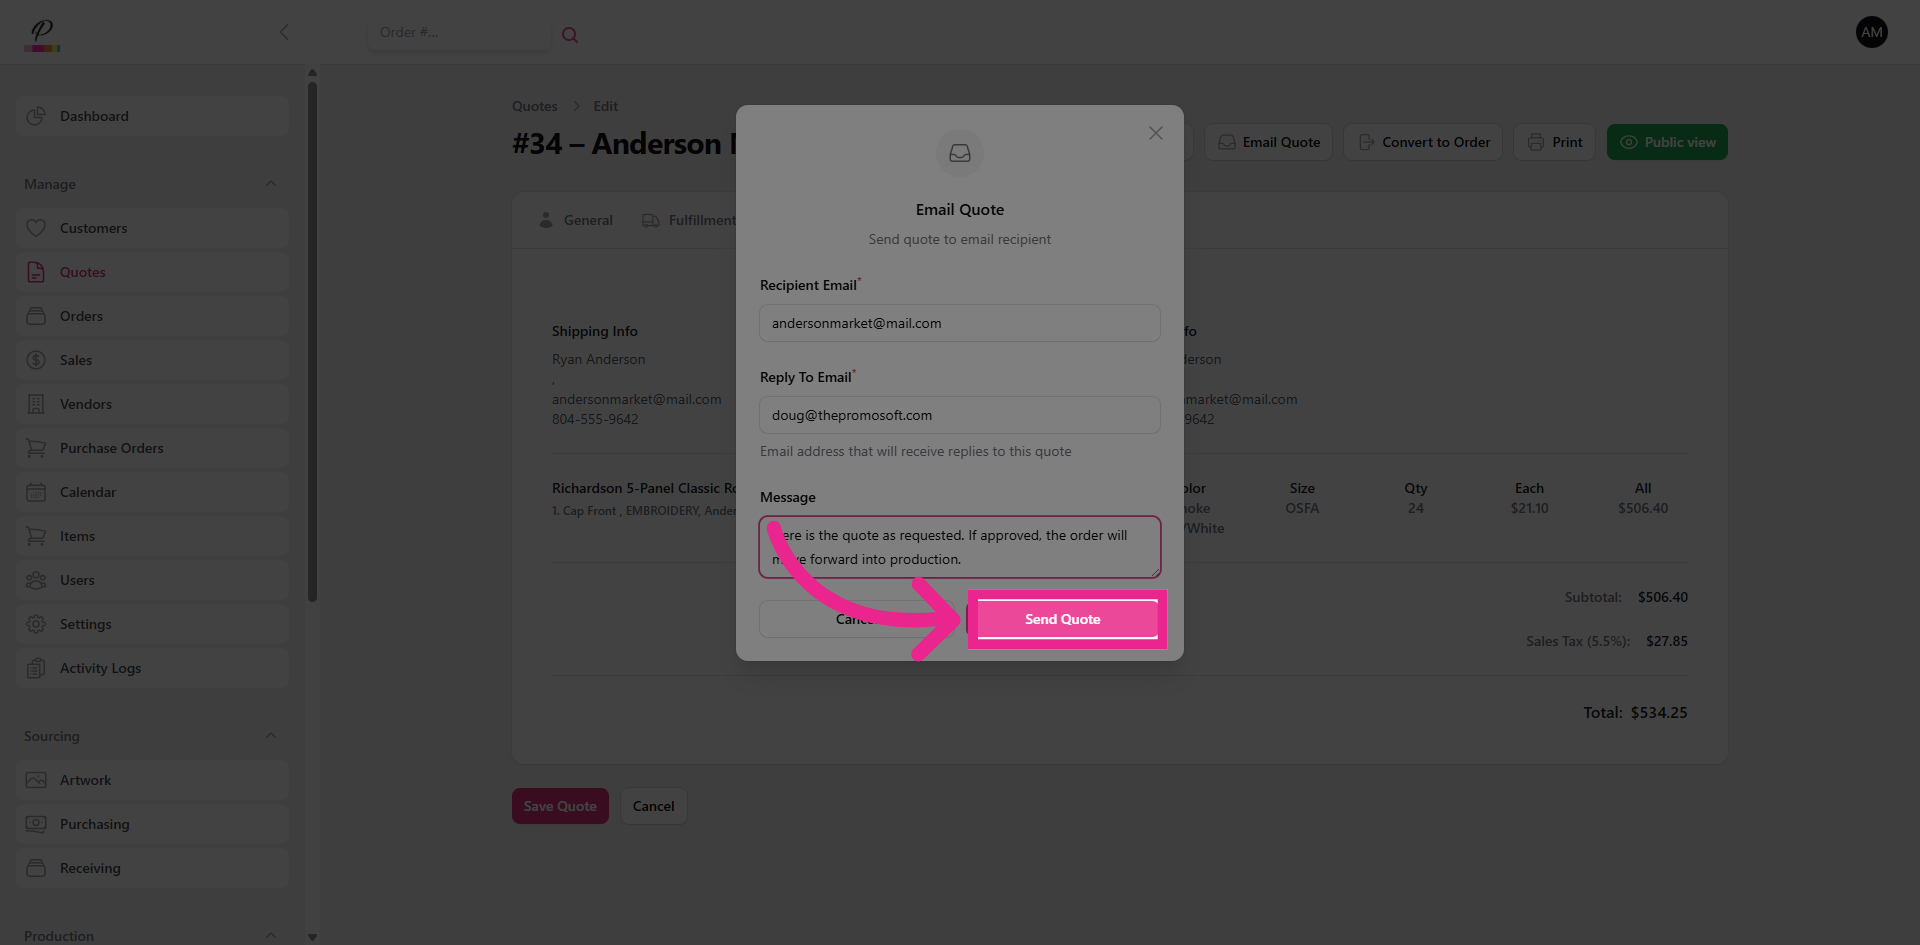
Click Send Quote to deliver the quote to the customer.
24. Convert Quote to Order
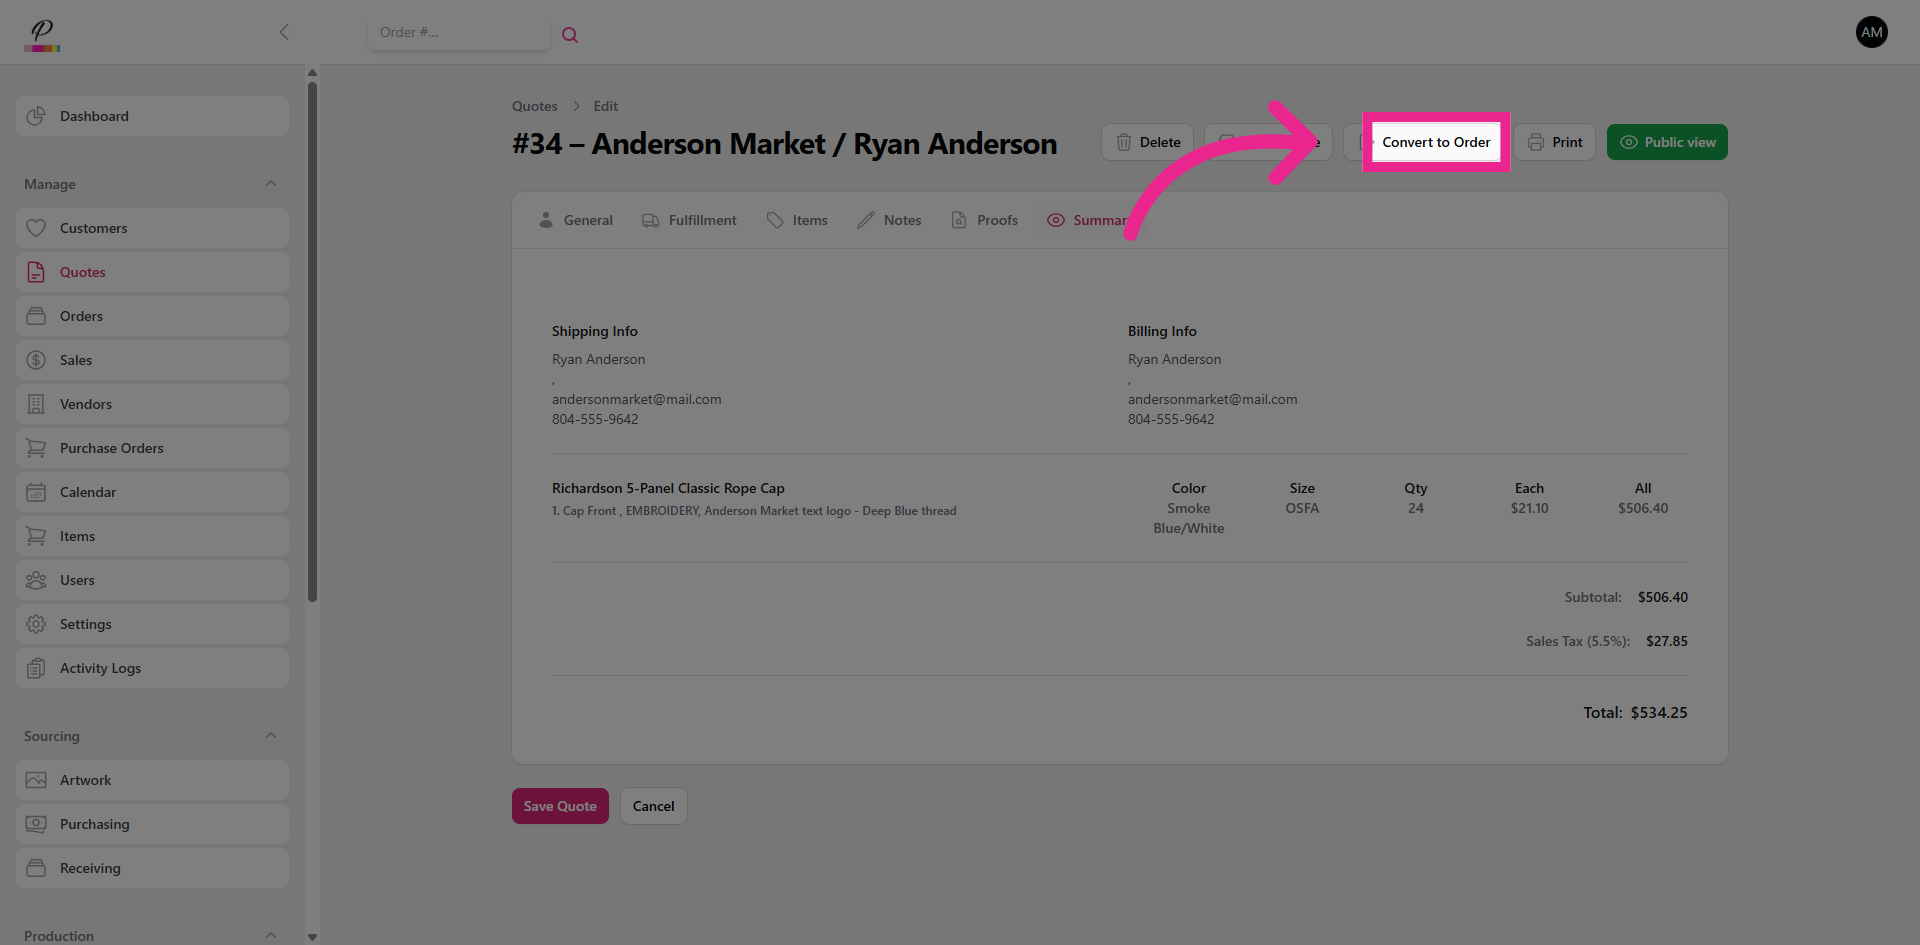
The customer will have the ability to approve the quote from the emailed link which will automat- ically convert the quote to an order, but you can also do it manually.
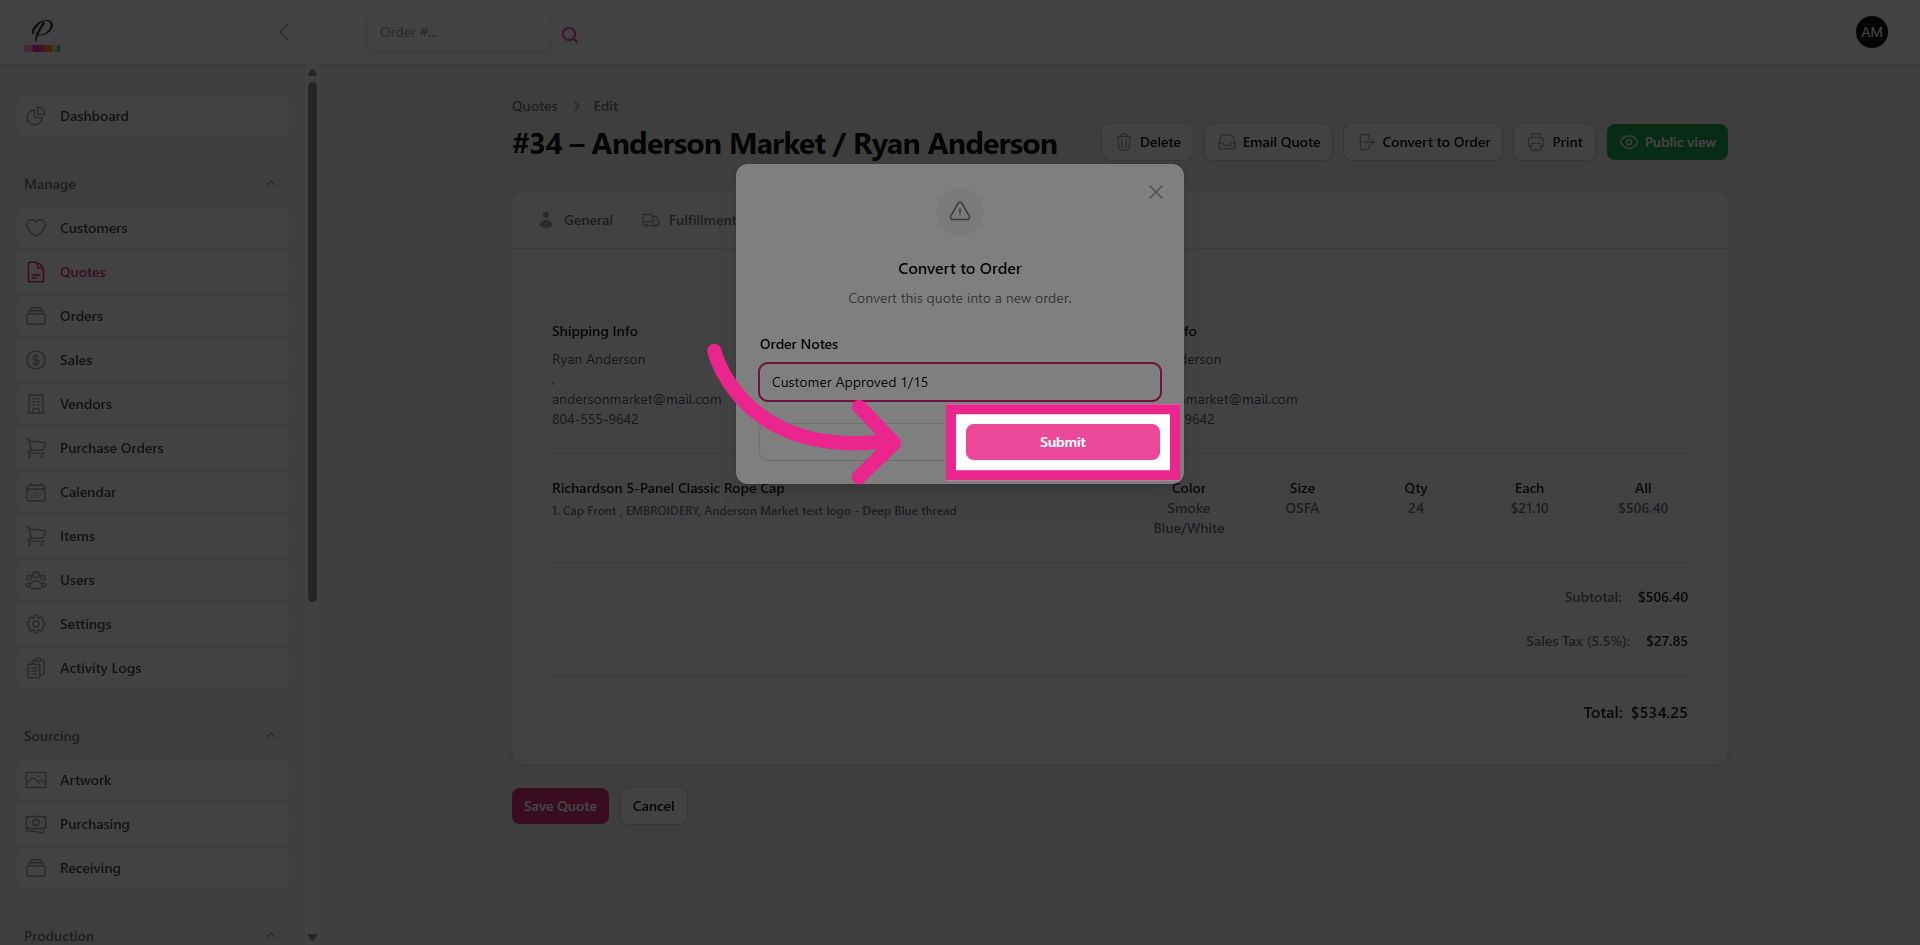
25. Submit Order
26. Finalize Fulfillment Type
Be sure to finalize the fulfillment method.
27. Attach Art Files
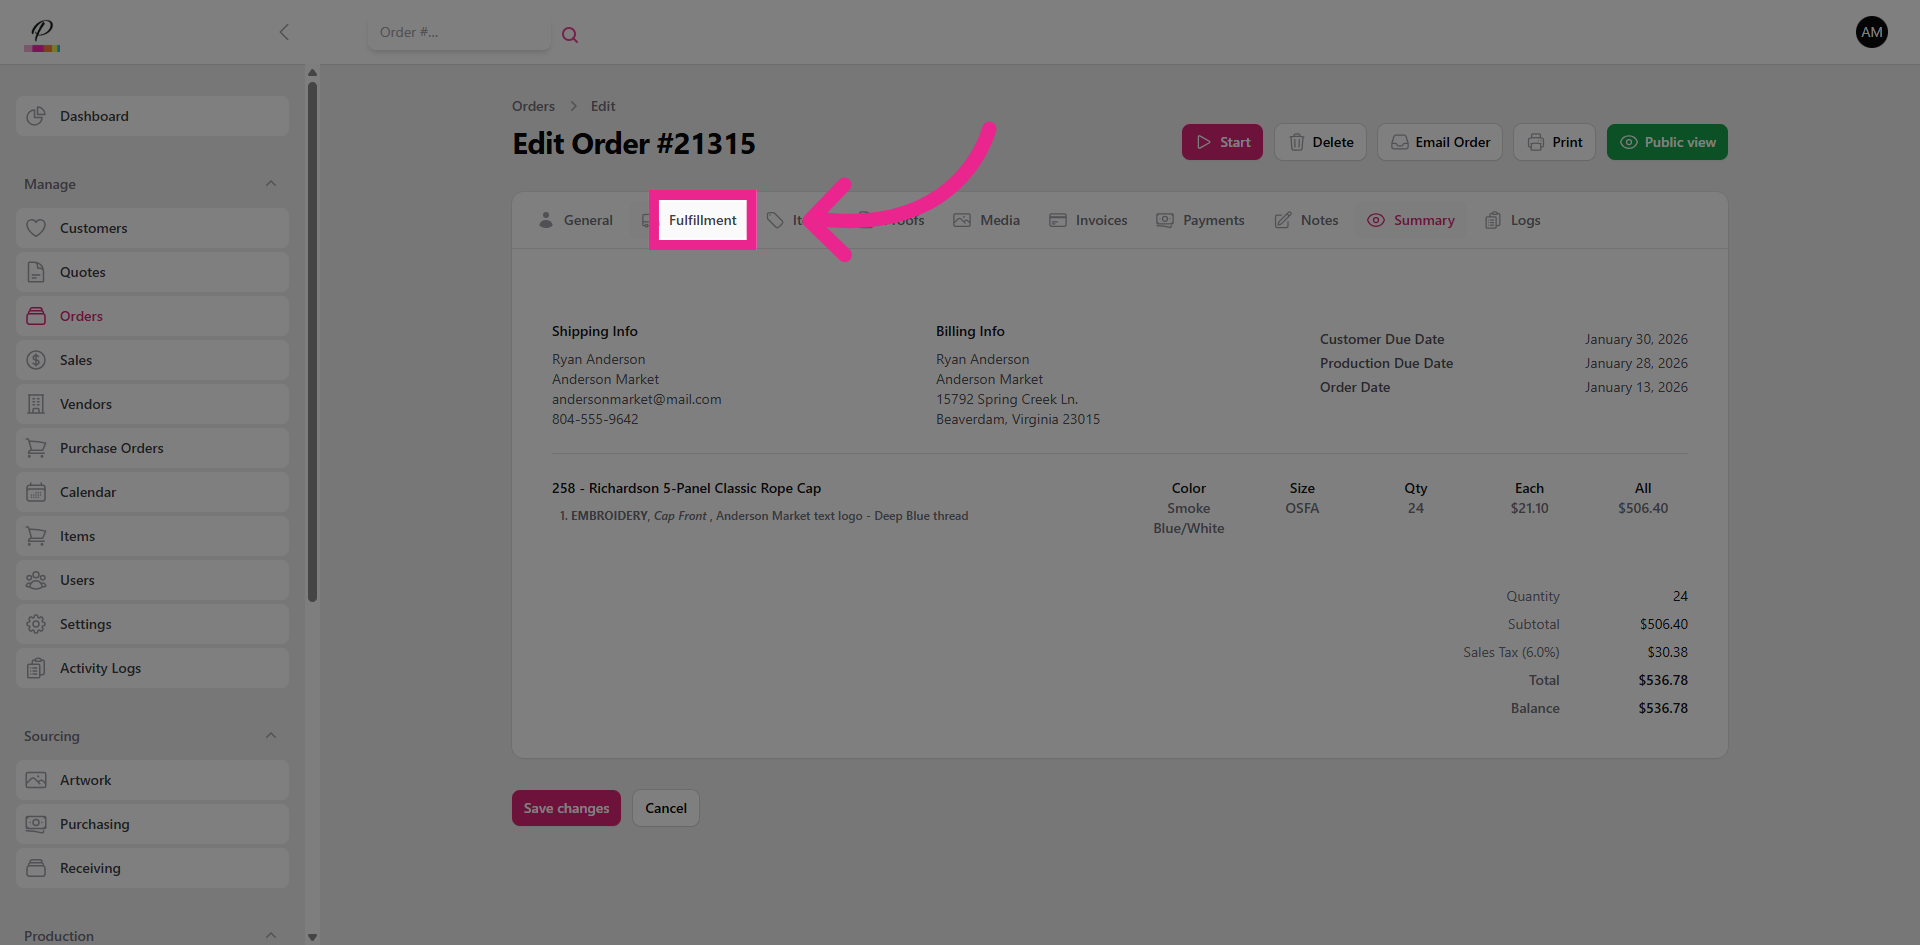
Attach the necessary art files for the artwork department.
28. Start Order Processing
Click Start to begin processing the order in the system. Now it's finished! The quote has successfully been converted to an order and will move forward in the production process.