
Learn
How do I create a Purchase Order?
Learn how to create purchase orders in PromoSoft.
ders This tutorial guides you through creating and sending a purchase order in PromoSoft.
1. Introduction

You will learn how to quickly and easily write up a purchase order to send directly to the vendor
2. Navigate to Purchase Orders
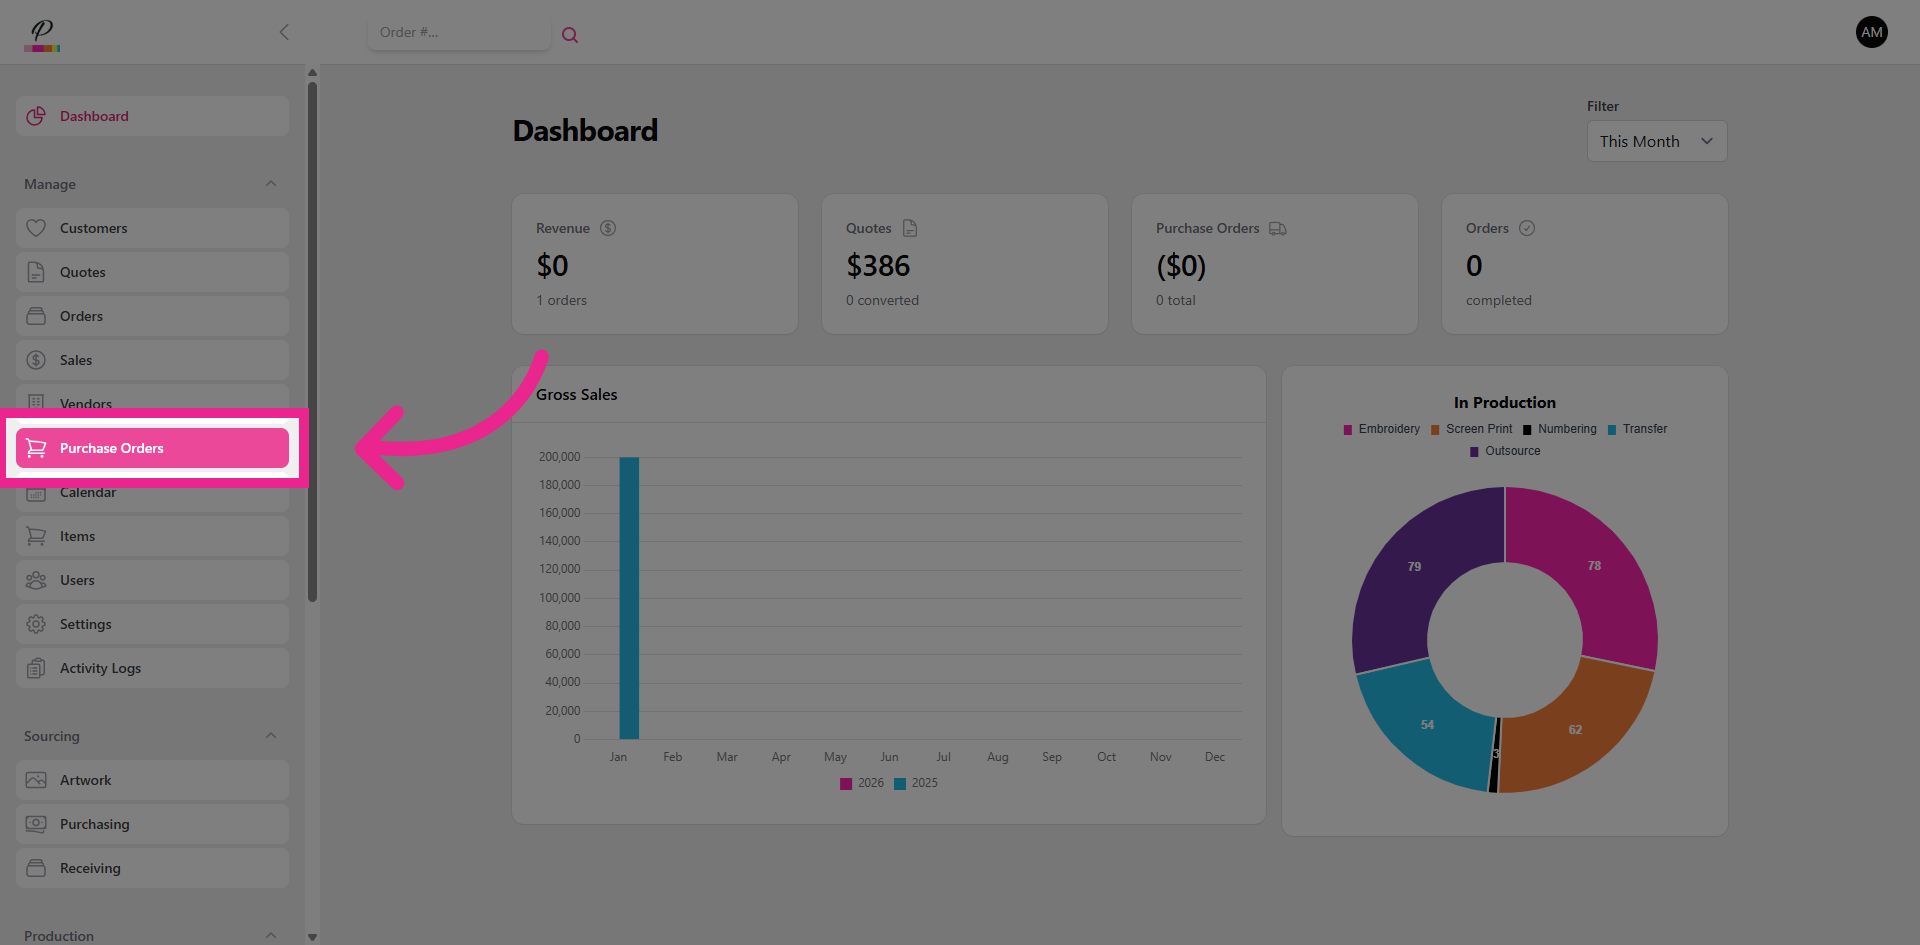
To begin, navigate to Purchase Orders which is located in the Manage section of the side menu.
3. Create New Purchase Order
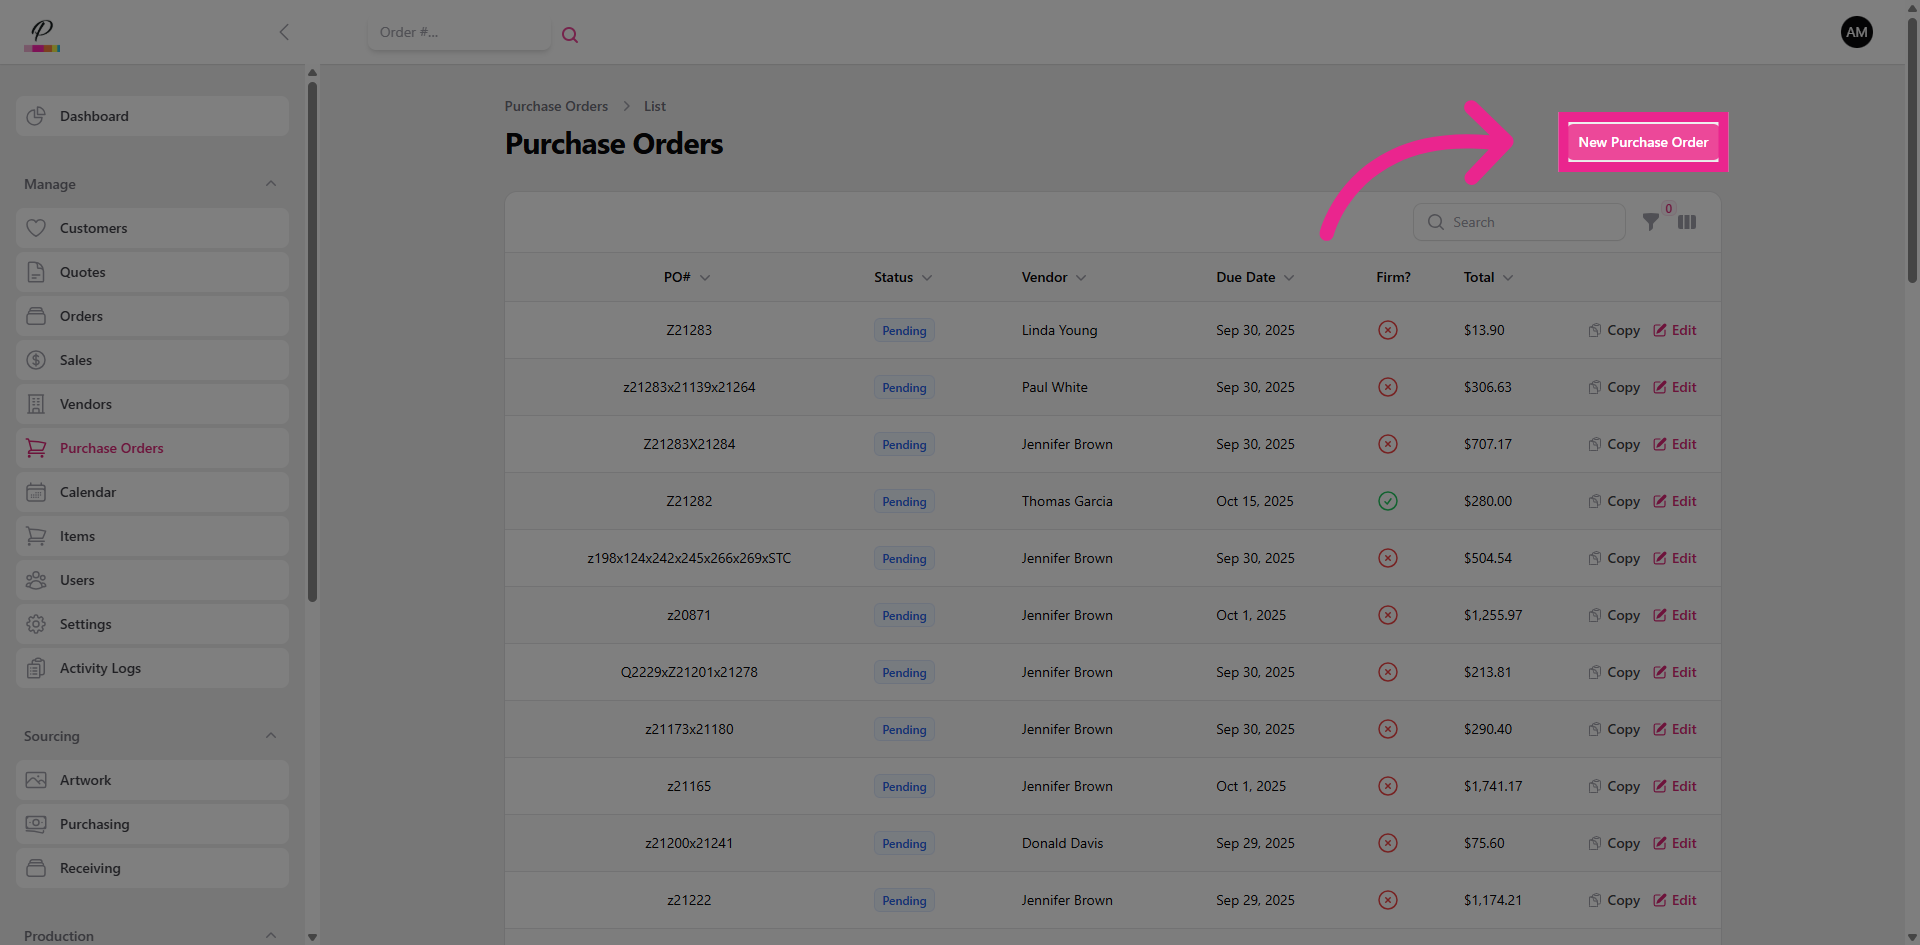
Click New Purchase Order.
4. Select Vendor
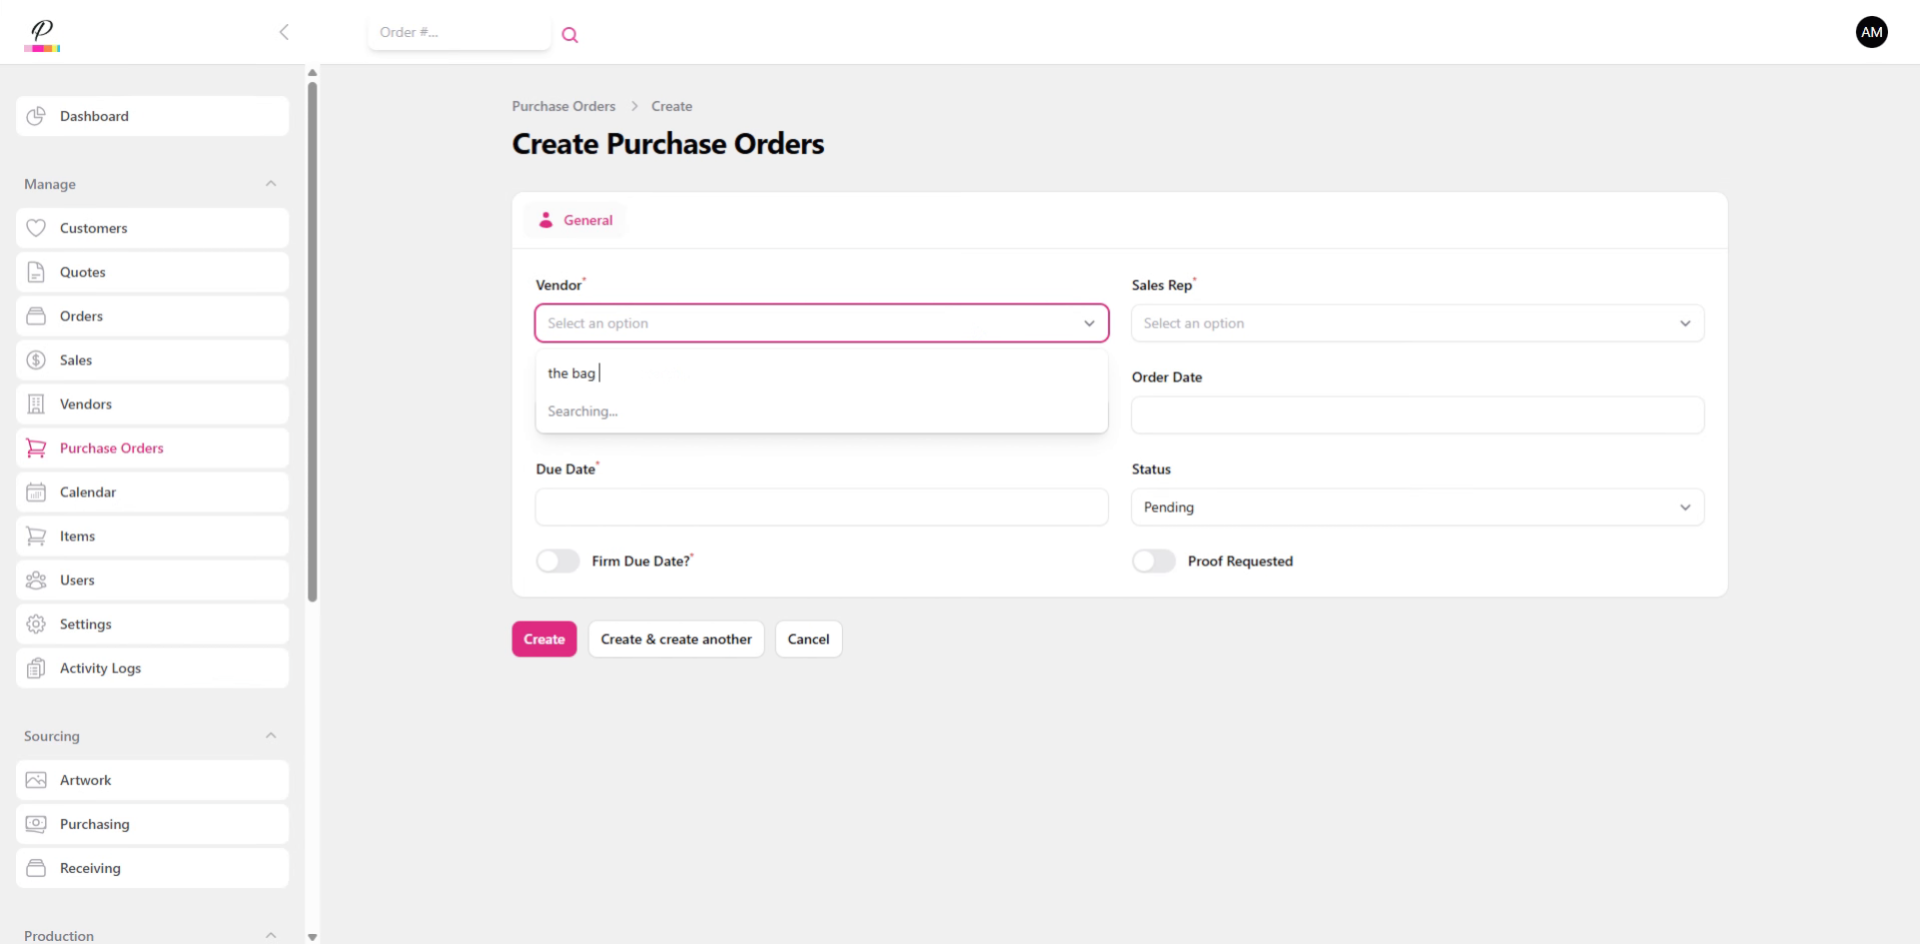
Begin typing to search and select the Vendor.
5. Select Sales Rep
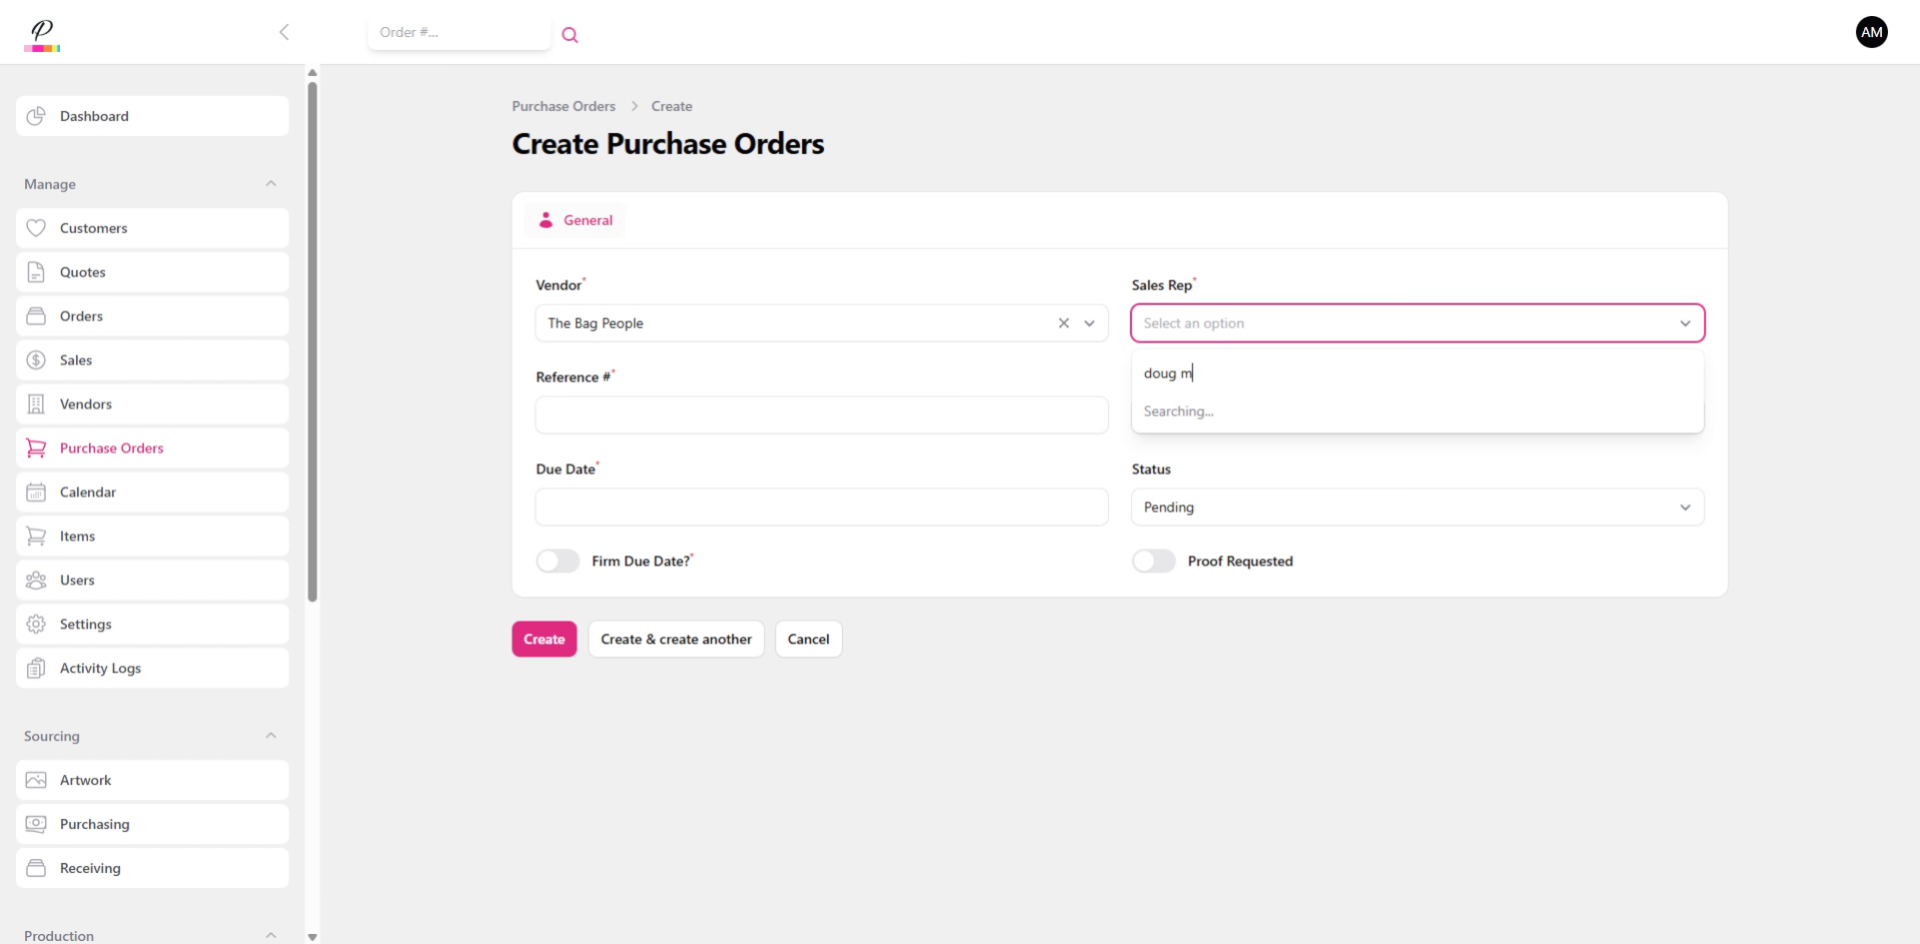
Enter the sales rep responsible for the order.
6. Enter Reference Number
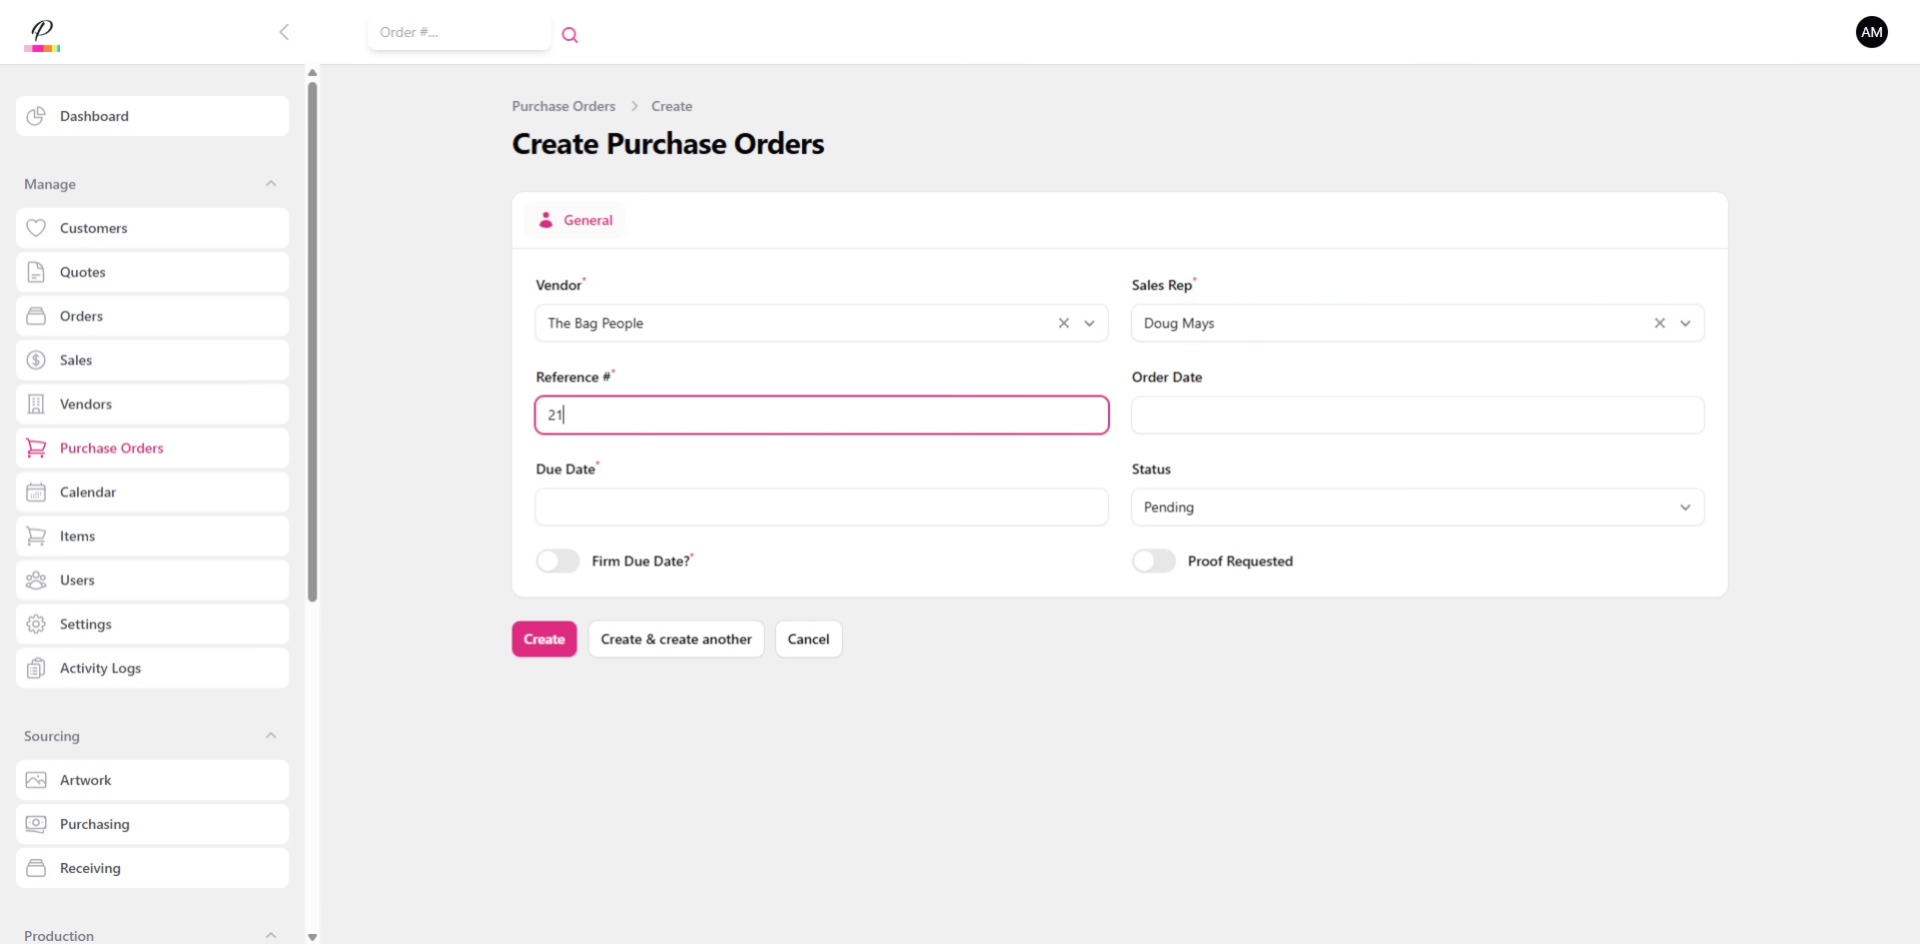
Then, enter the reference number. This is typically the same as the customer's order number which will help identify the order once it arrives in receiving.
7. Select Order Date
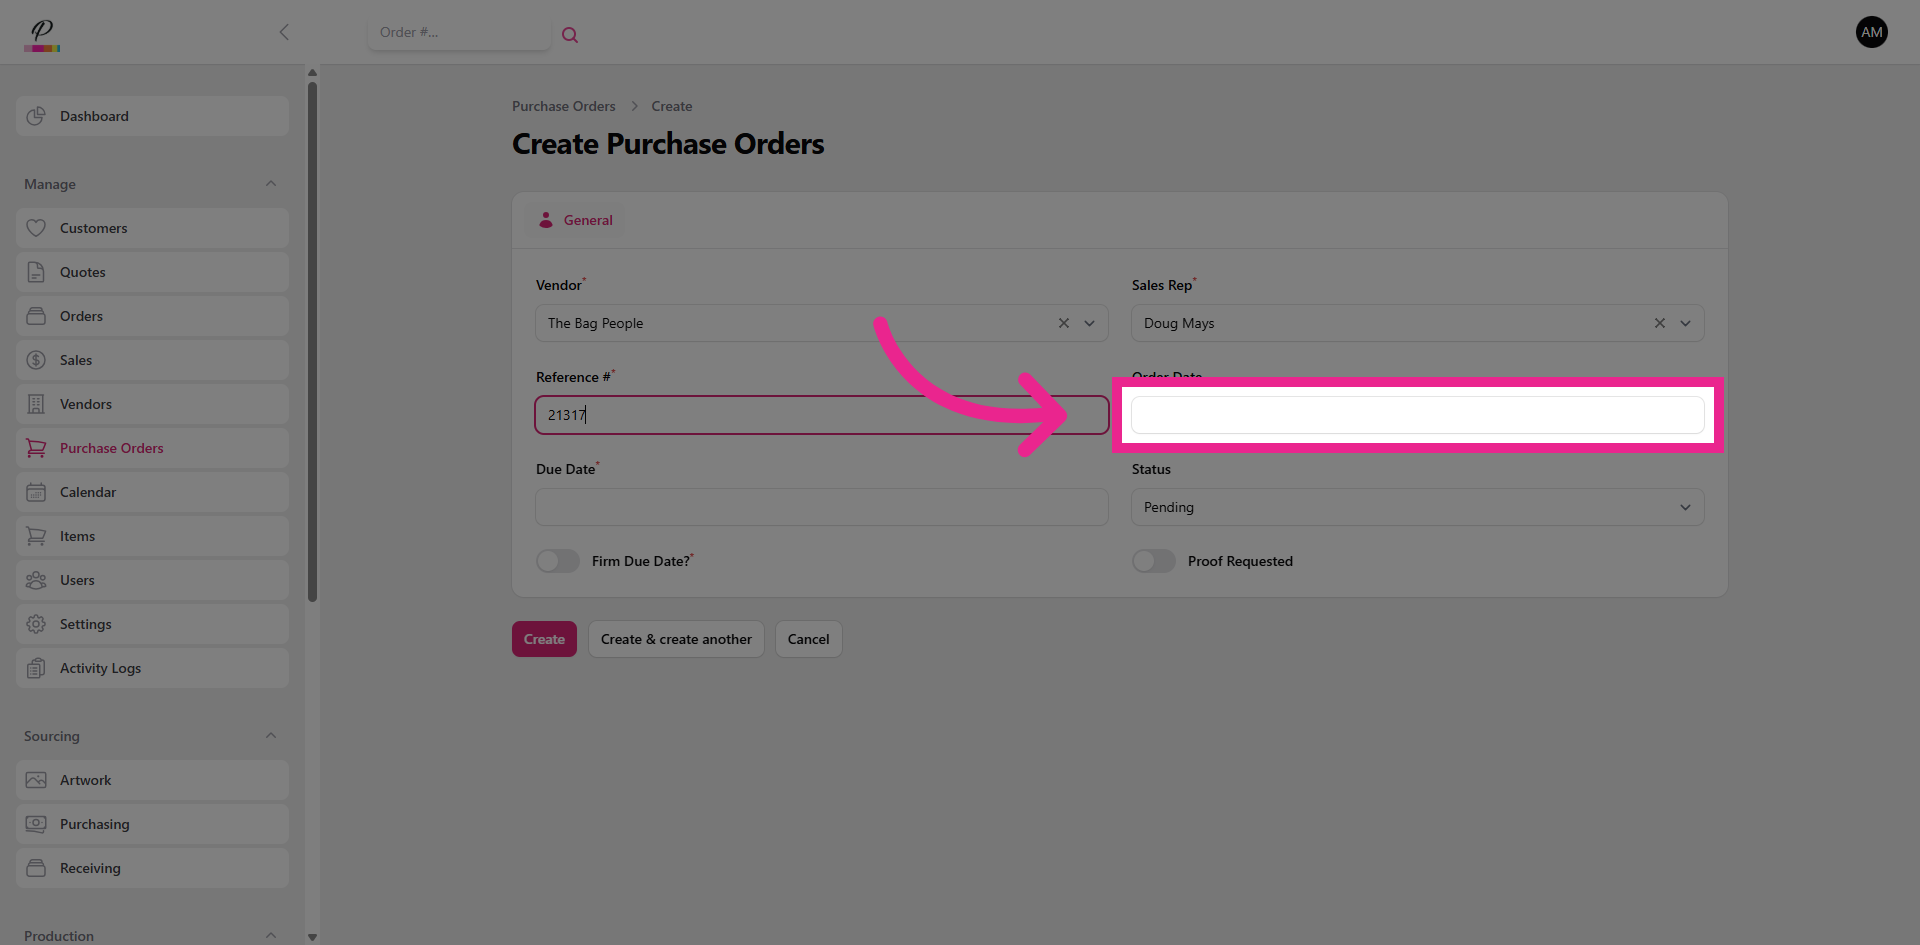
Select the order date,
8. Select In-Hands Due Date
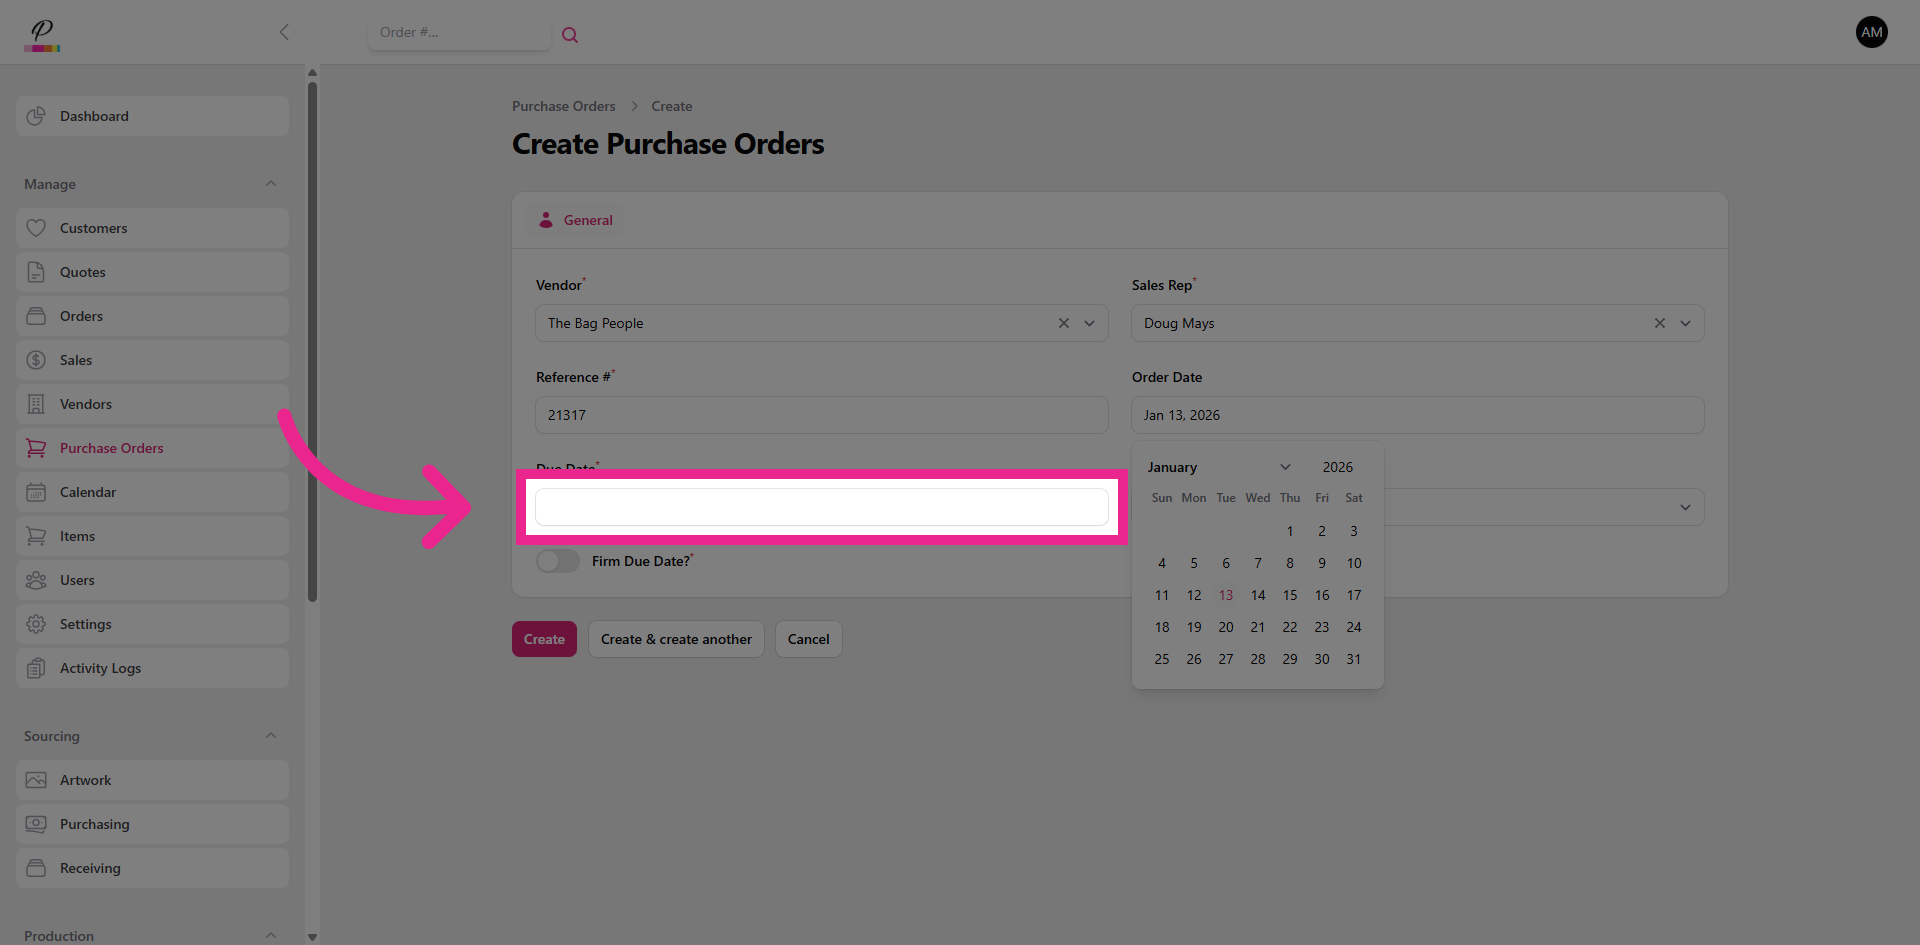
and then select the in-hands due date.
9. Firm Due Date Toggle
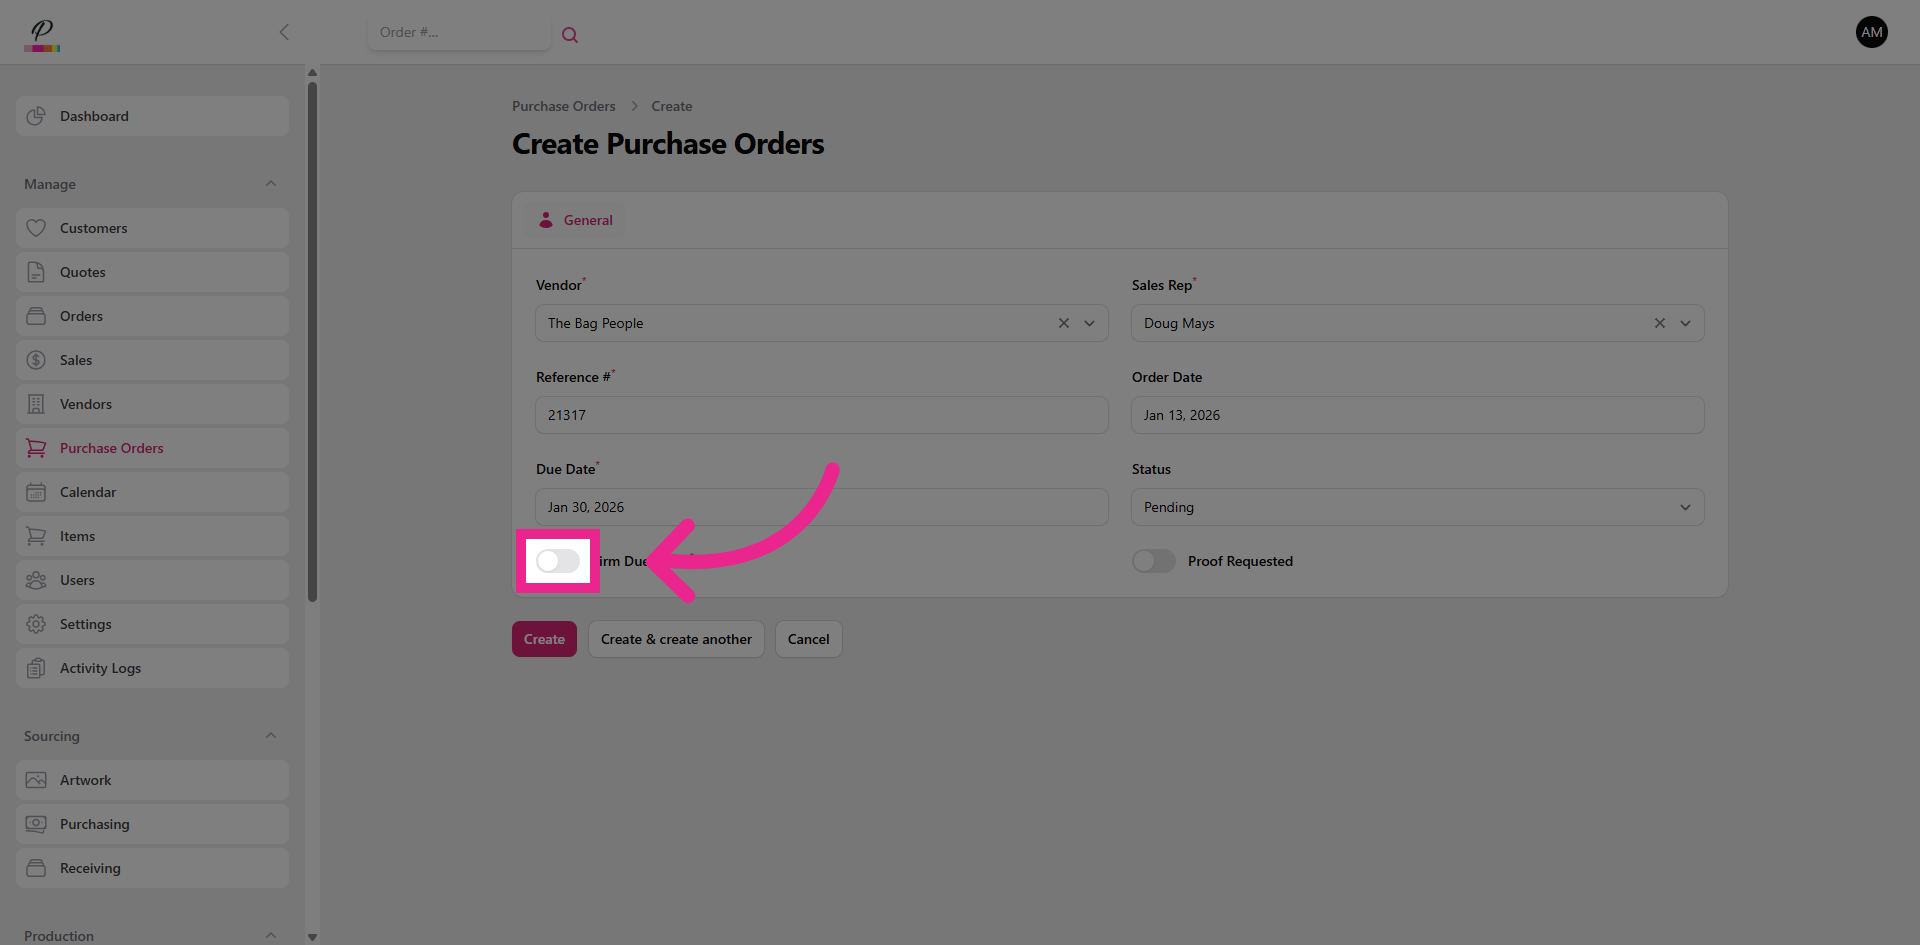
Be sure to toggle if the due date is firm.
10. Proof Requested Toggle
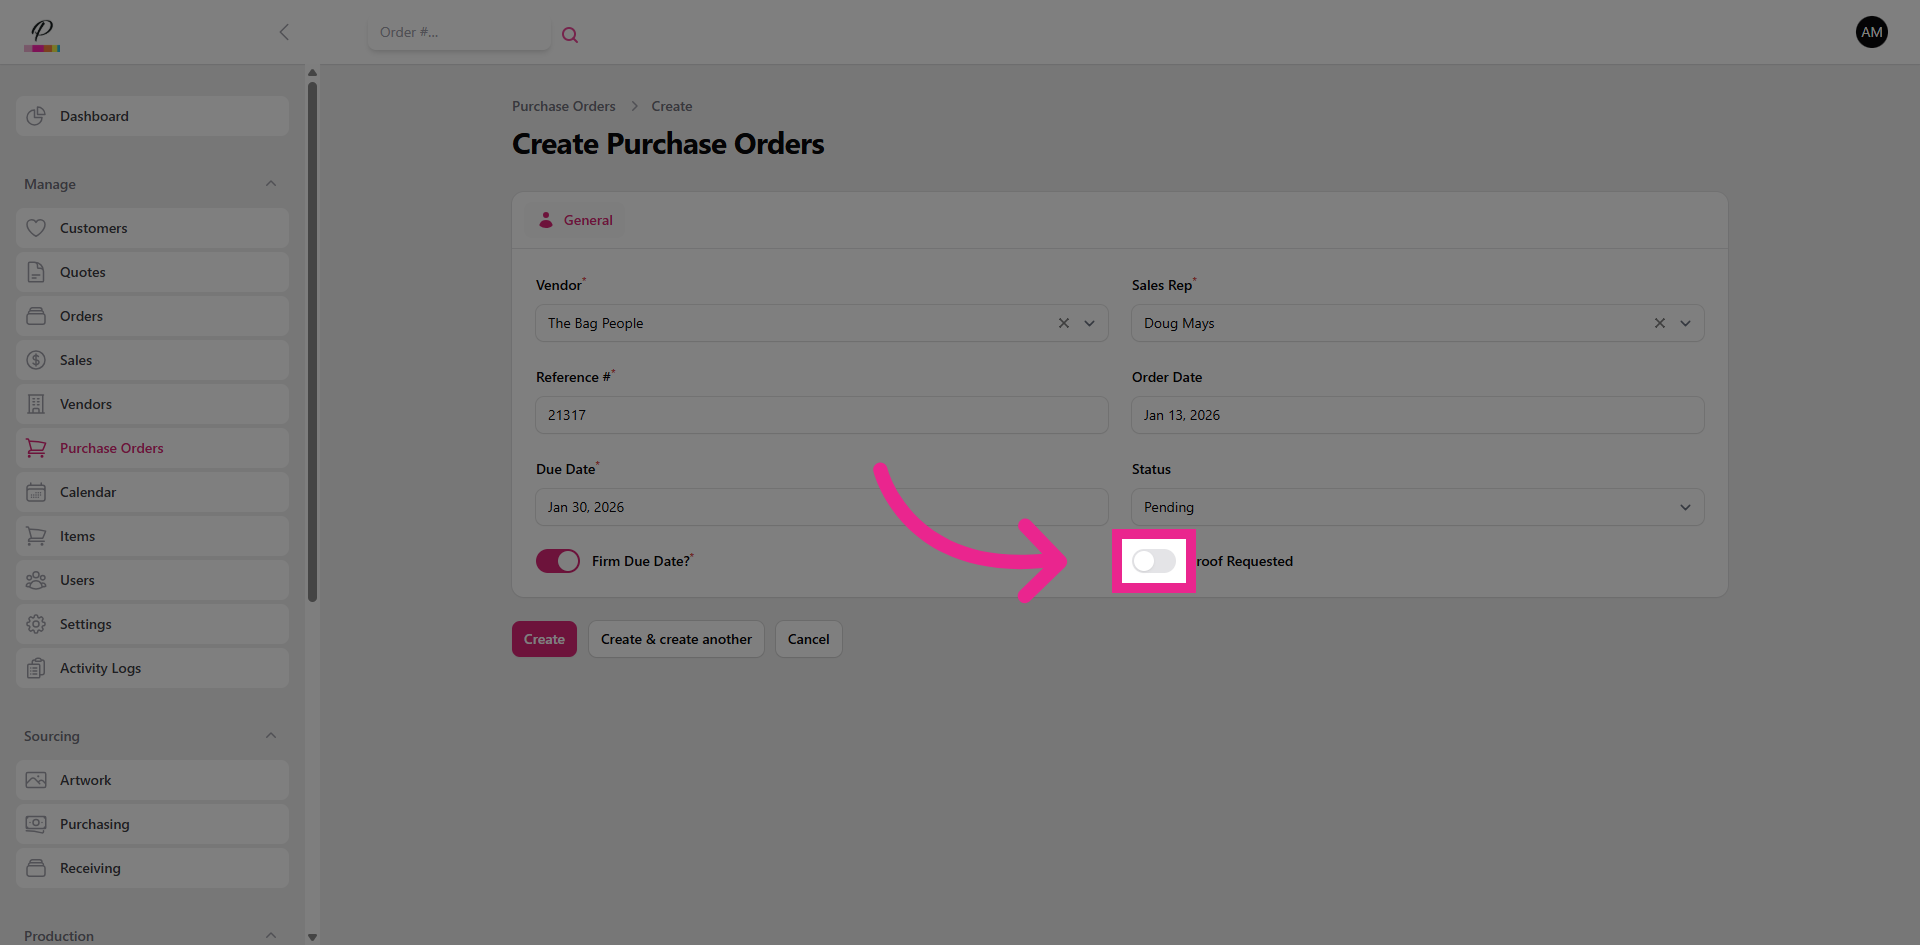
And toggle if you would like to vendor to send you a proof for approval before the order is submitted to production.
11. Create Purchase Order
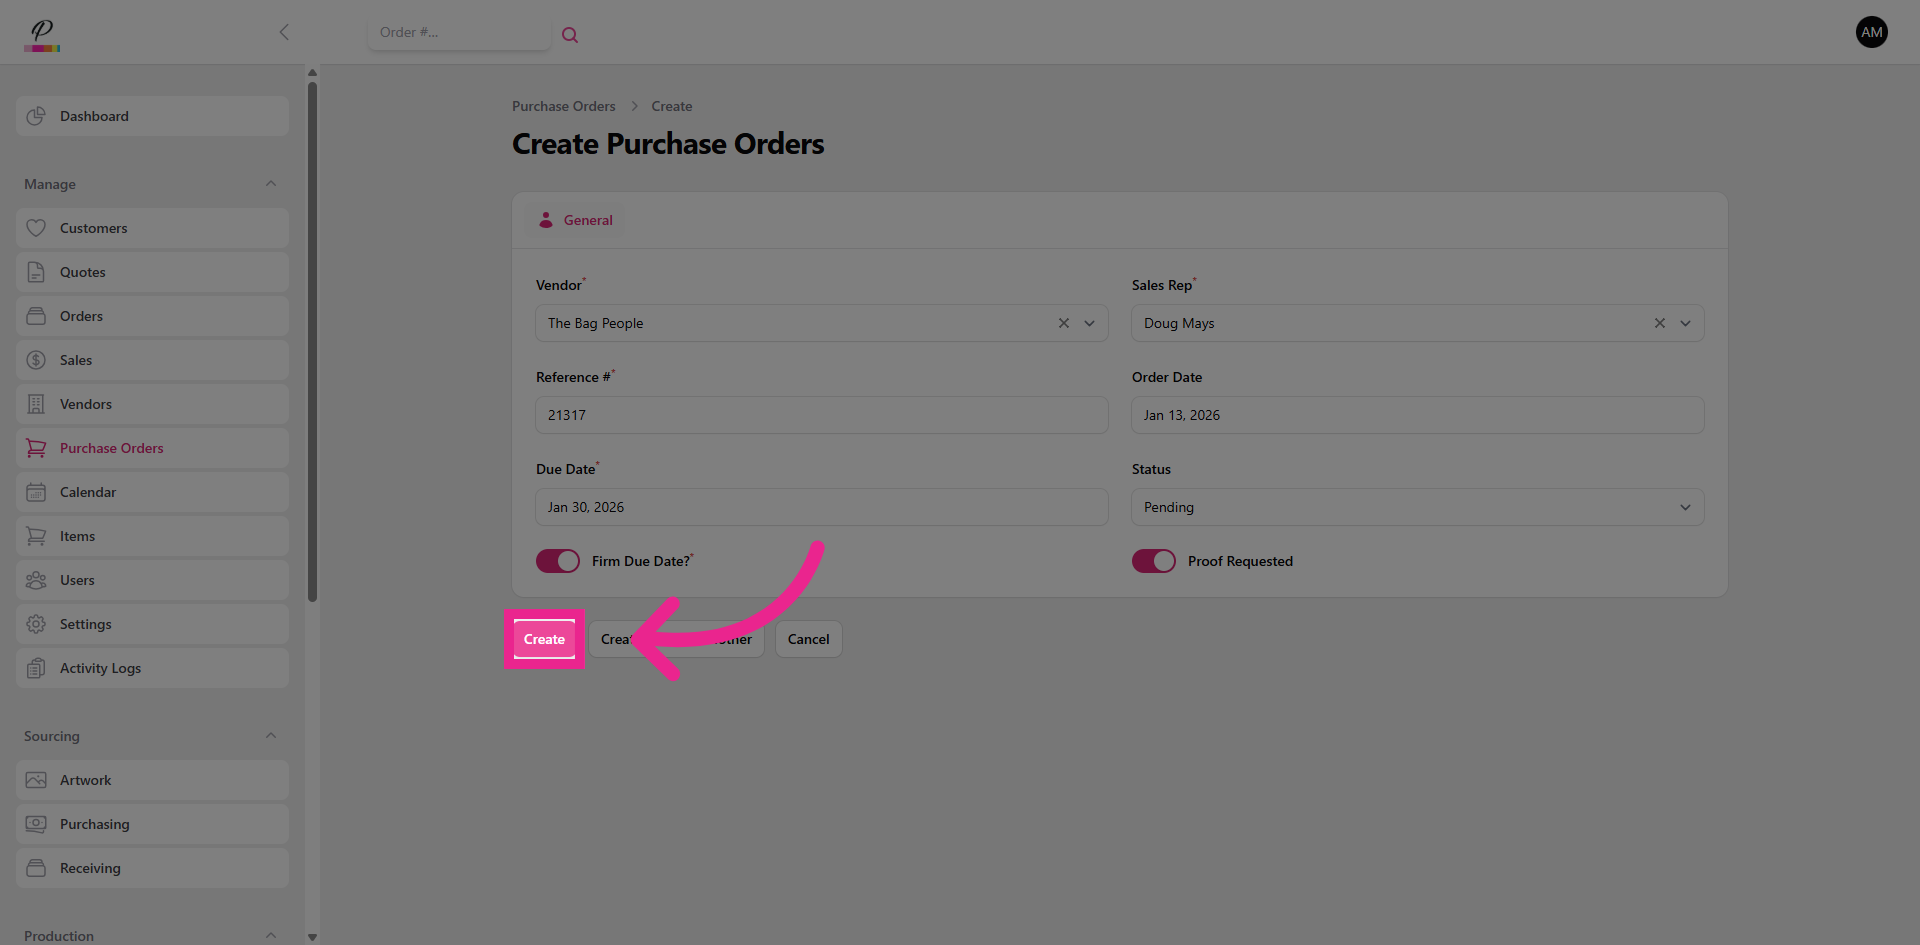
Click Create to generate the purchase order and save the information.
12. Add New Item
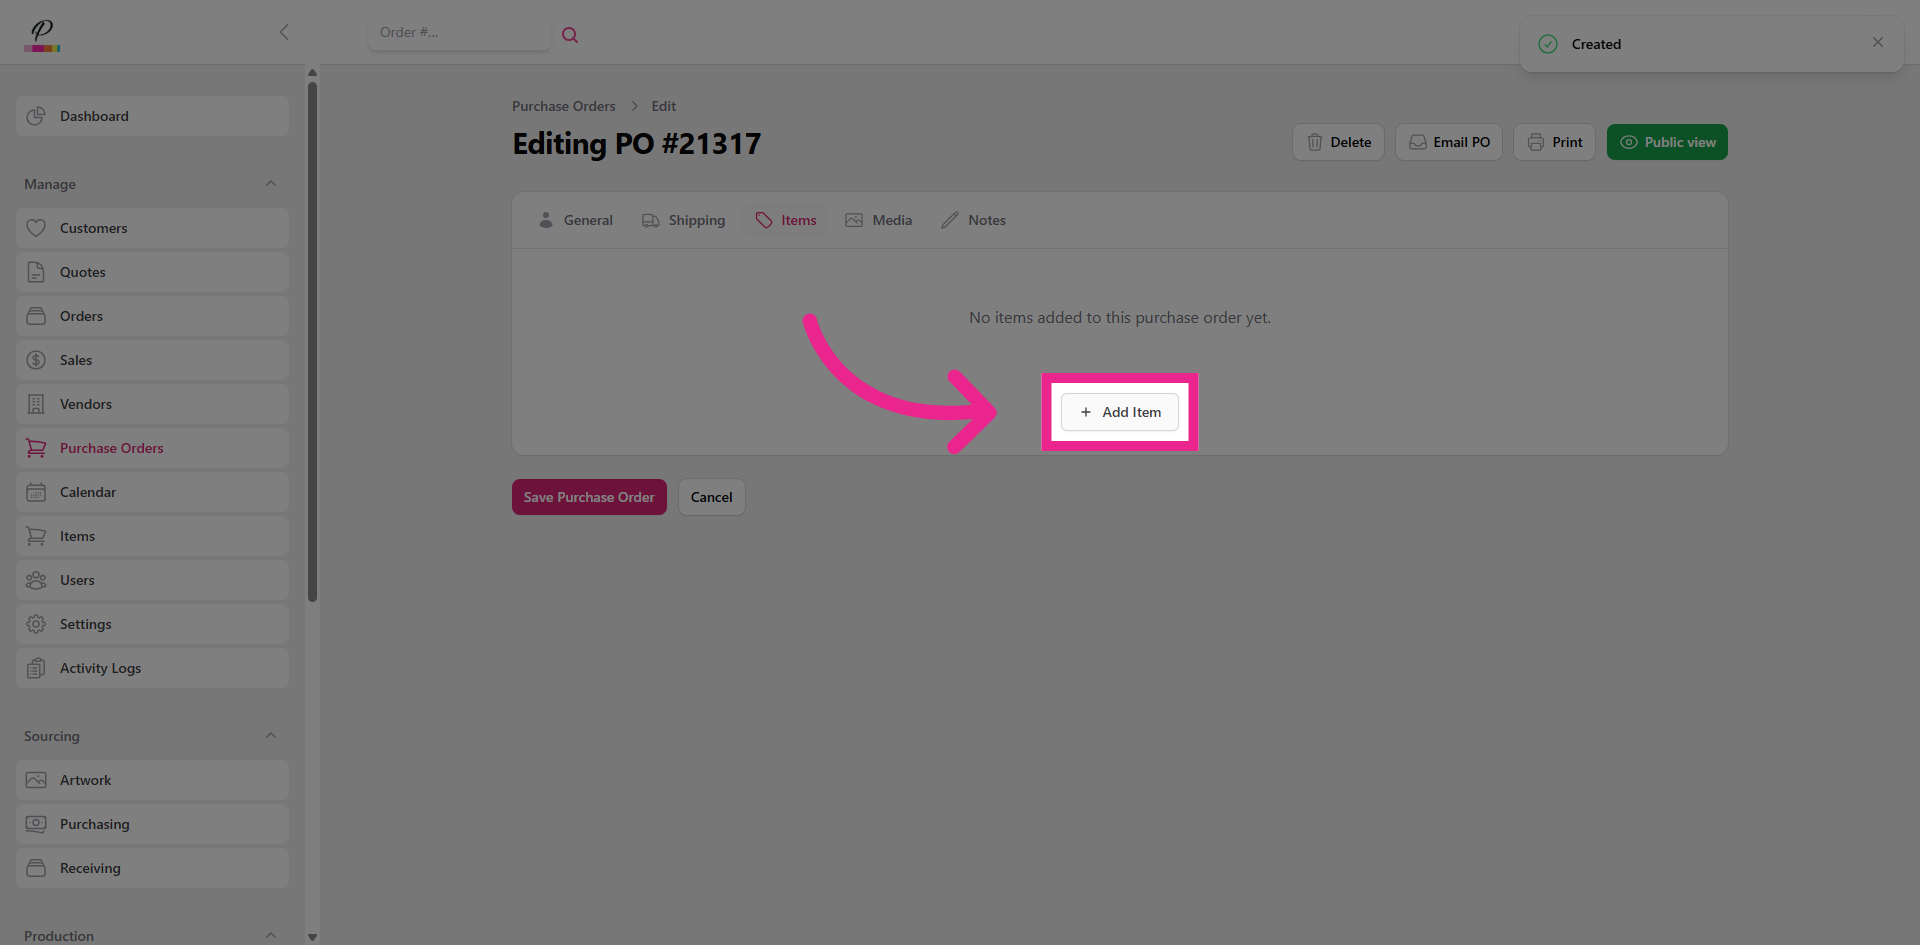
Click Add Item to specify the products to be ordered from the vendor.
13. Enter Item SKU
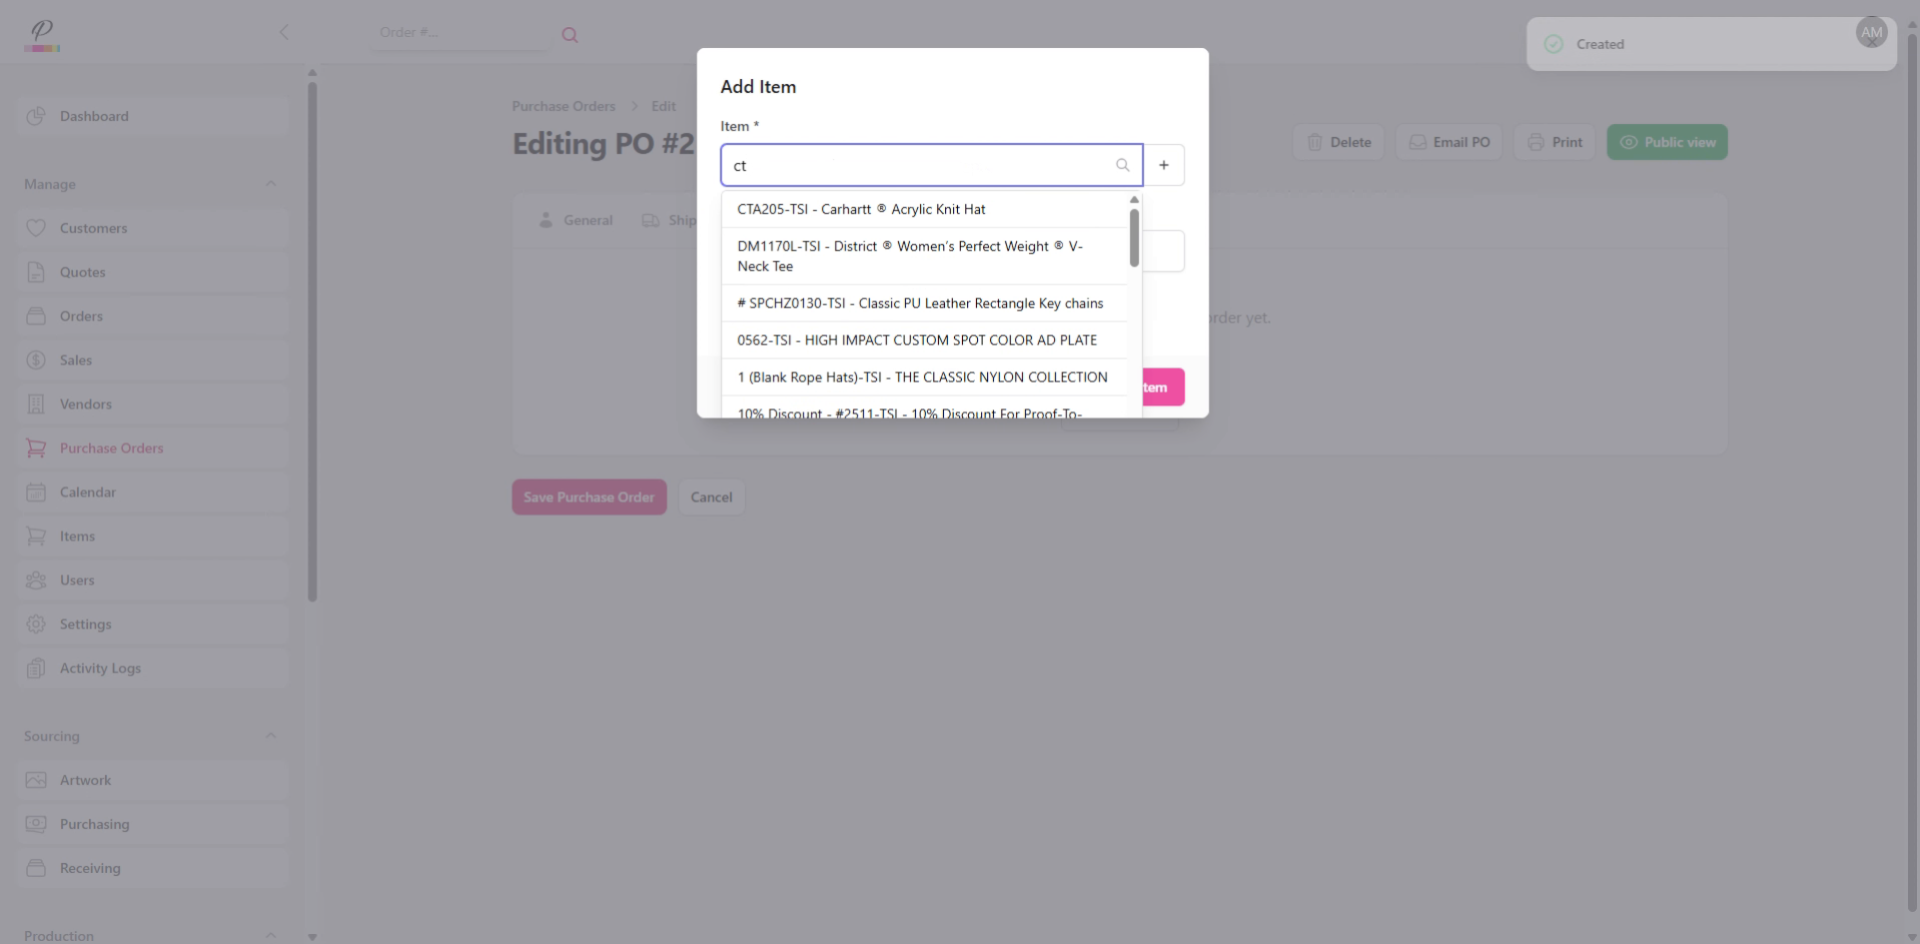
Enter the SKU to locate the specific item you want to add to the purchase order.
14. Specify Item Color and Size
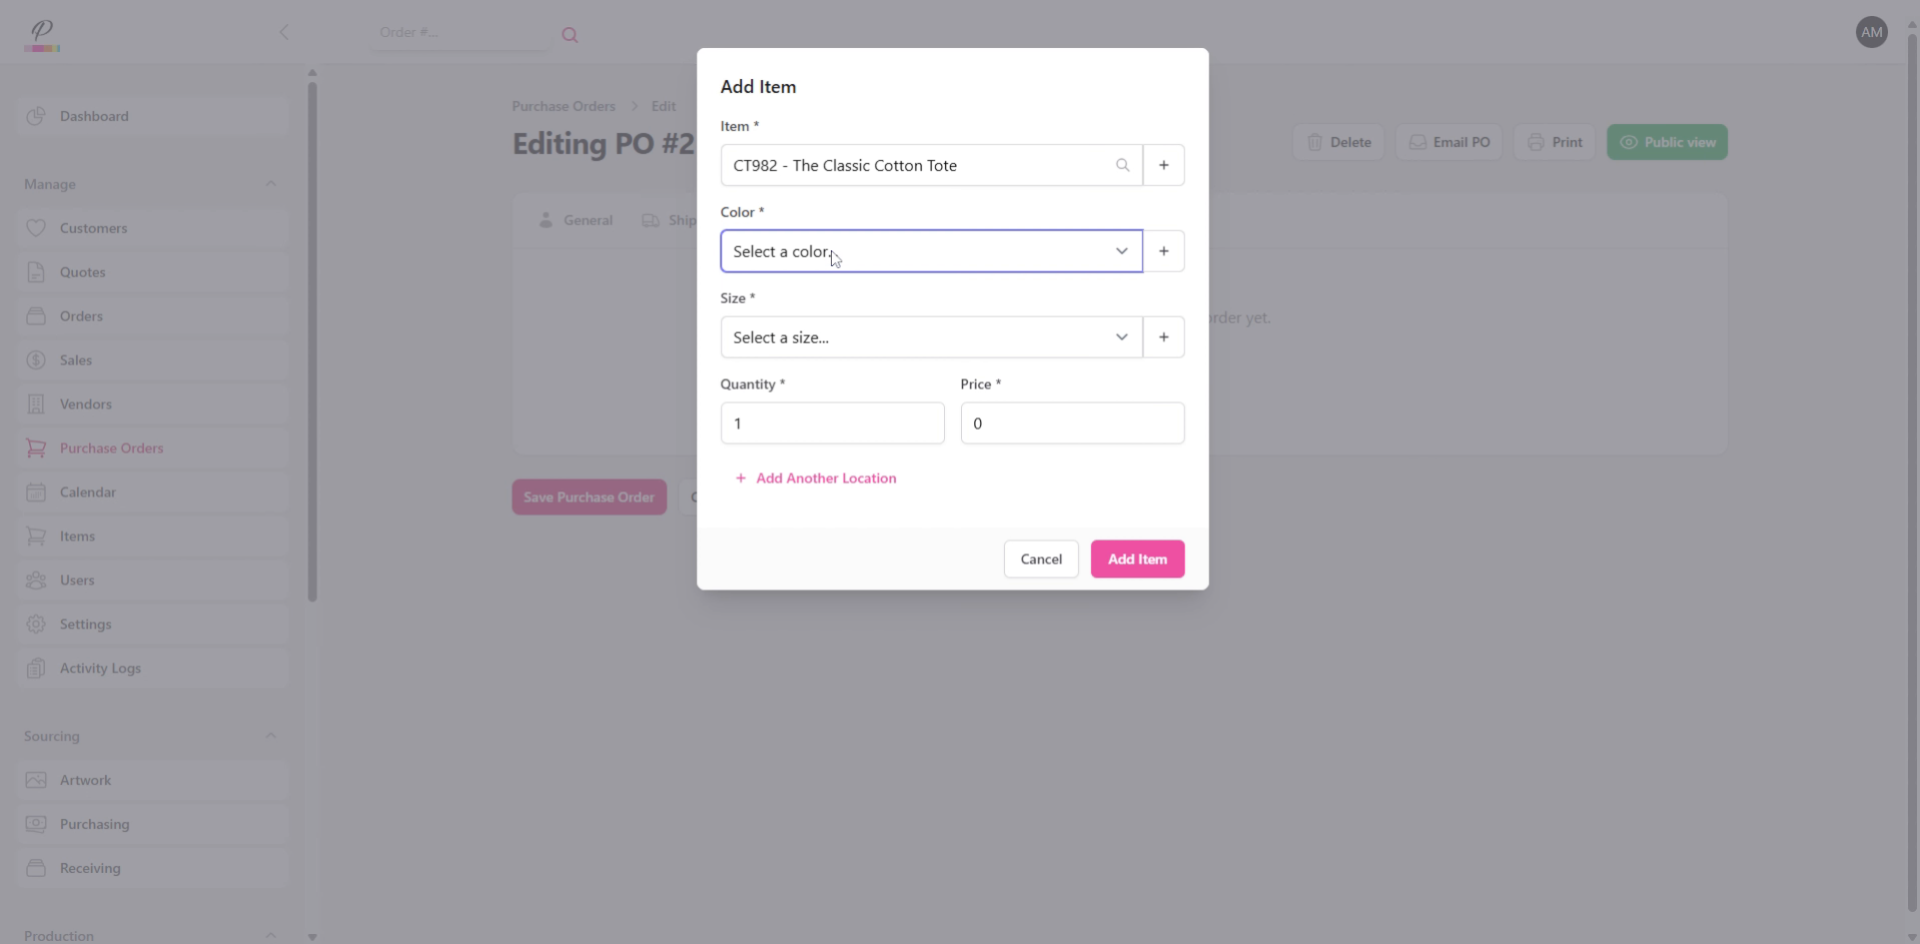
Specify the item color, and size.
15. Enter Quantity
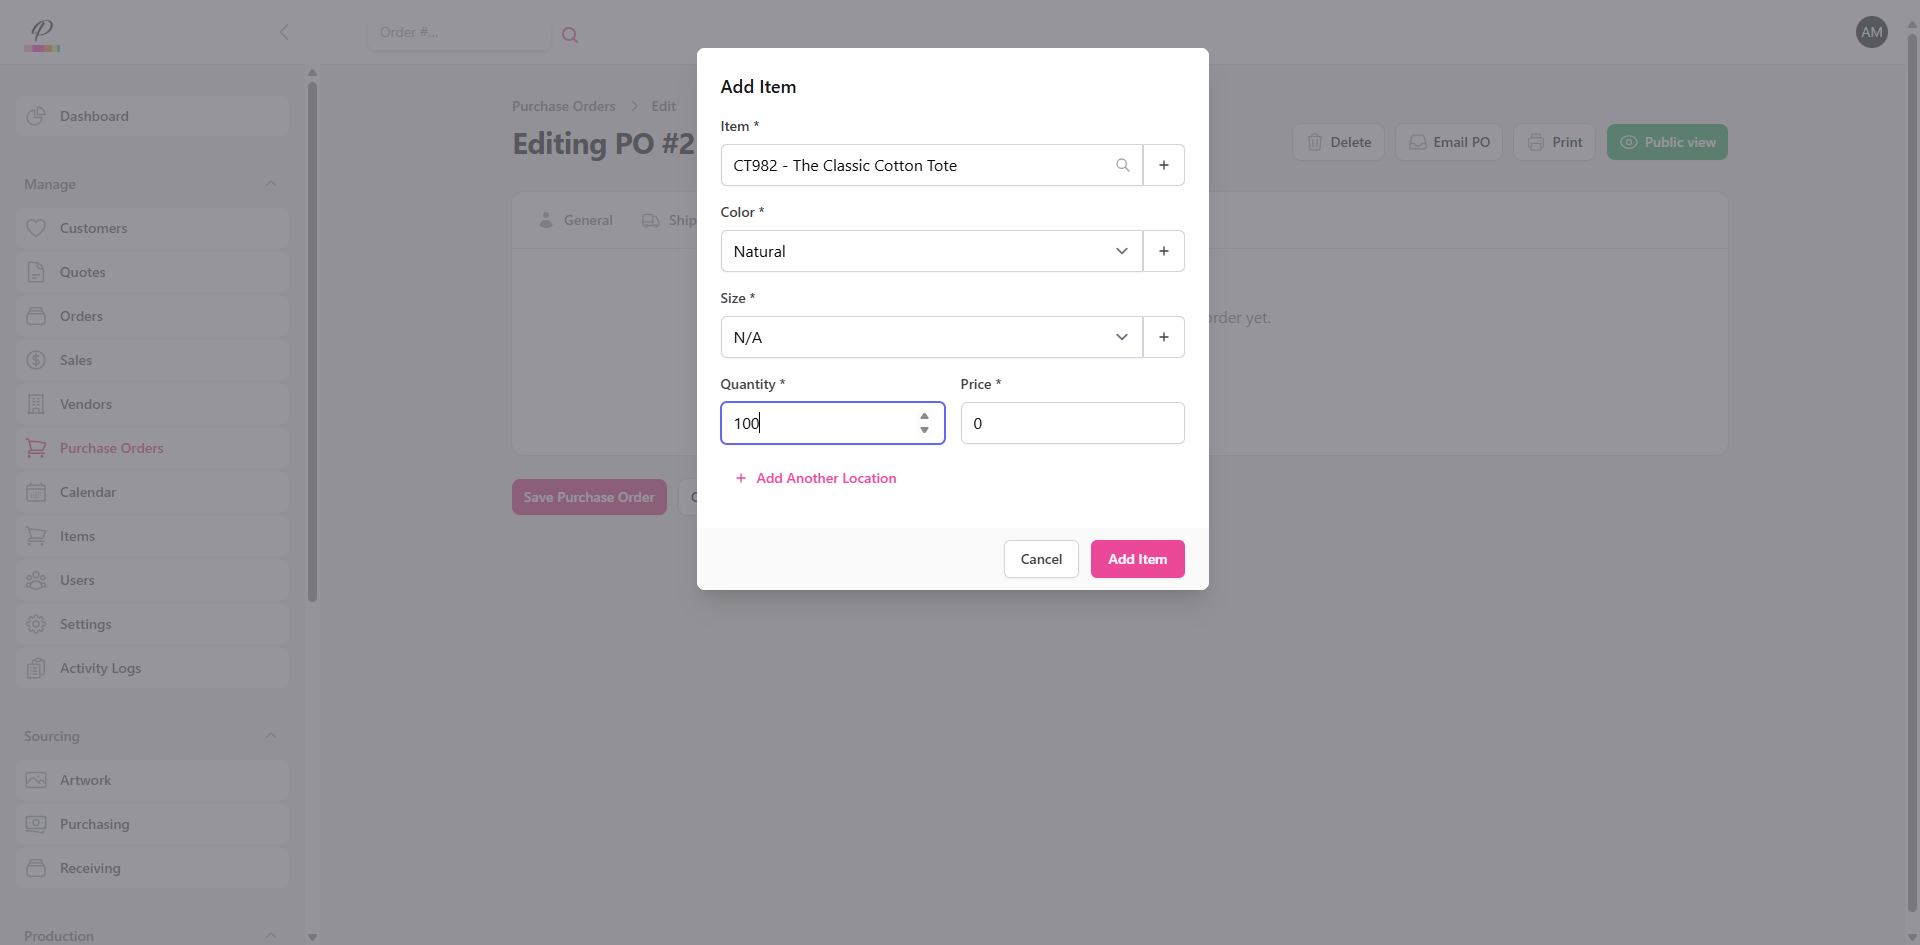
Enter the quantity to indicate how many units of the item are being ordered.
16. Enter Item Price
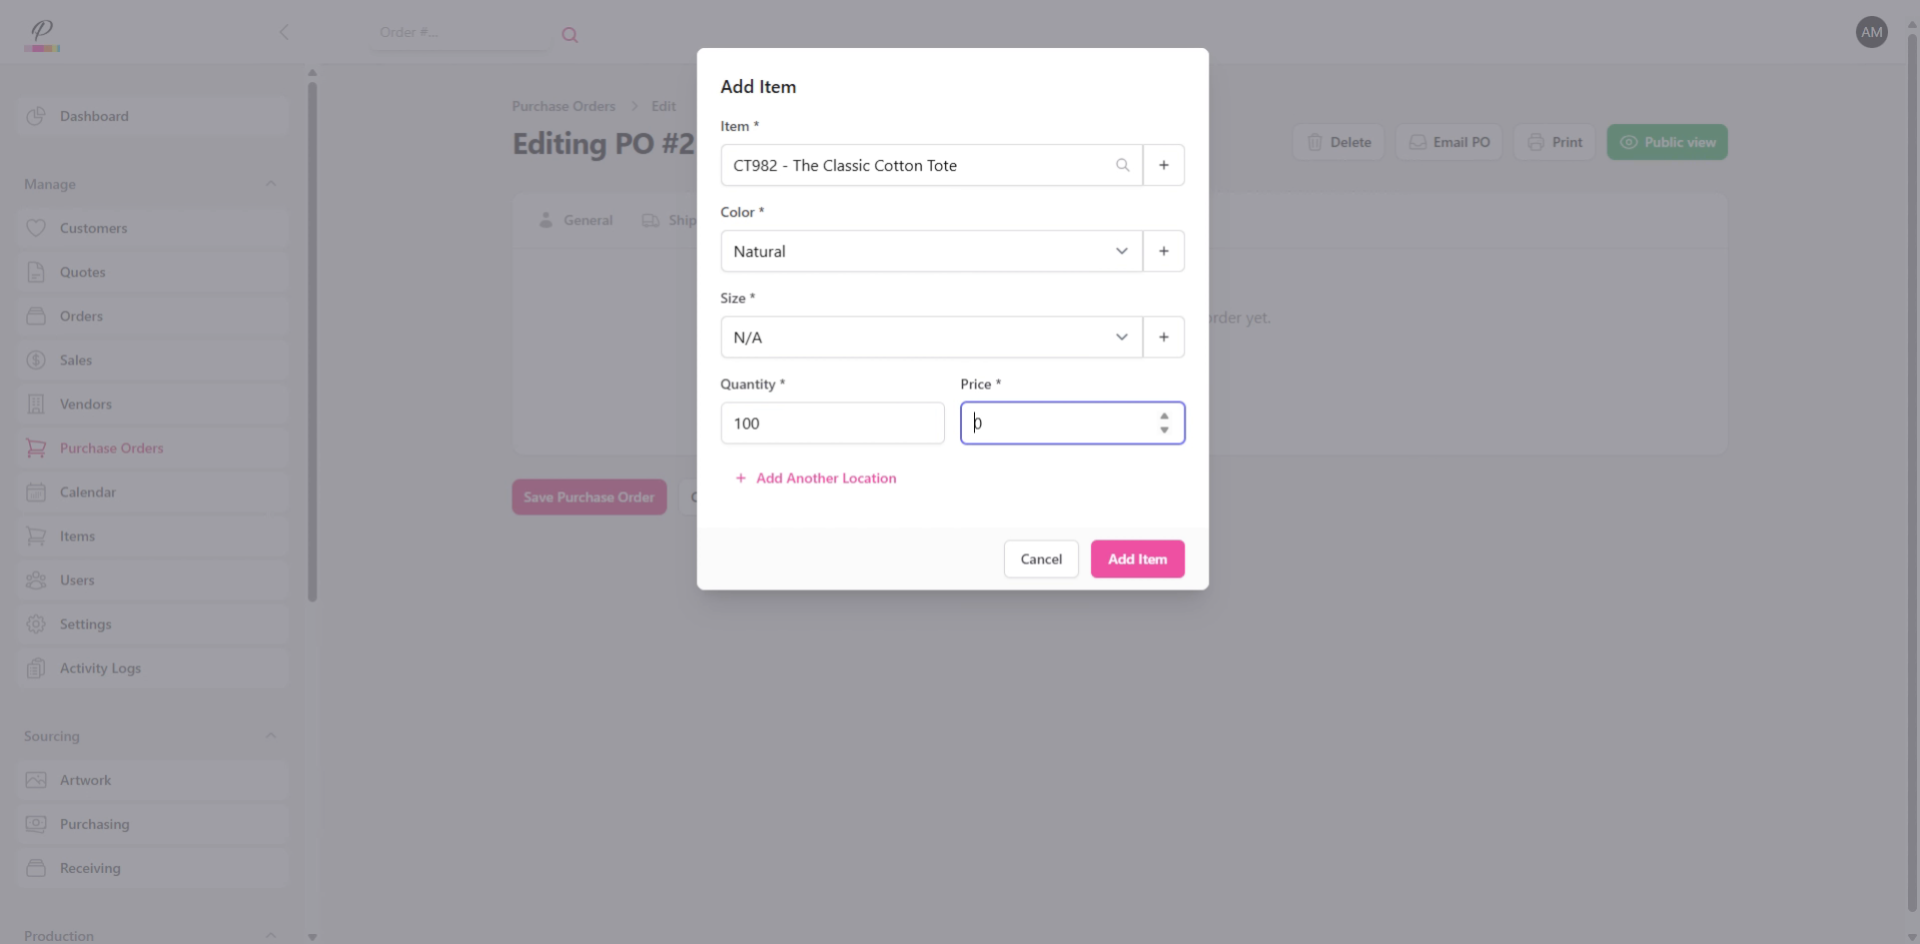
Enter the price per unit if you know it.
17. Add Imprint Details
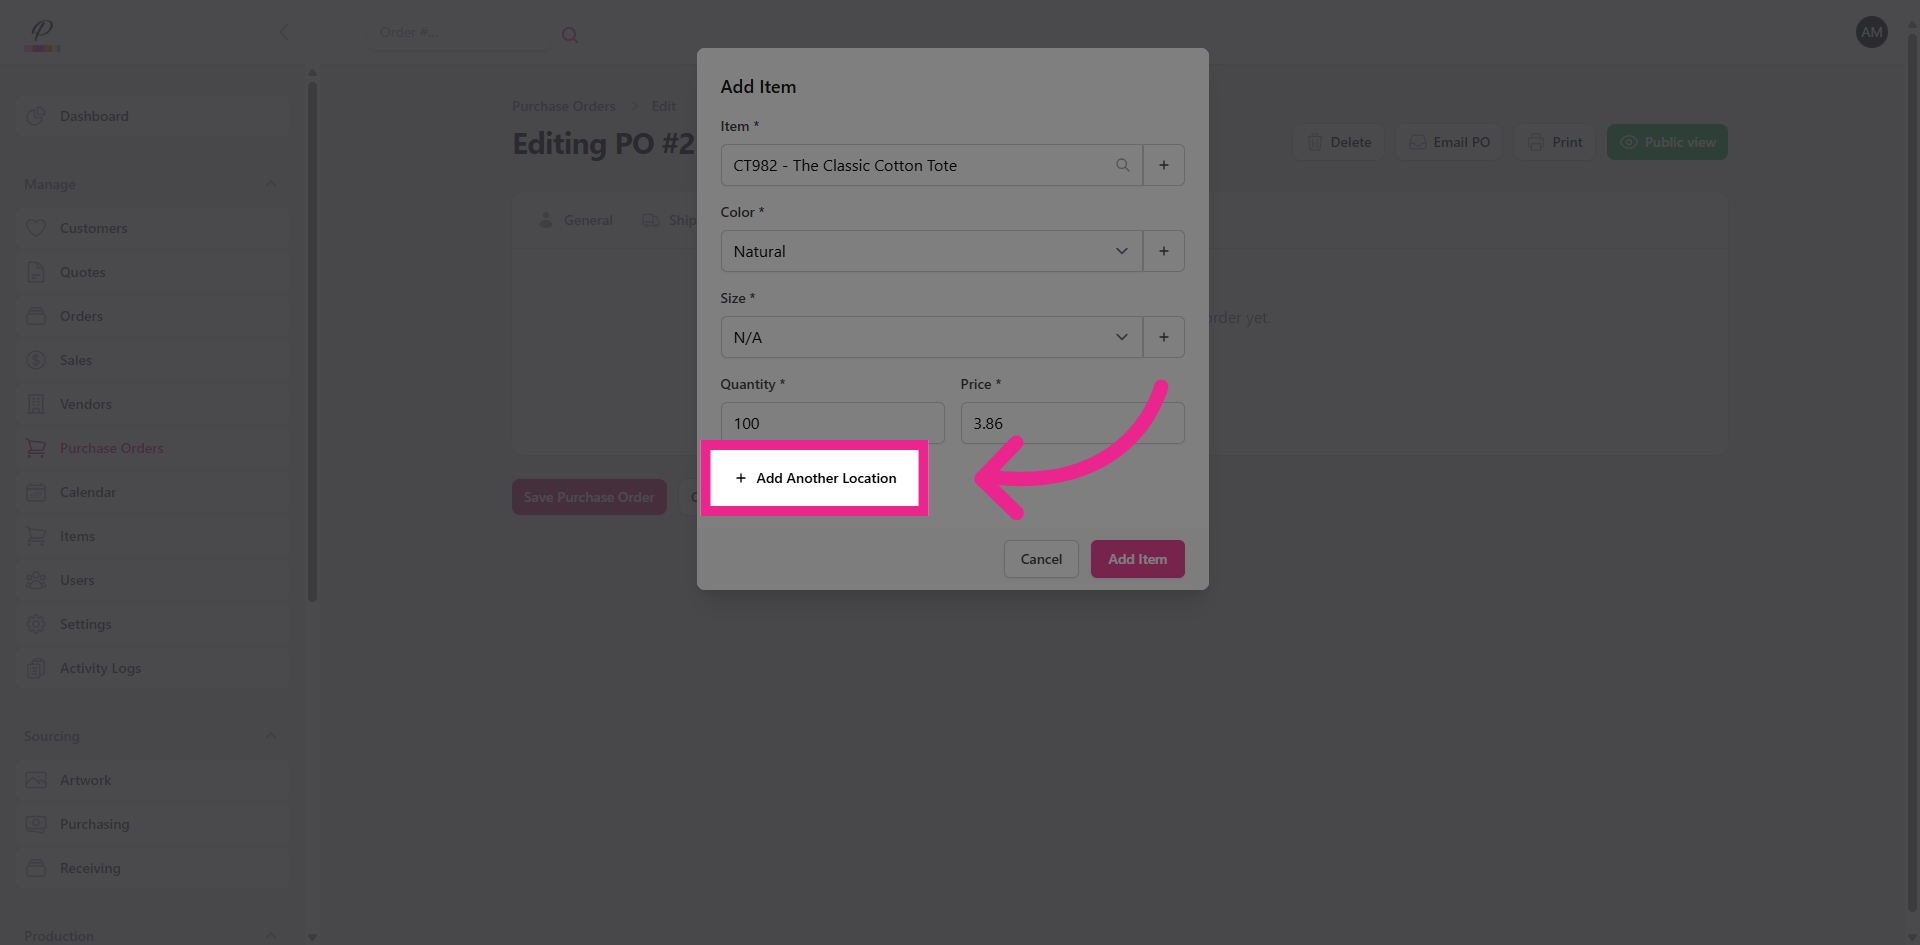
Click Add Another Location to enter imprint details.
18. Specify Imprint Location
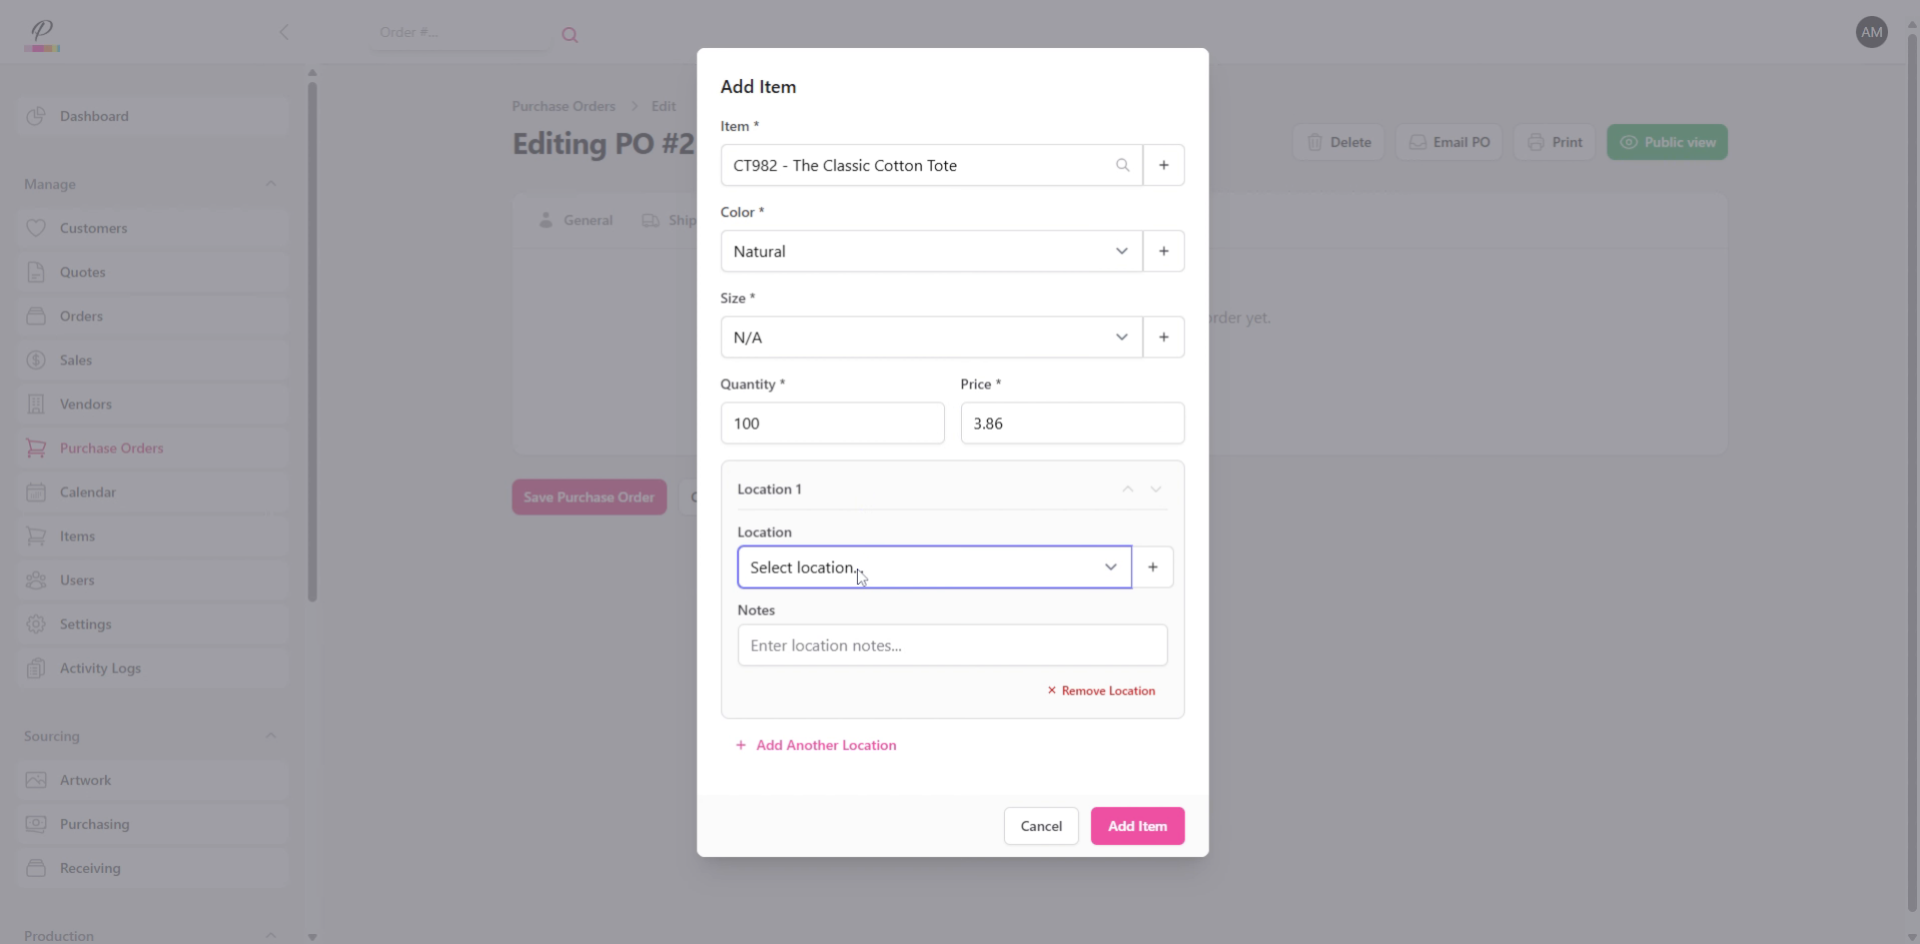
Specify imprint location
19. Enter Design Description
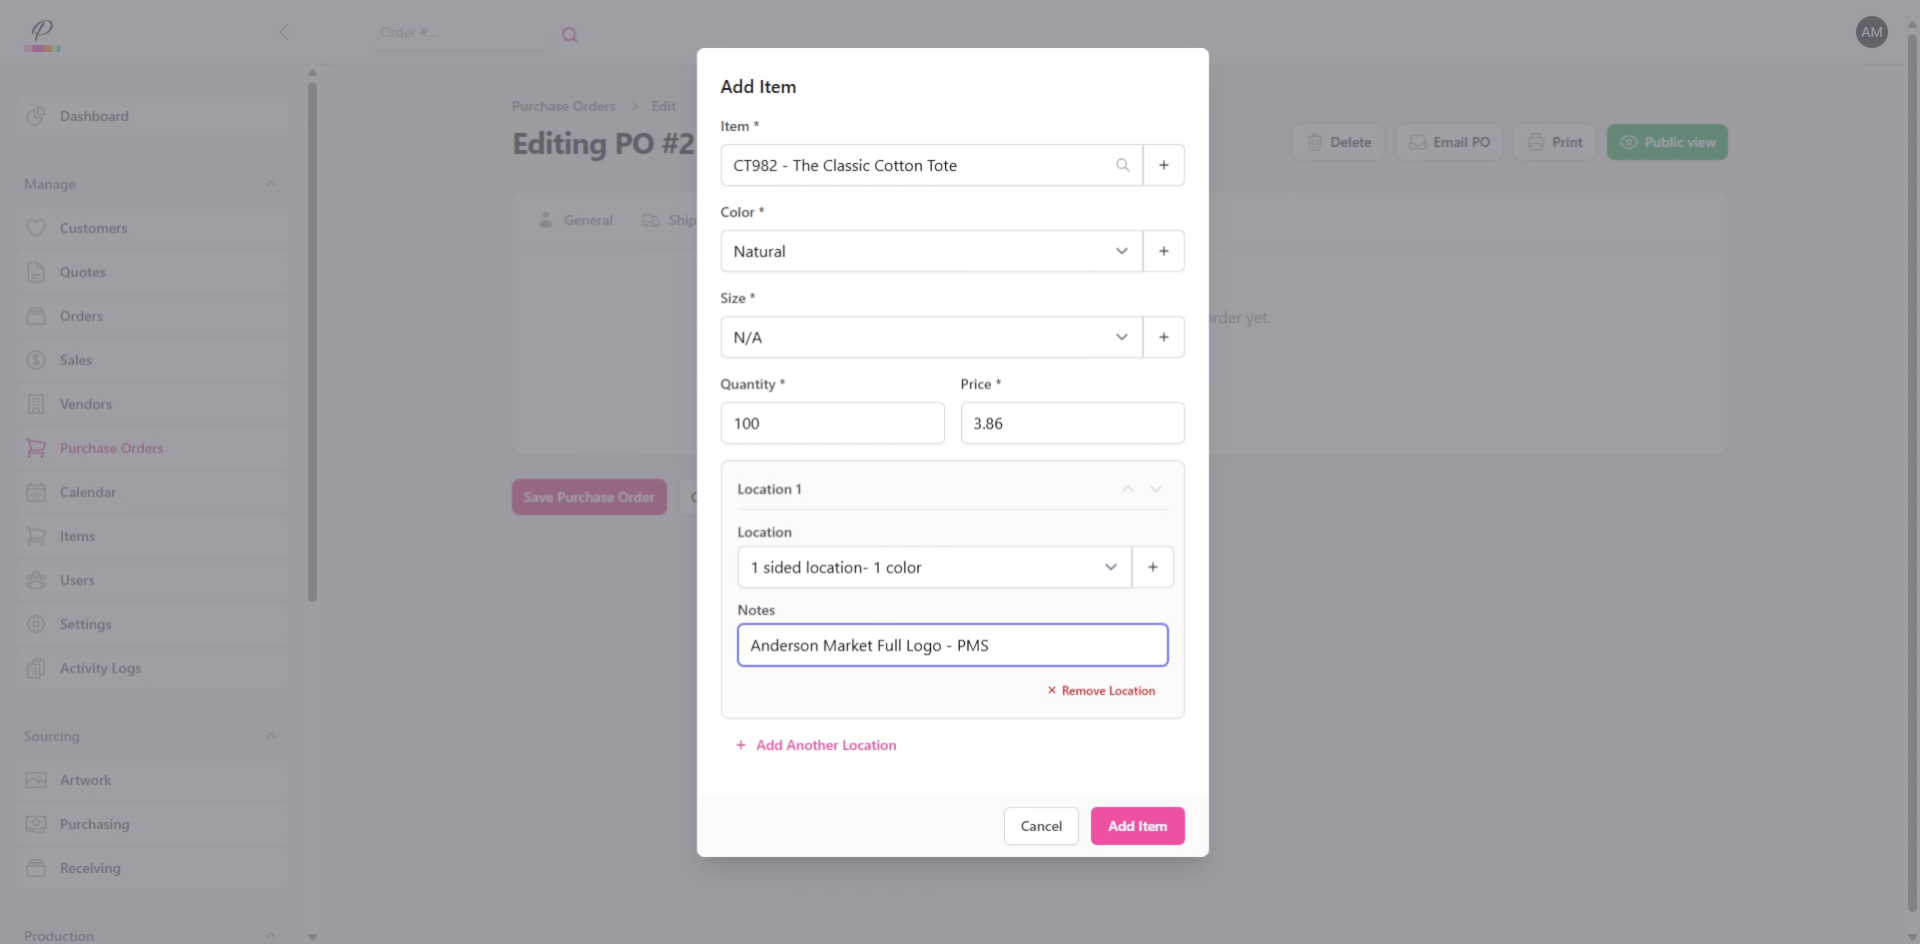
And enter a description of the design which will be used.
20. Add Item
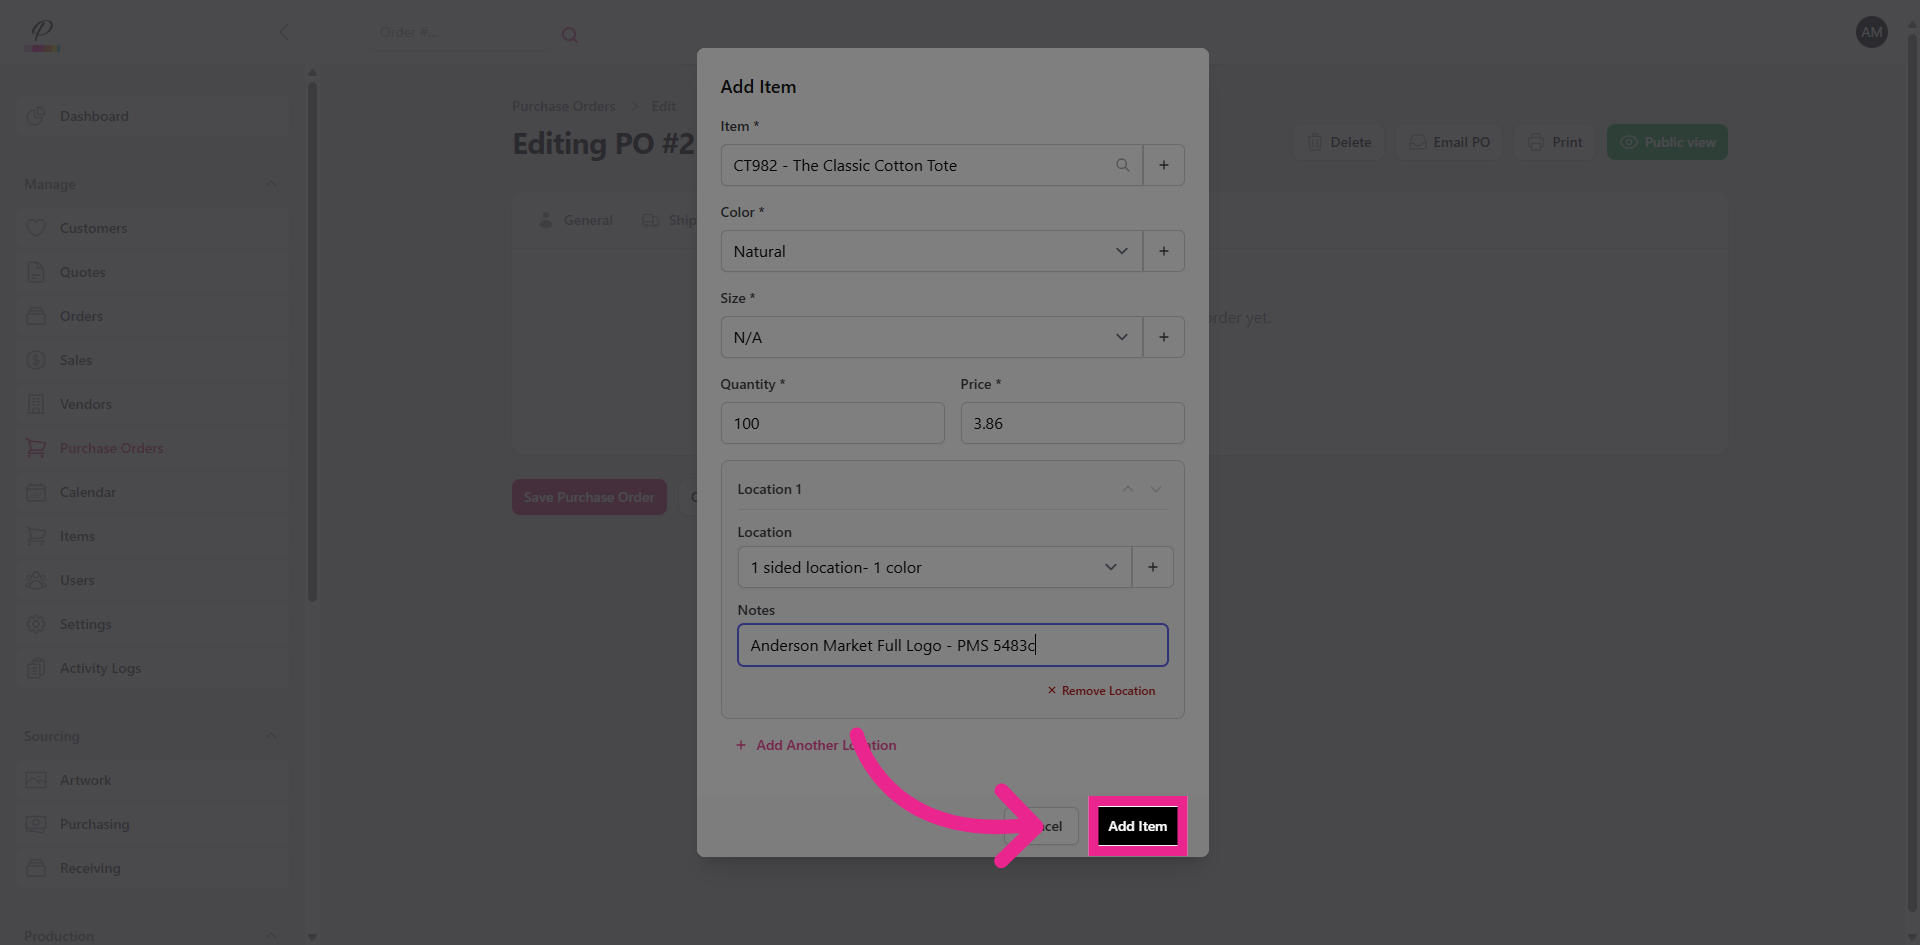
Click Add Item to save the details.
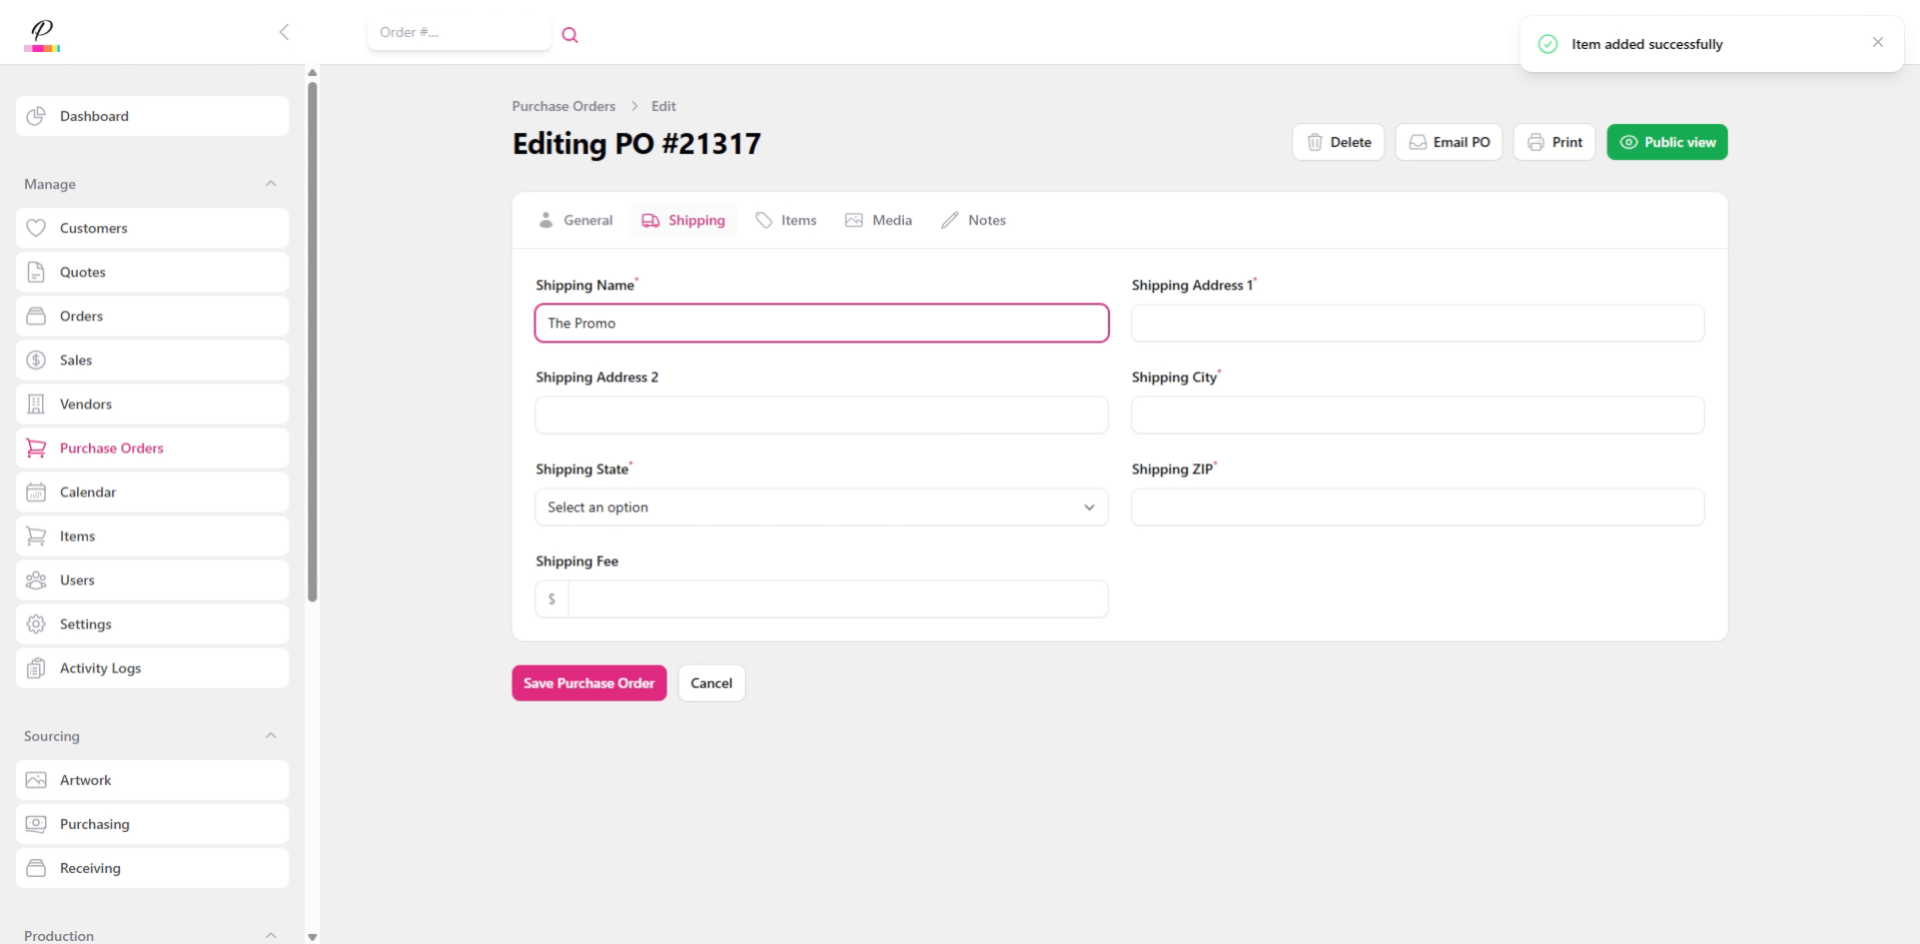
21. Access Shipping Tab
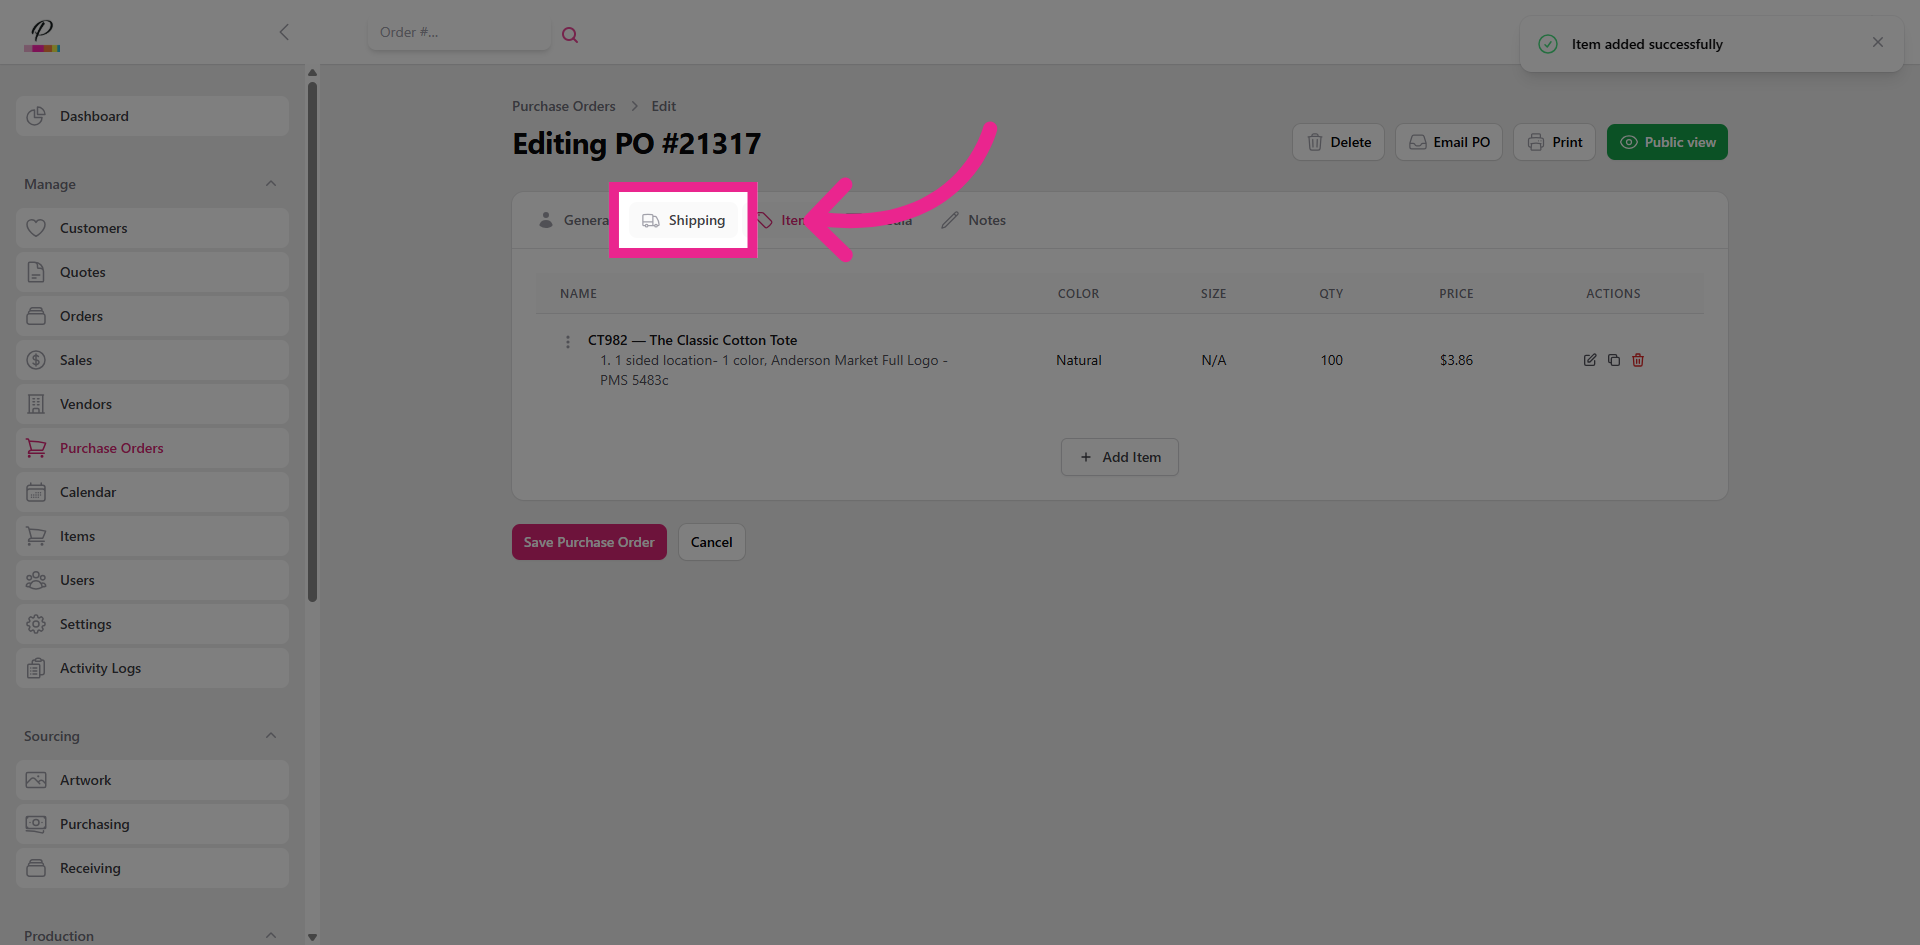
Click Shipping to enter the destination address
22. Enter Shipping Information
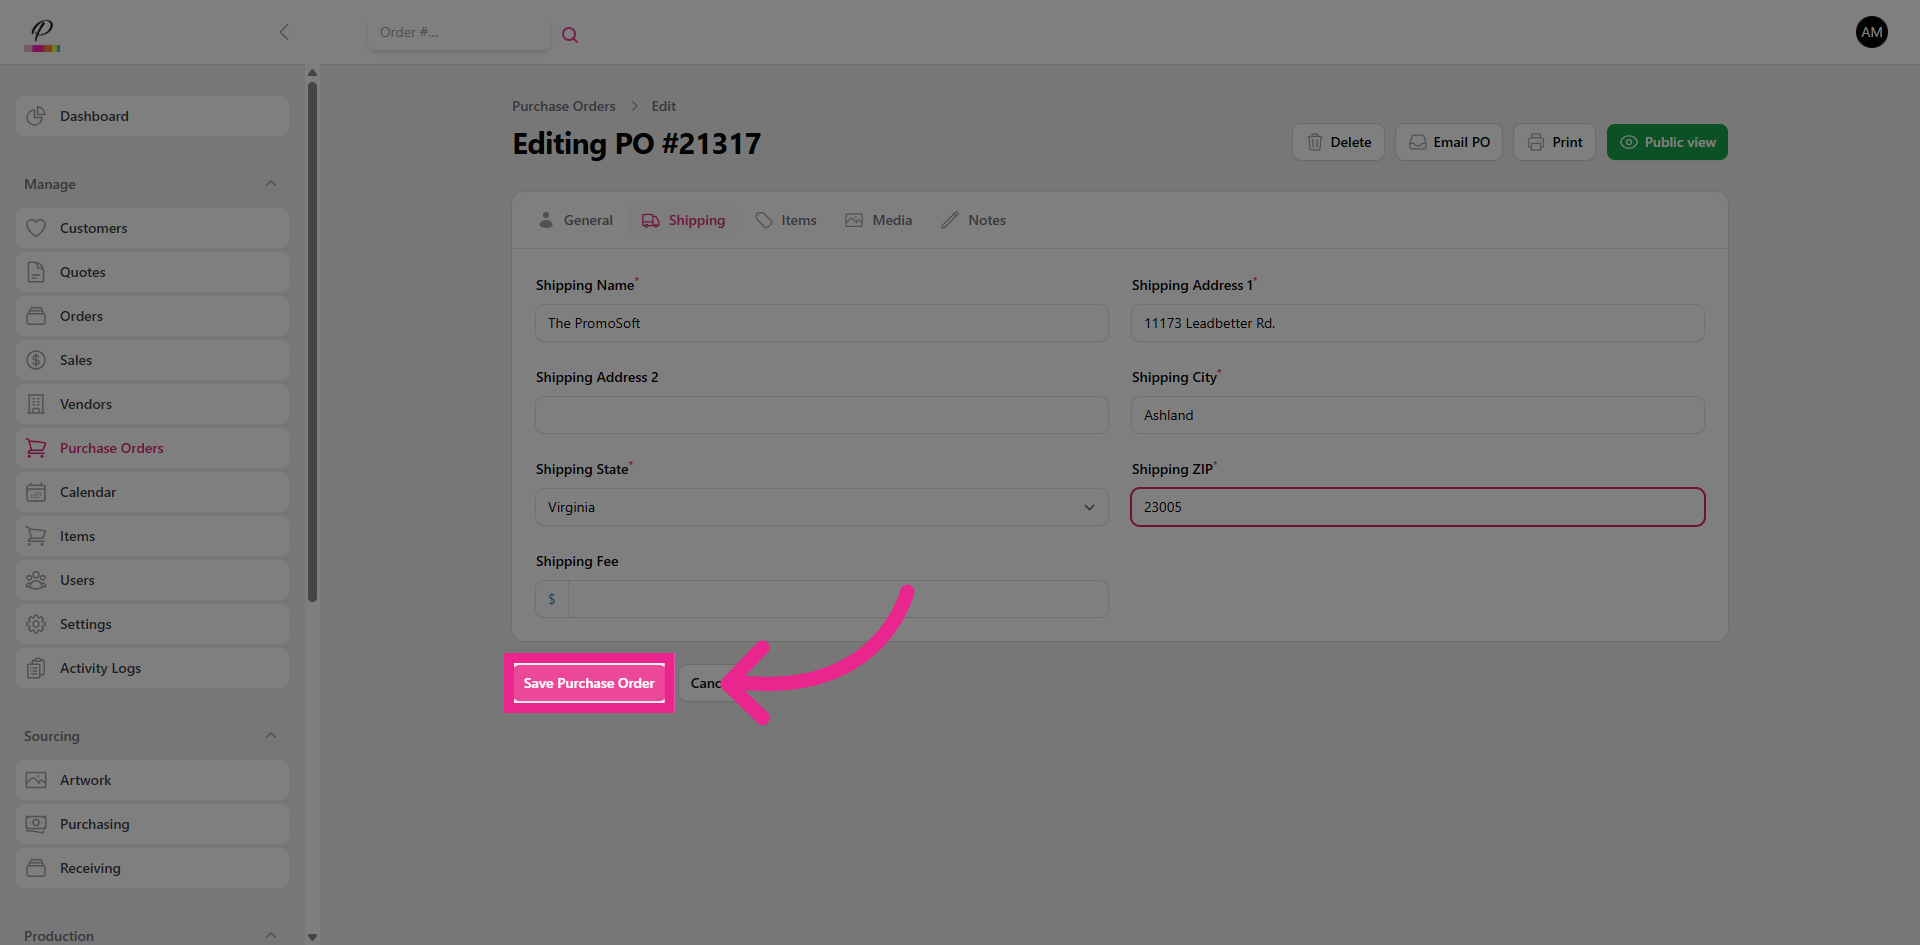
23. Save Purchase Order
Click Save Purchase Order to save the information
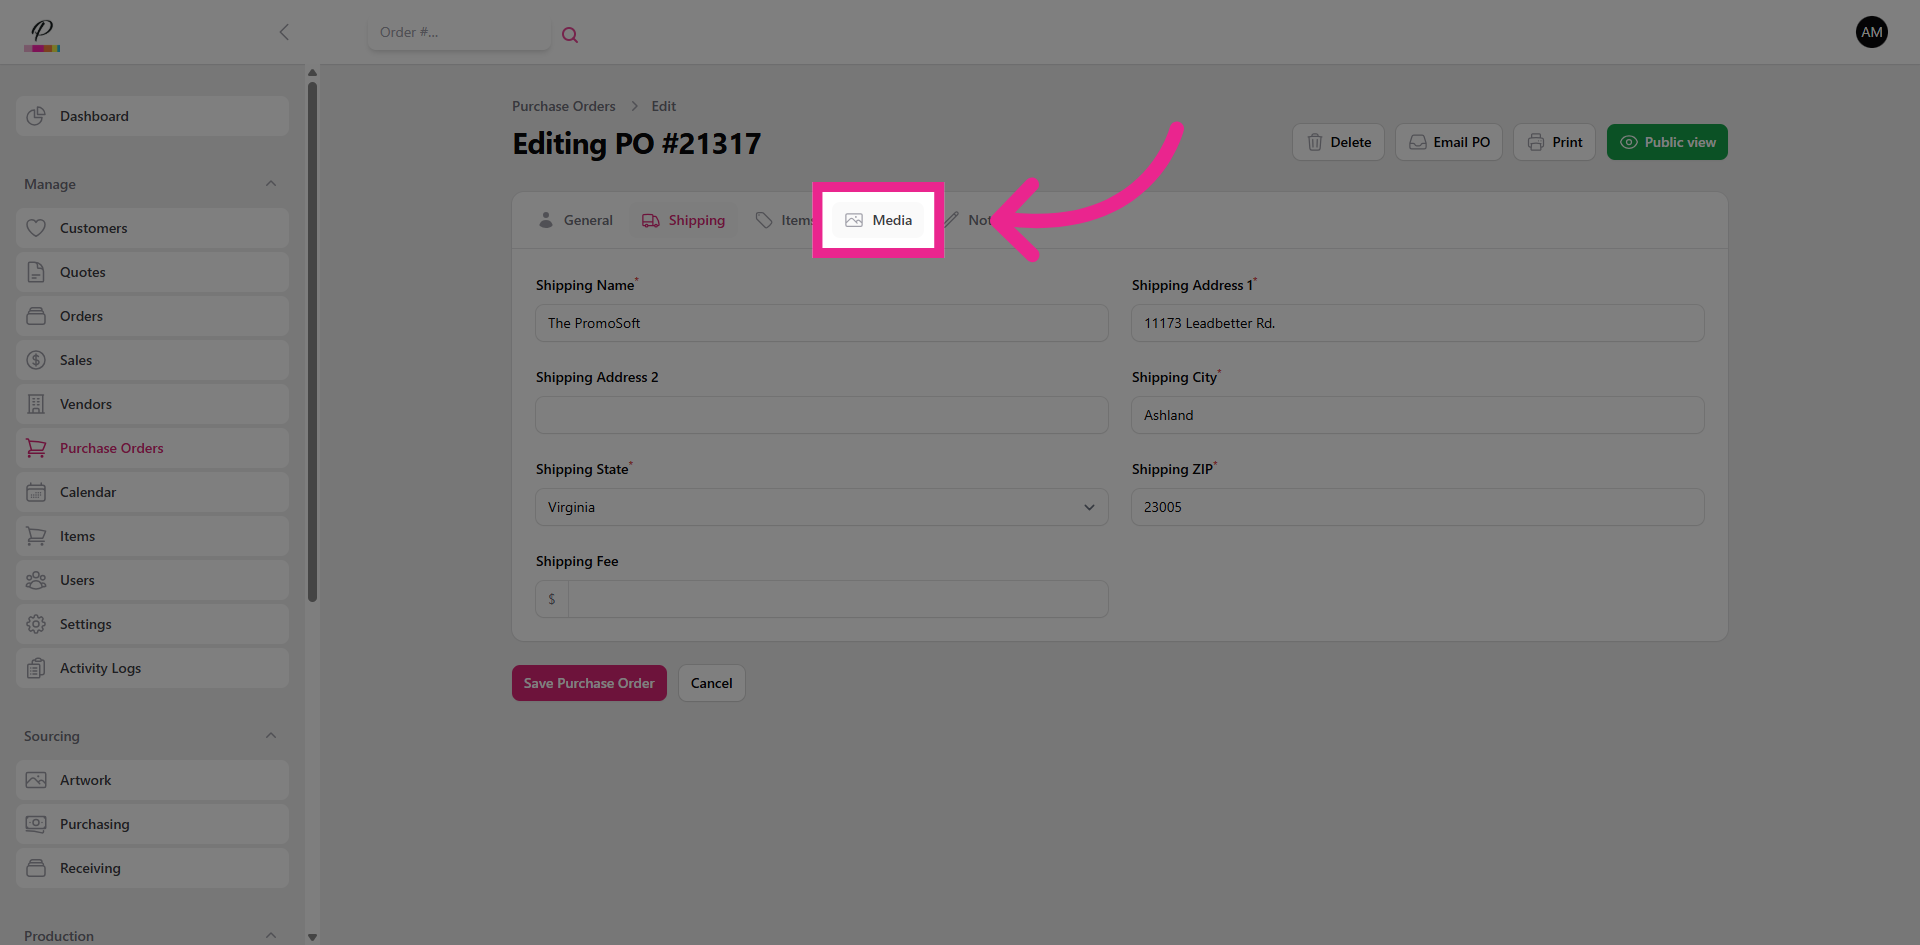
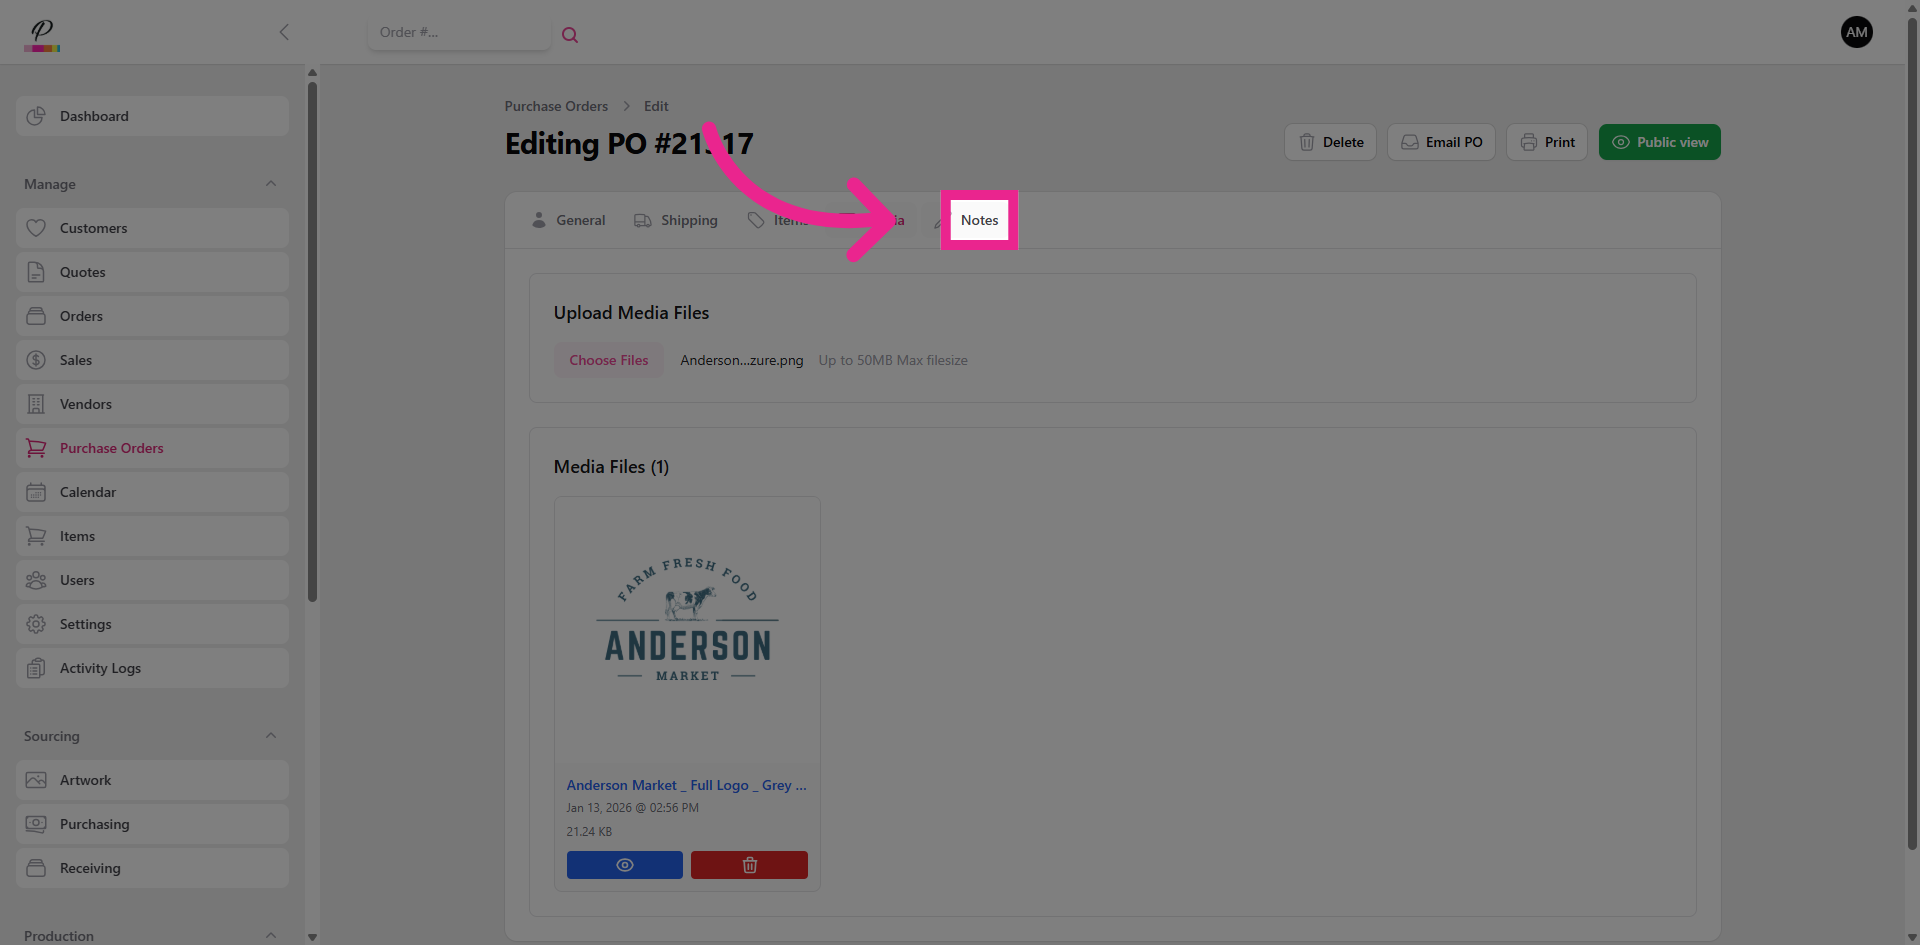
24. Open Media Tab
Now, click Media.
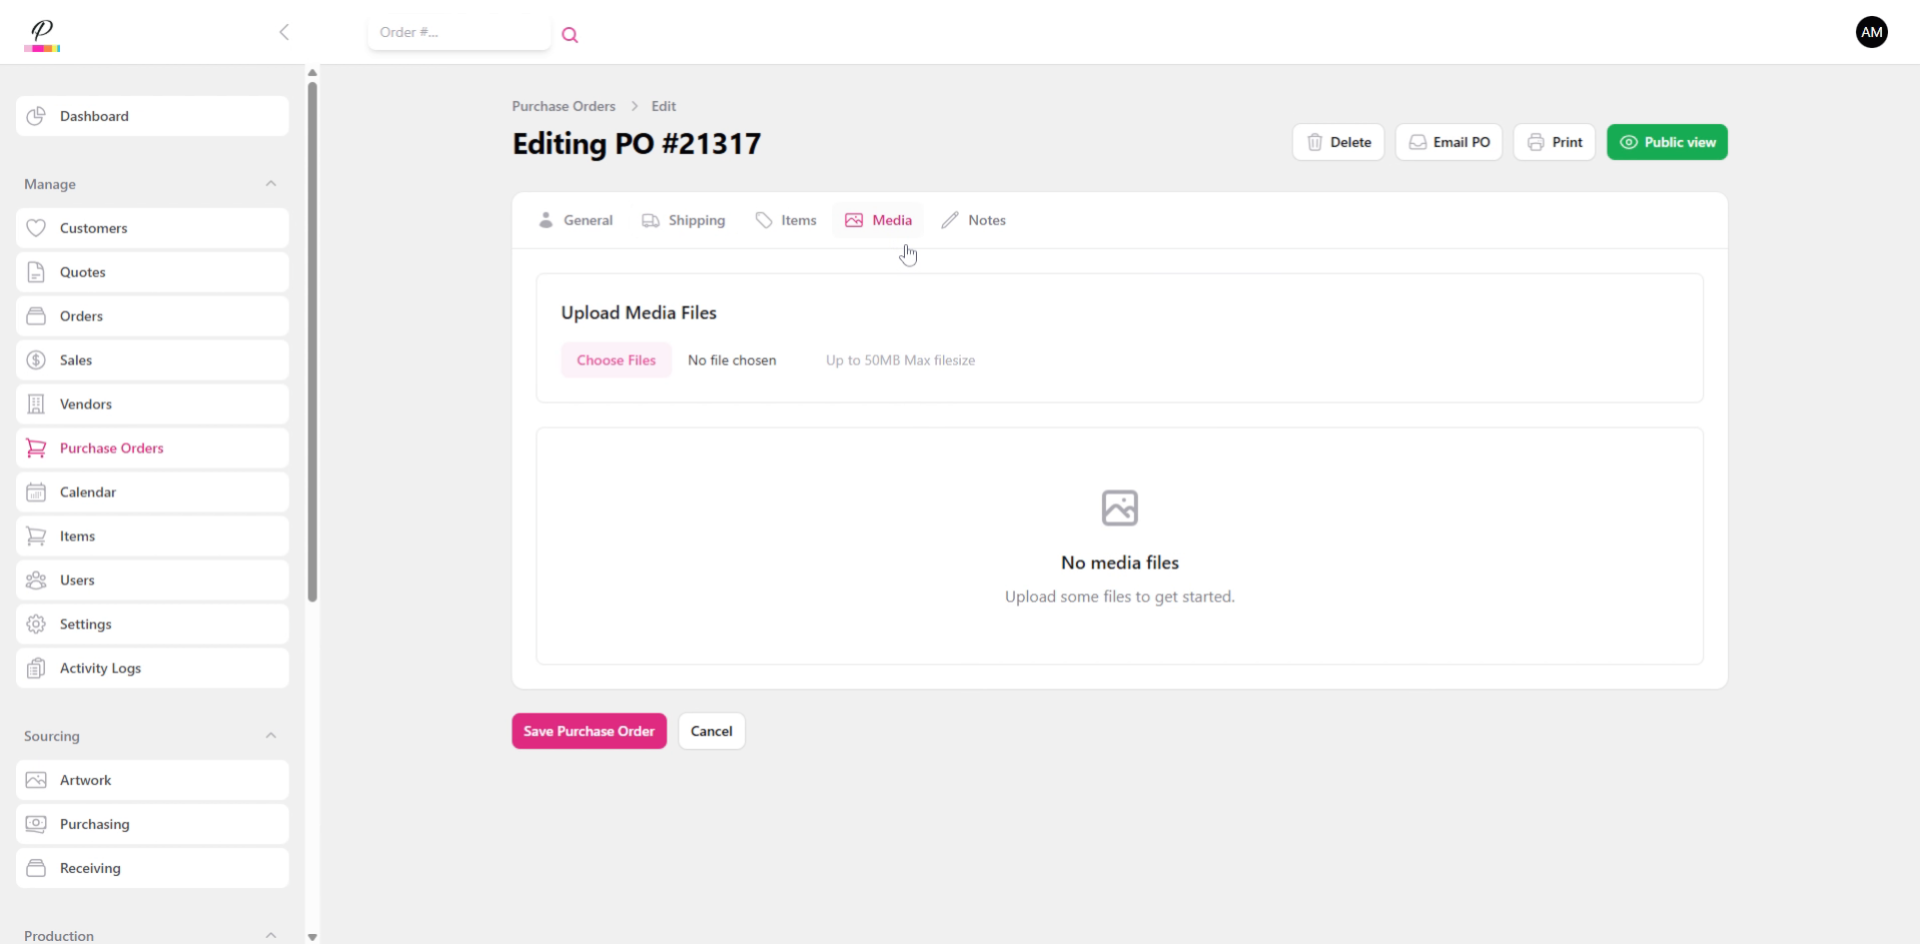
25. Upload Media File
Upload the art files that the vendor will need to produce the product accurately.
26. Notes Tab
Then, you can add in any notes related to the purchase order, but keep in mind that this is only intended for the sales rep, and the vendor will not see what is written here.
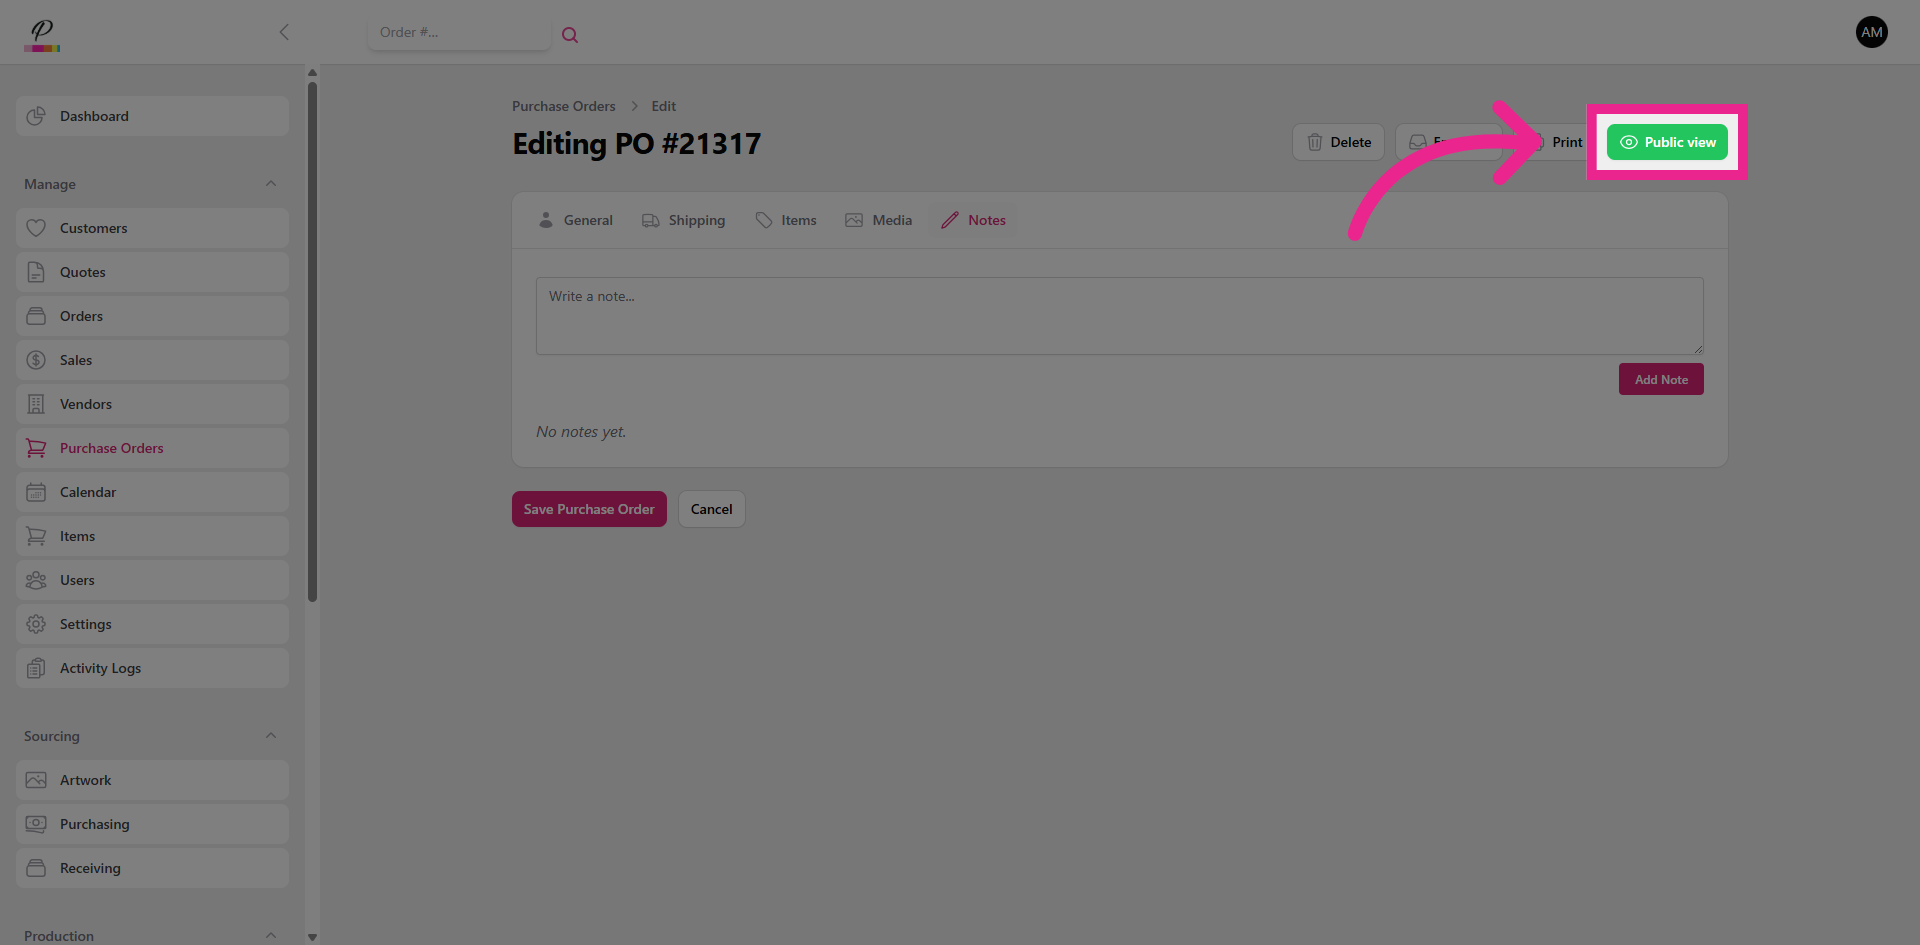
27. Preview Public View
You can click Public view to verify how the purchase order will be sent to the vendor. It's a good idea to look this over and verify that everything is correct.
28. Email Purchase Order to Vendor
You can now send the purchase order to the vendor by clicking Email PO.
29. Send Purchase Order
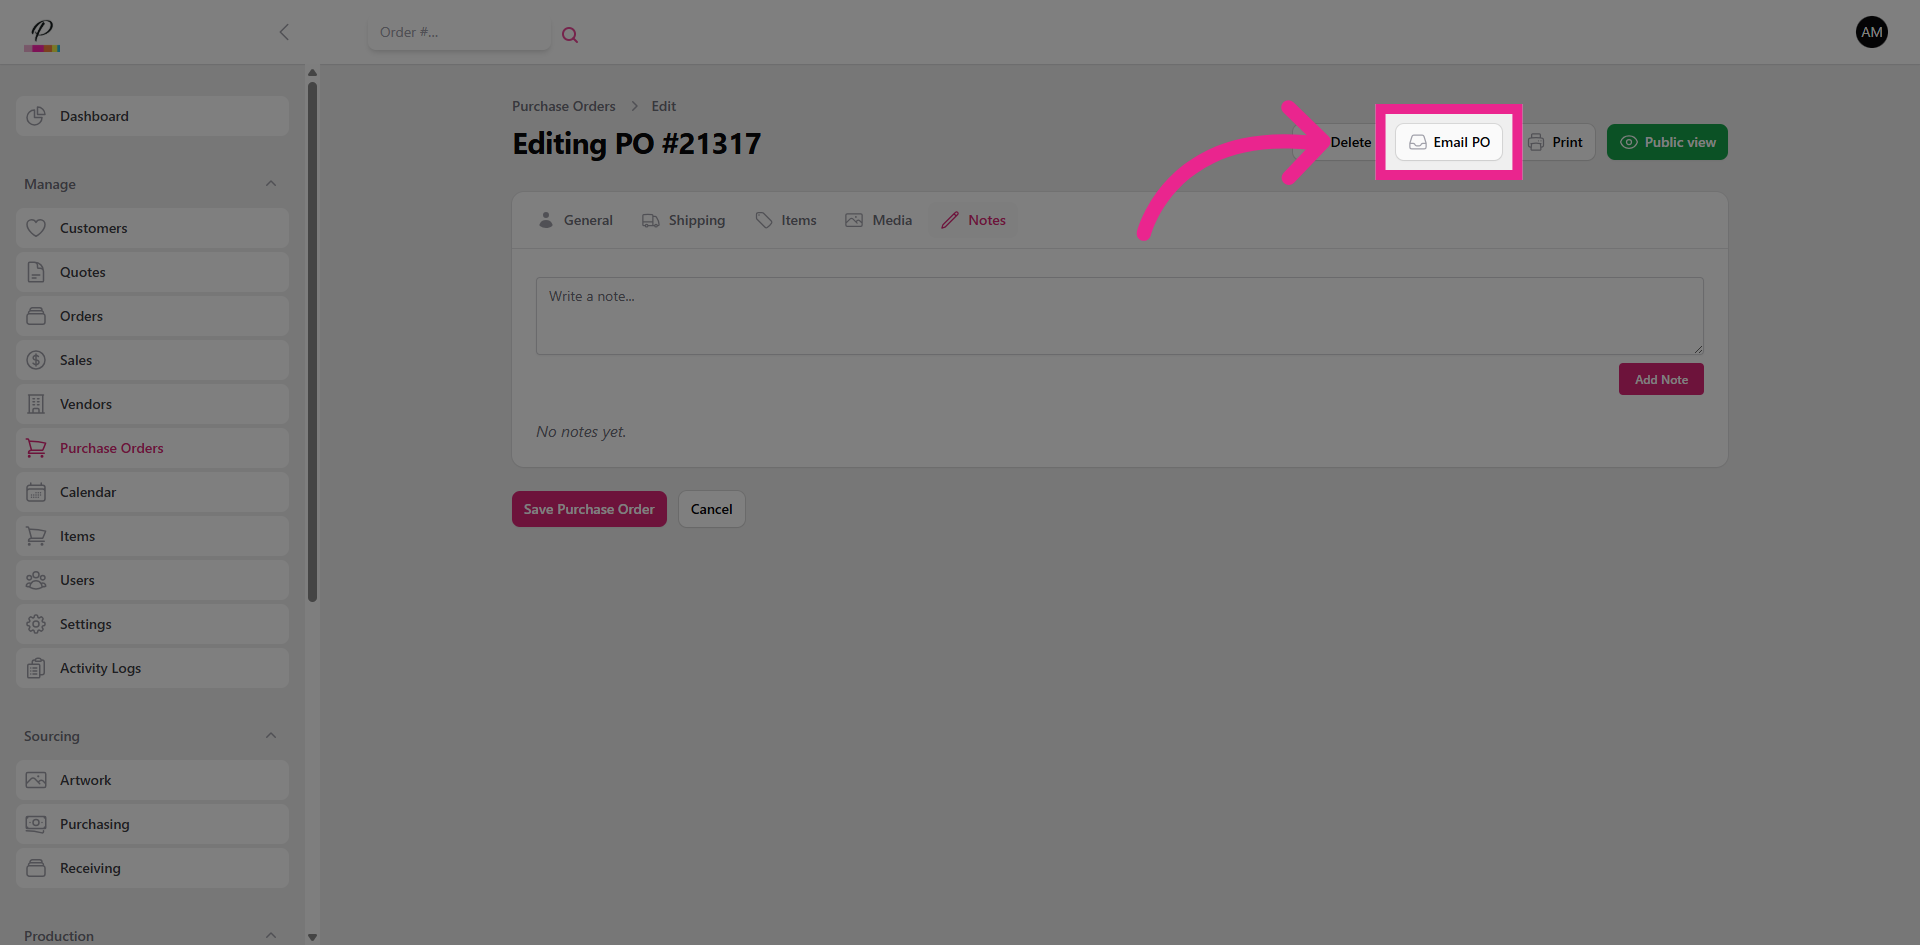
Verify that the reply-to email is correct and Click Send Purchase Order to deliver the finalized order to the vendor . And done! The vendor will then receive the Purchase Order and contact the sales rep with the status of the order.