
Learn
How do I create an Order?
Learn how to create orders in PromoSoft.
This tutorial guides you through creating a new order in PromoSoft, covering all necessary steps from start to finish.
1. Introduction
This one is going to be a little longer than the other tutorials but is one of the most essential. So hang in there!
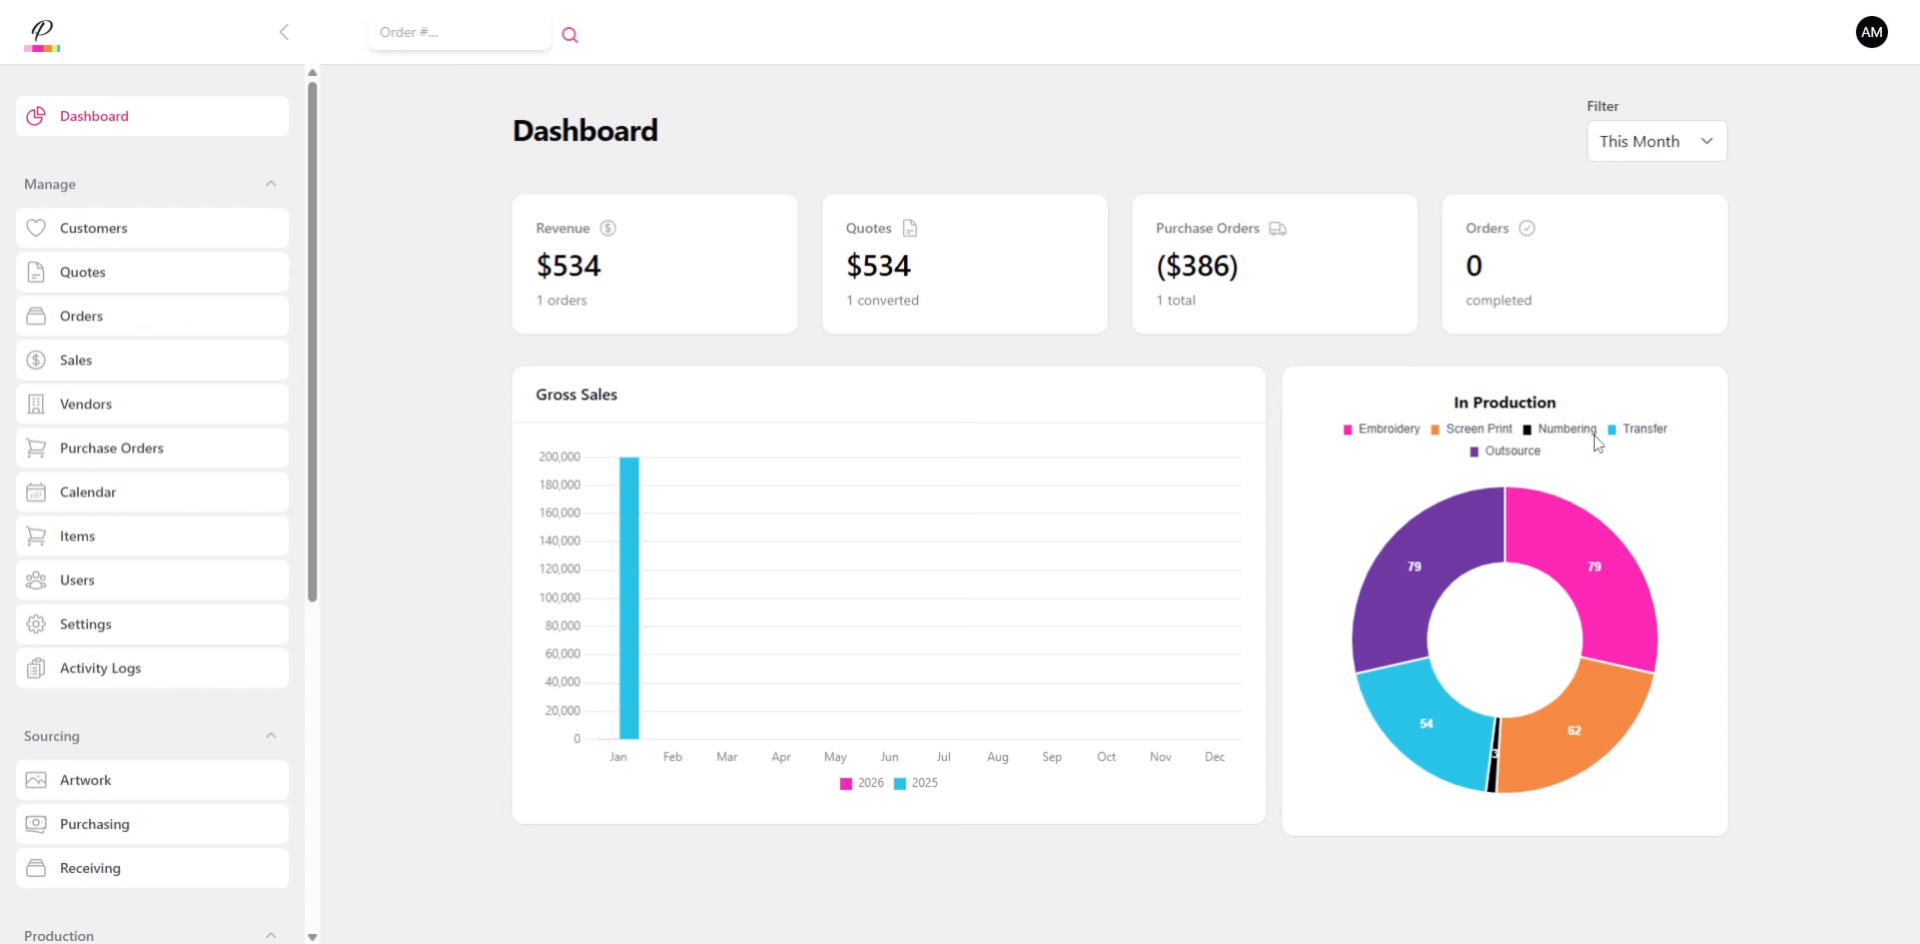
2. Navigate to Orders Section

Click the Orders section to begin.
3. Open New Order Form
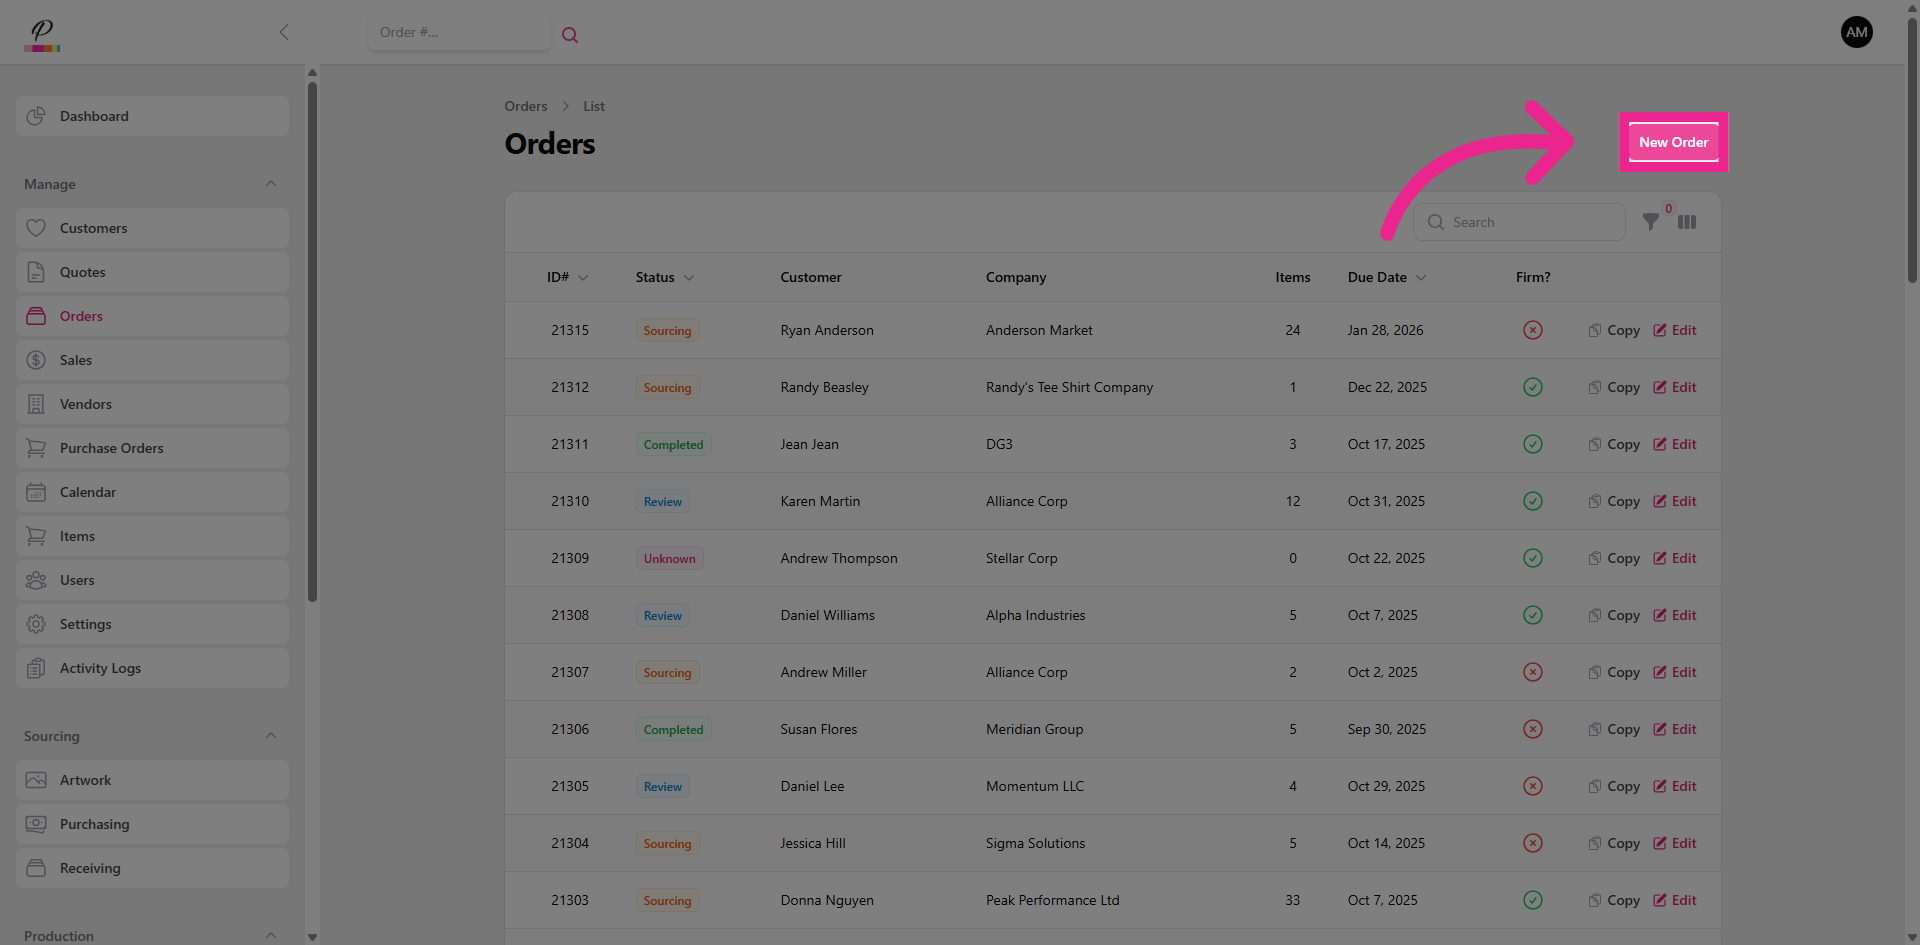
Click New Order.
4. Enter Customer Name

Start typing to search for the customer's name or company.
5. Select Account Manager
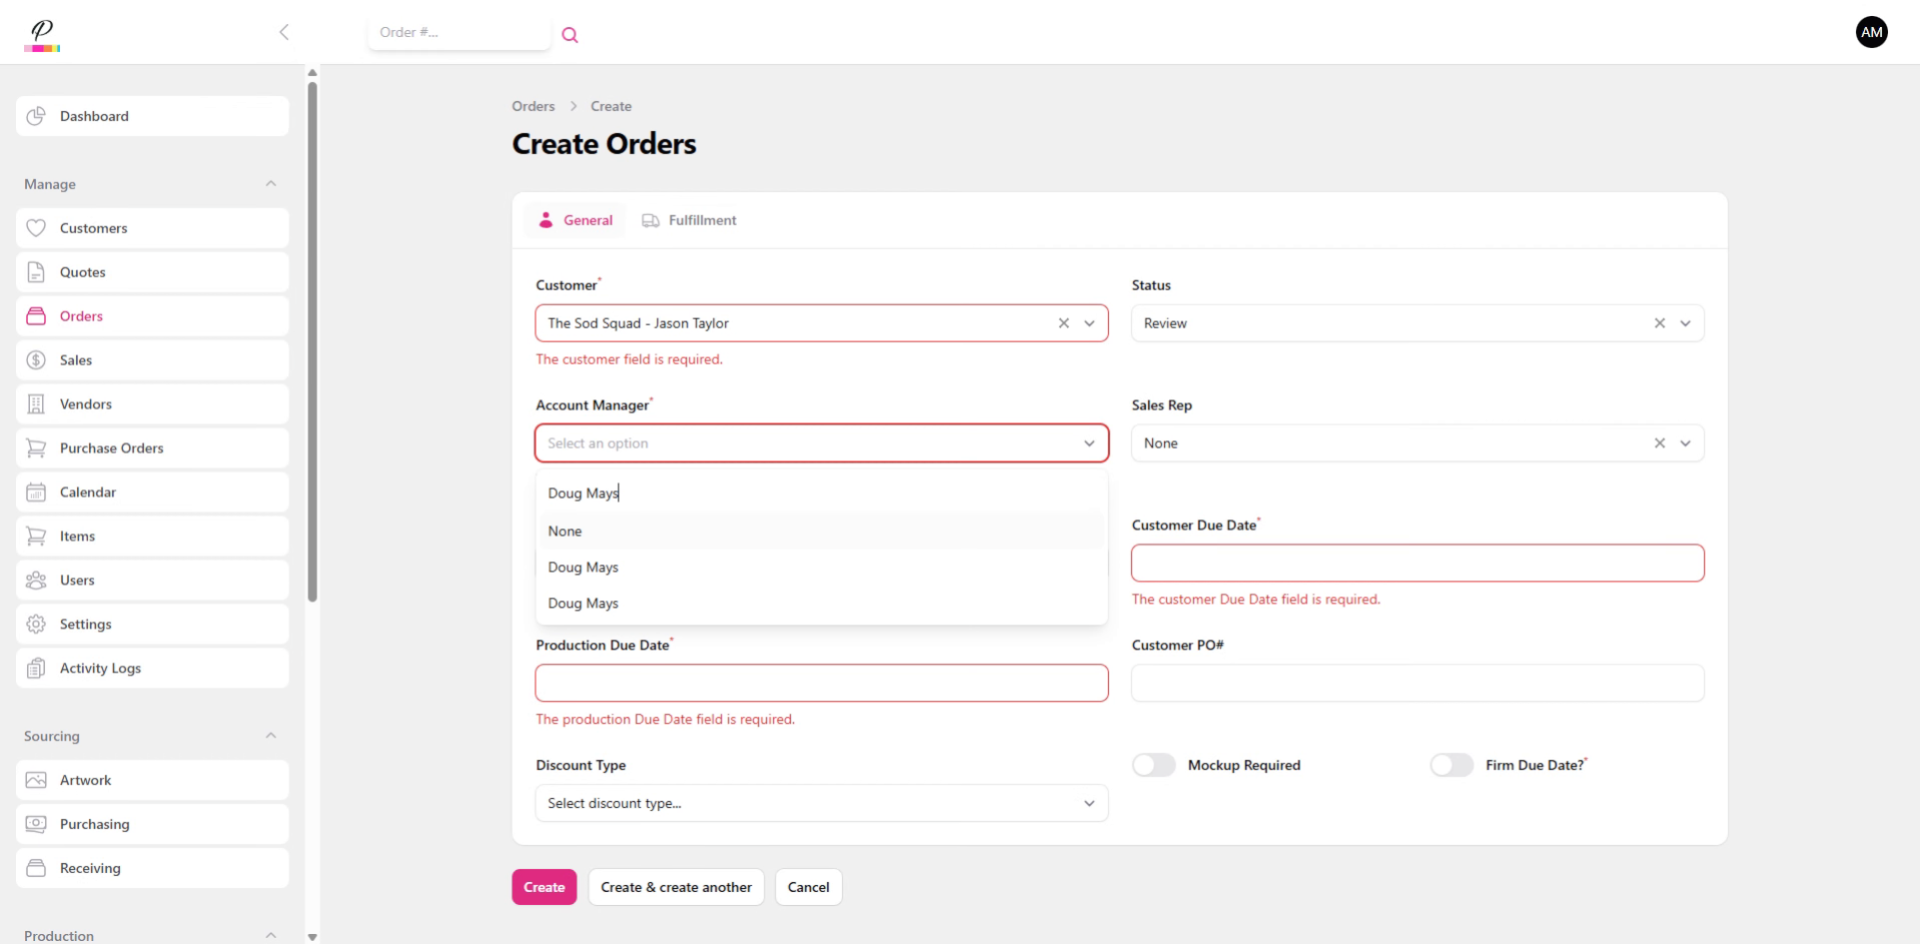
Select the account manager. This should be whoever is creating the order so that the production team knows who to contact should they have any questions or concerns about the order.
6. Select Sales Rep
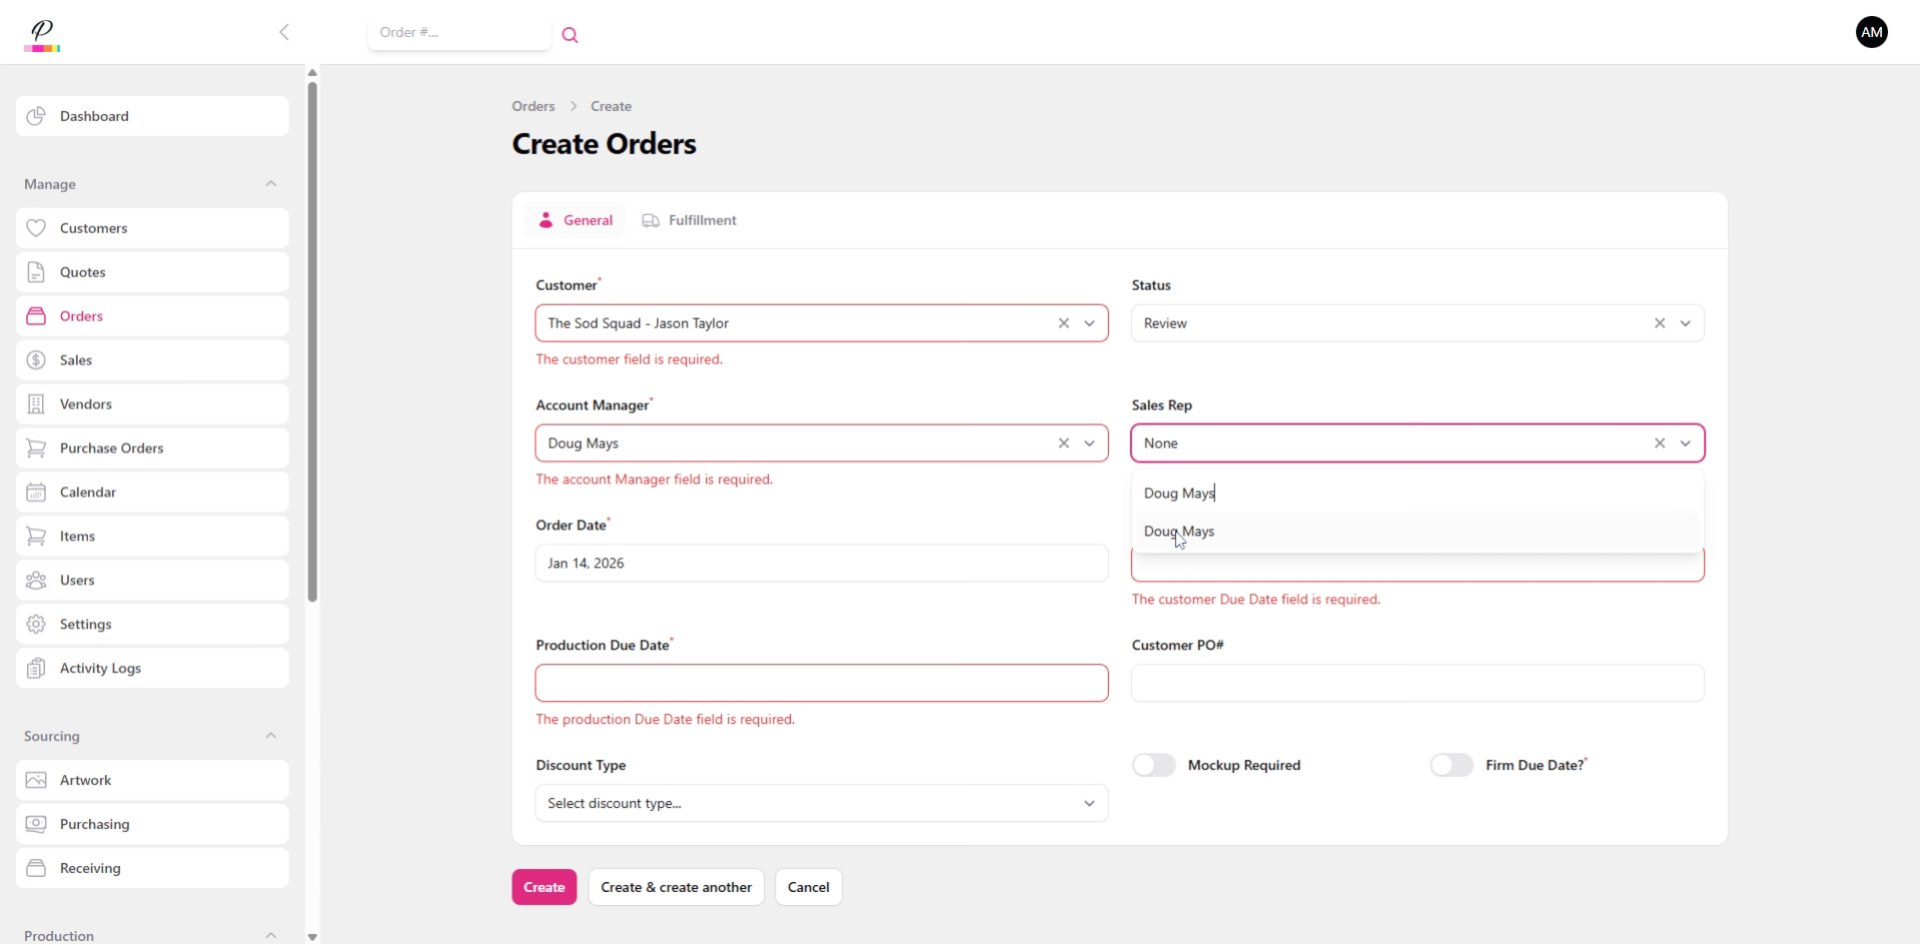
Be sure to set the Sales Rep as well, even if it is the same as the account manager. This is so that the system will apply the commission rate properly.
7. Select Customer Due Date
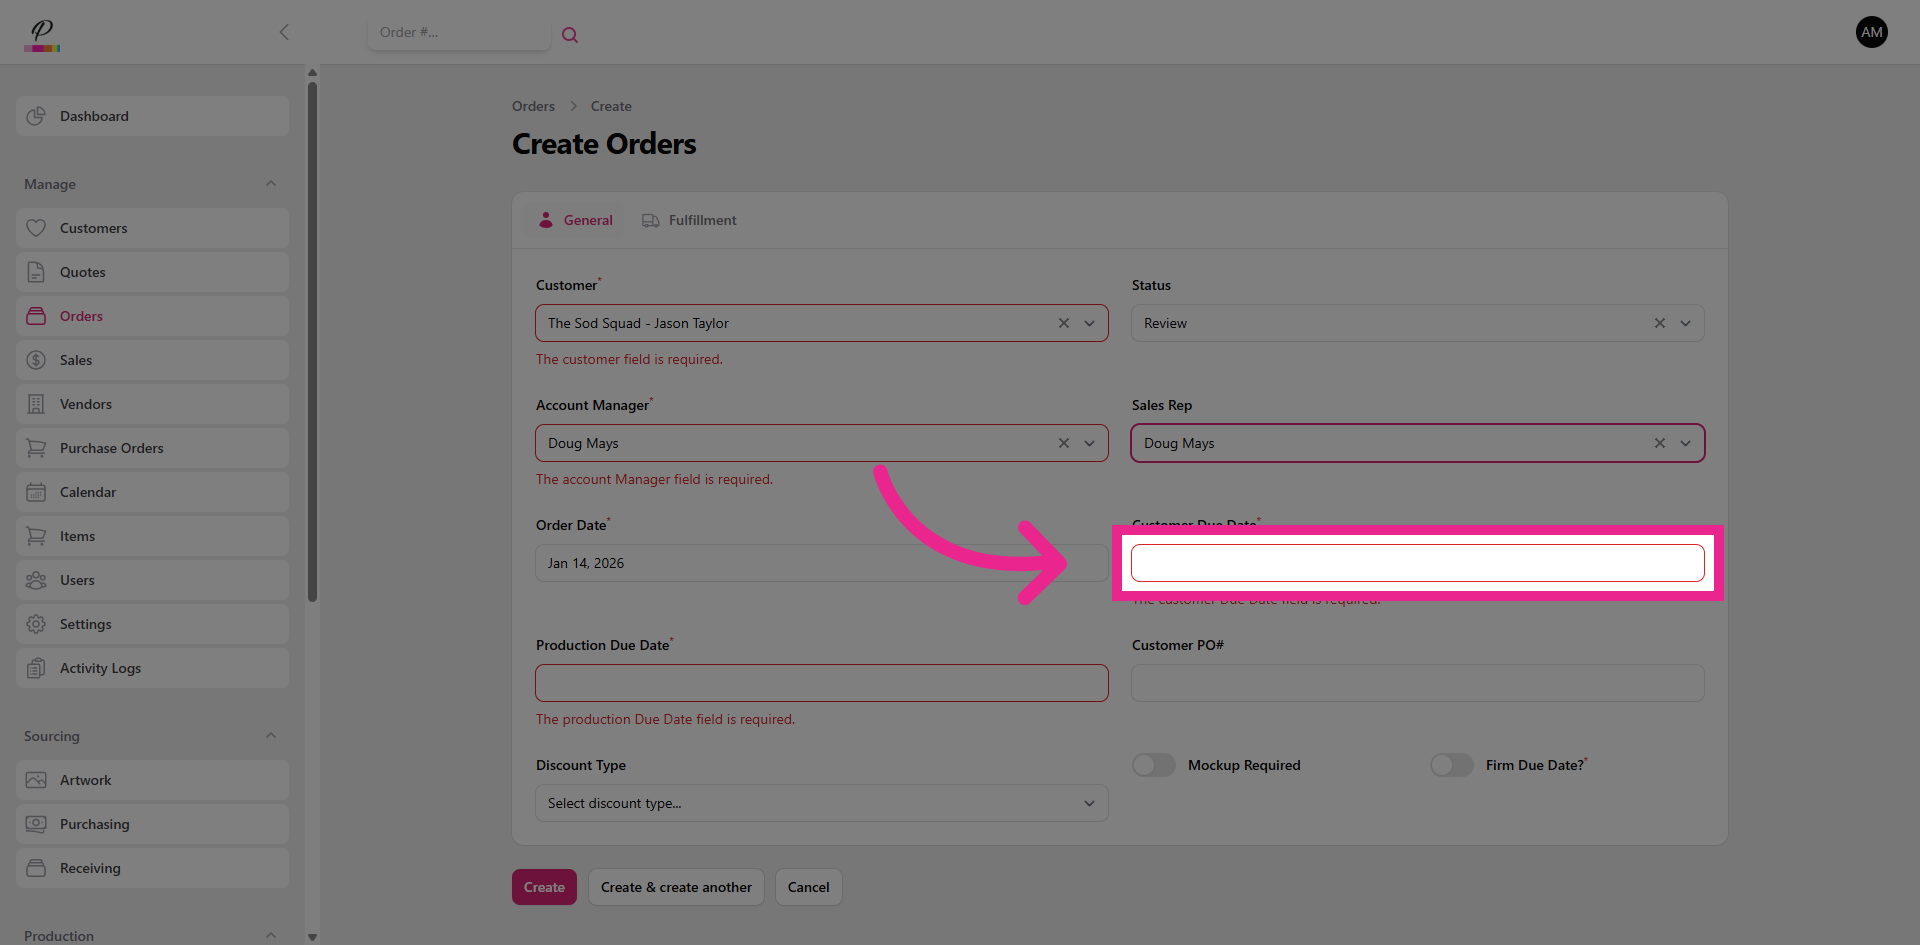
Set the customer's in-hands date and the production due date.
8. Select Production Due Date
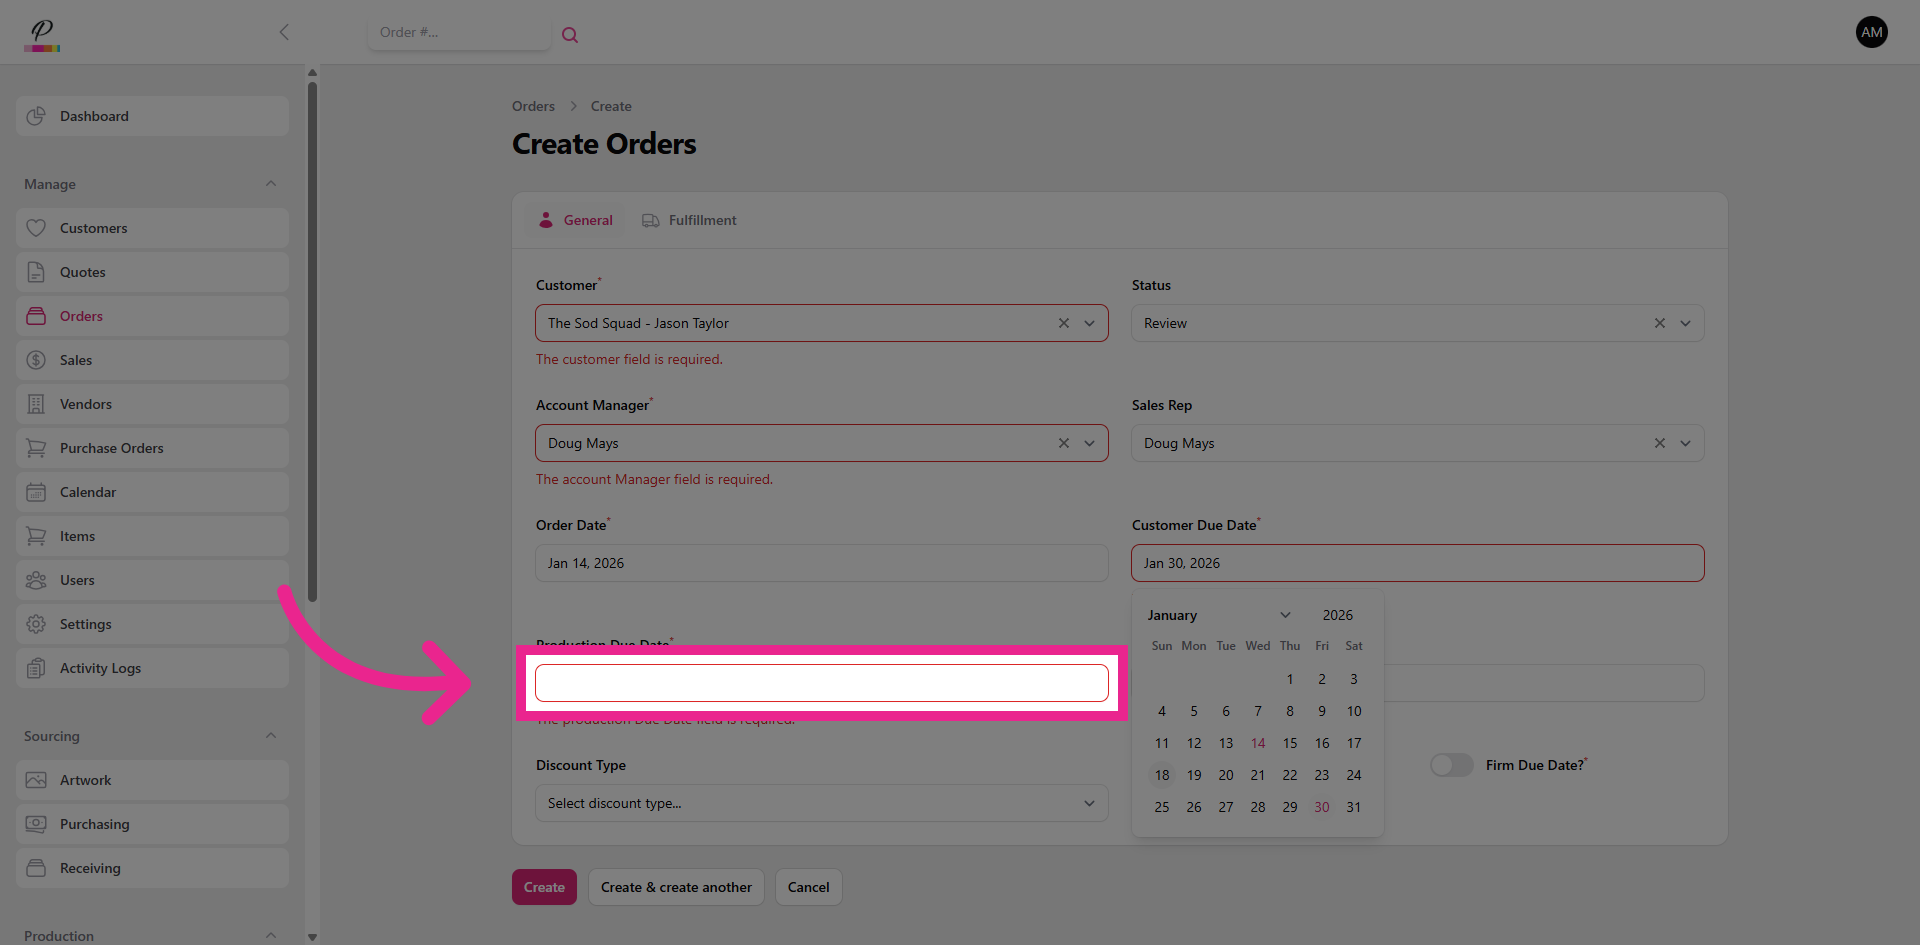
It's generally a good idea to set the production due date a few days earlier, just in case there is an issue in production which may cause a delay such as an item arriving damaged or a production error requiring a production rerun of the items.
9. Customer PO
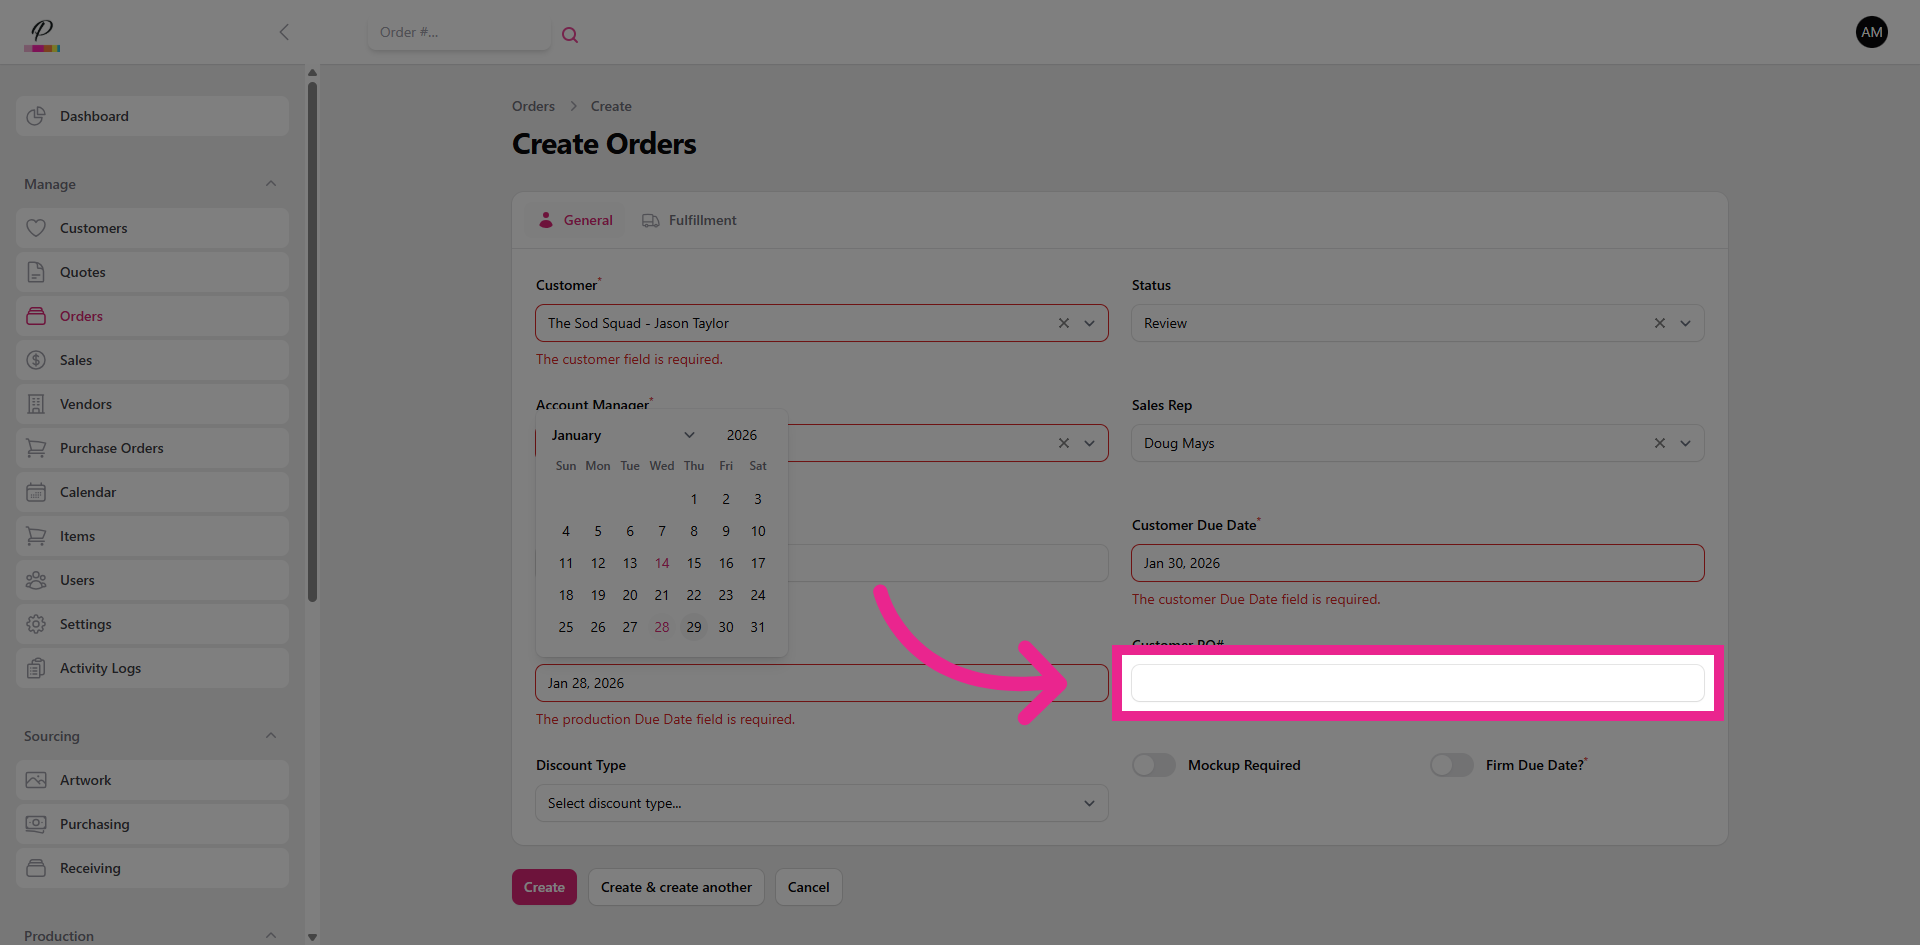
If the customer has requested a specific PO number to be associated with the order, that can be entered here.
10. Toggle Mockup Request
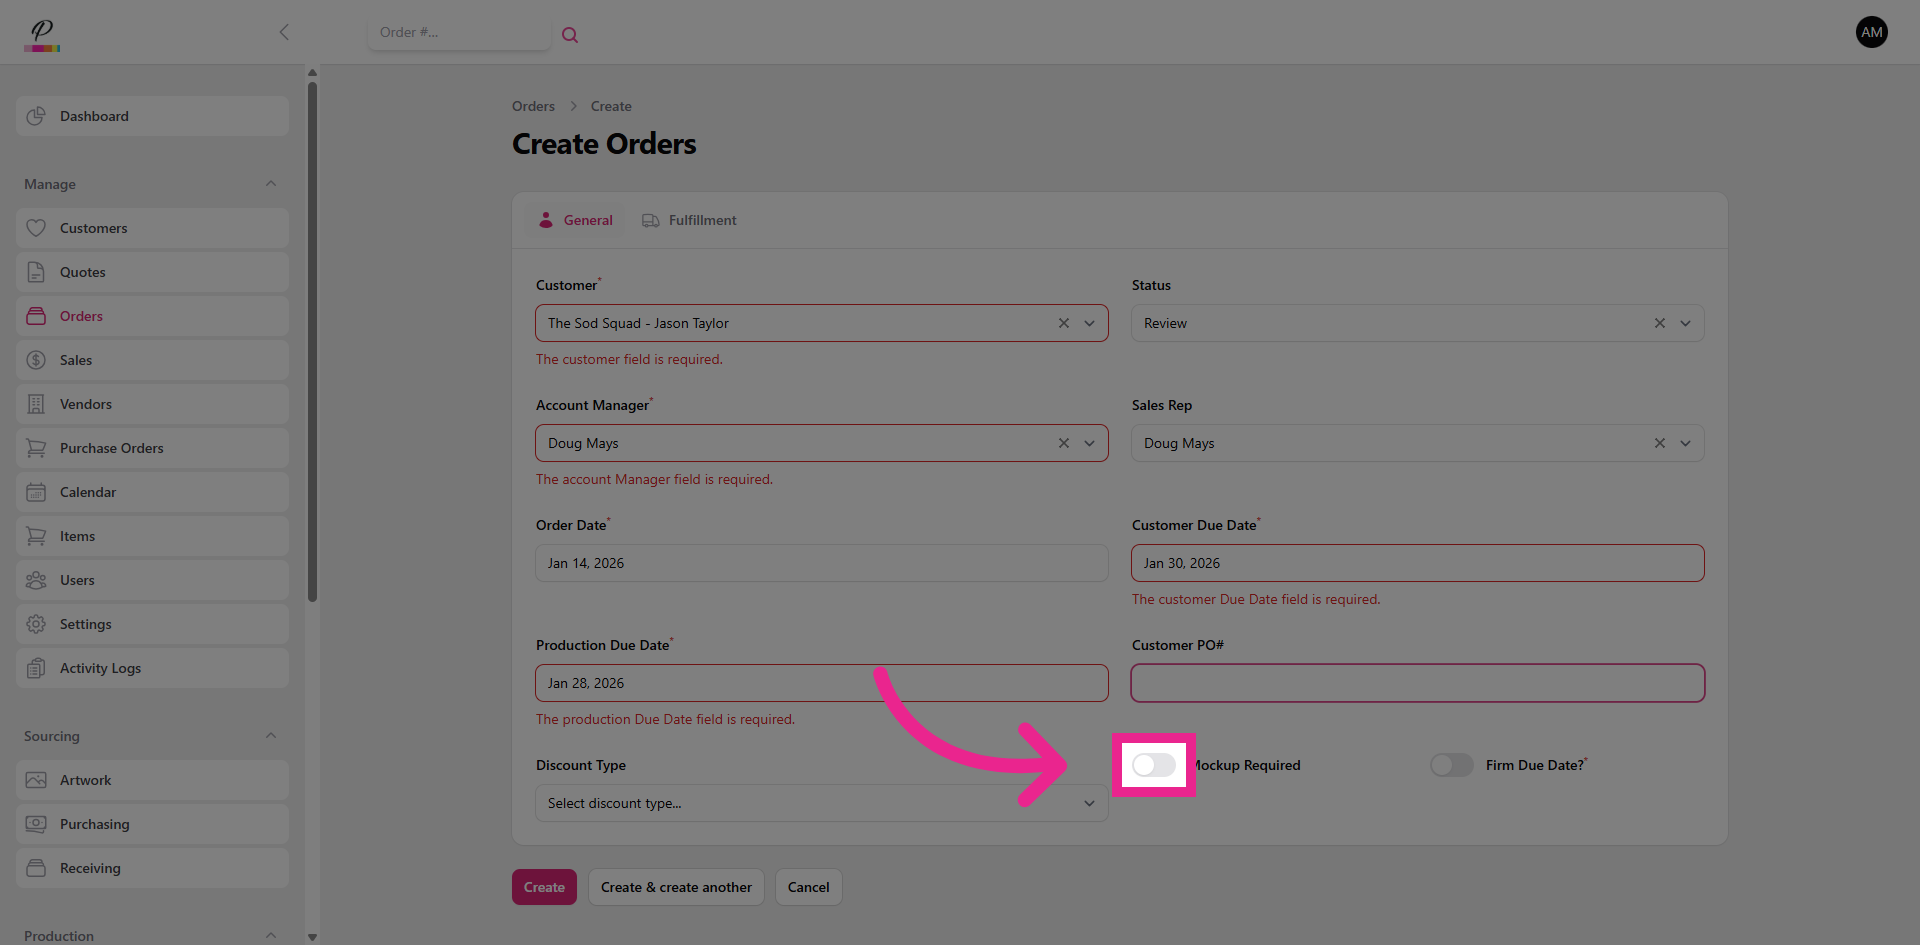
Be sure to toggle if the customer has requested a mockup and you need the art department to provide that for you.
11. Toggle Firm Due Date
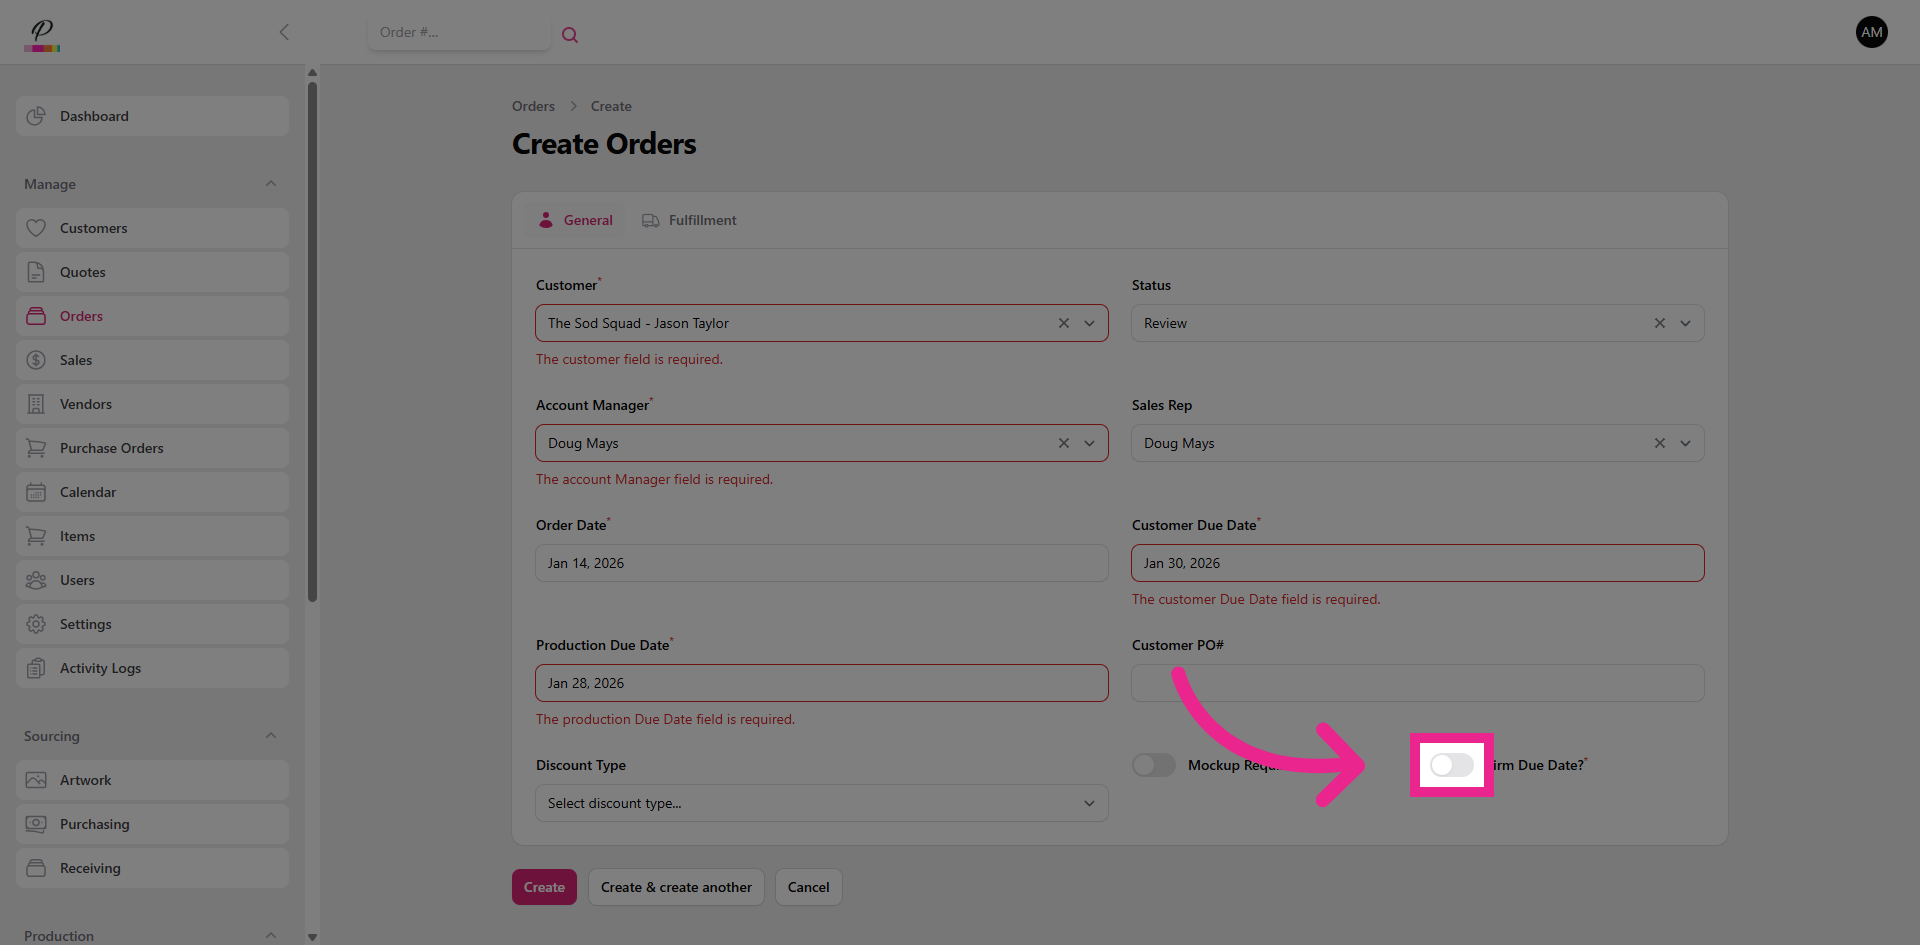
And be sure to toggle if the due-date is firm. This way it will be flagged in the production queues as highest priority
12. Discount Type
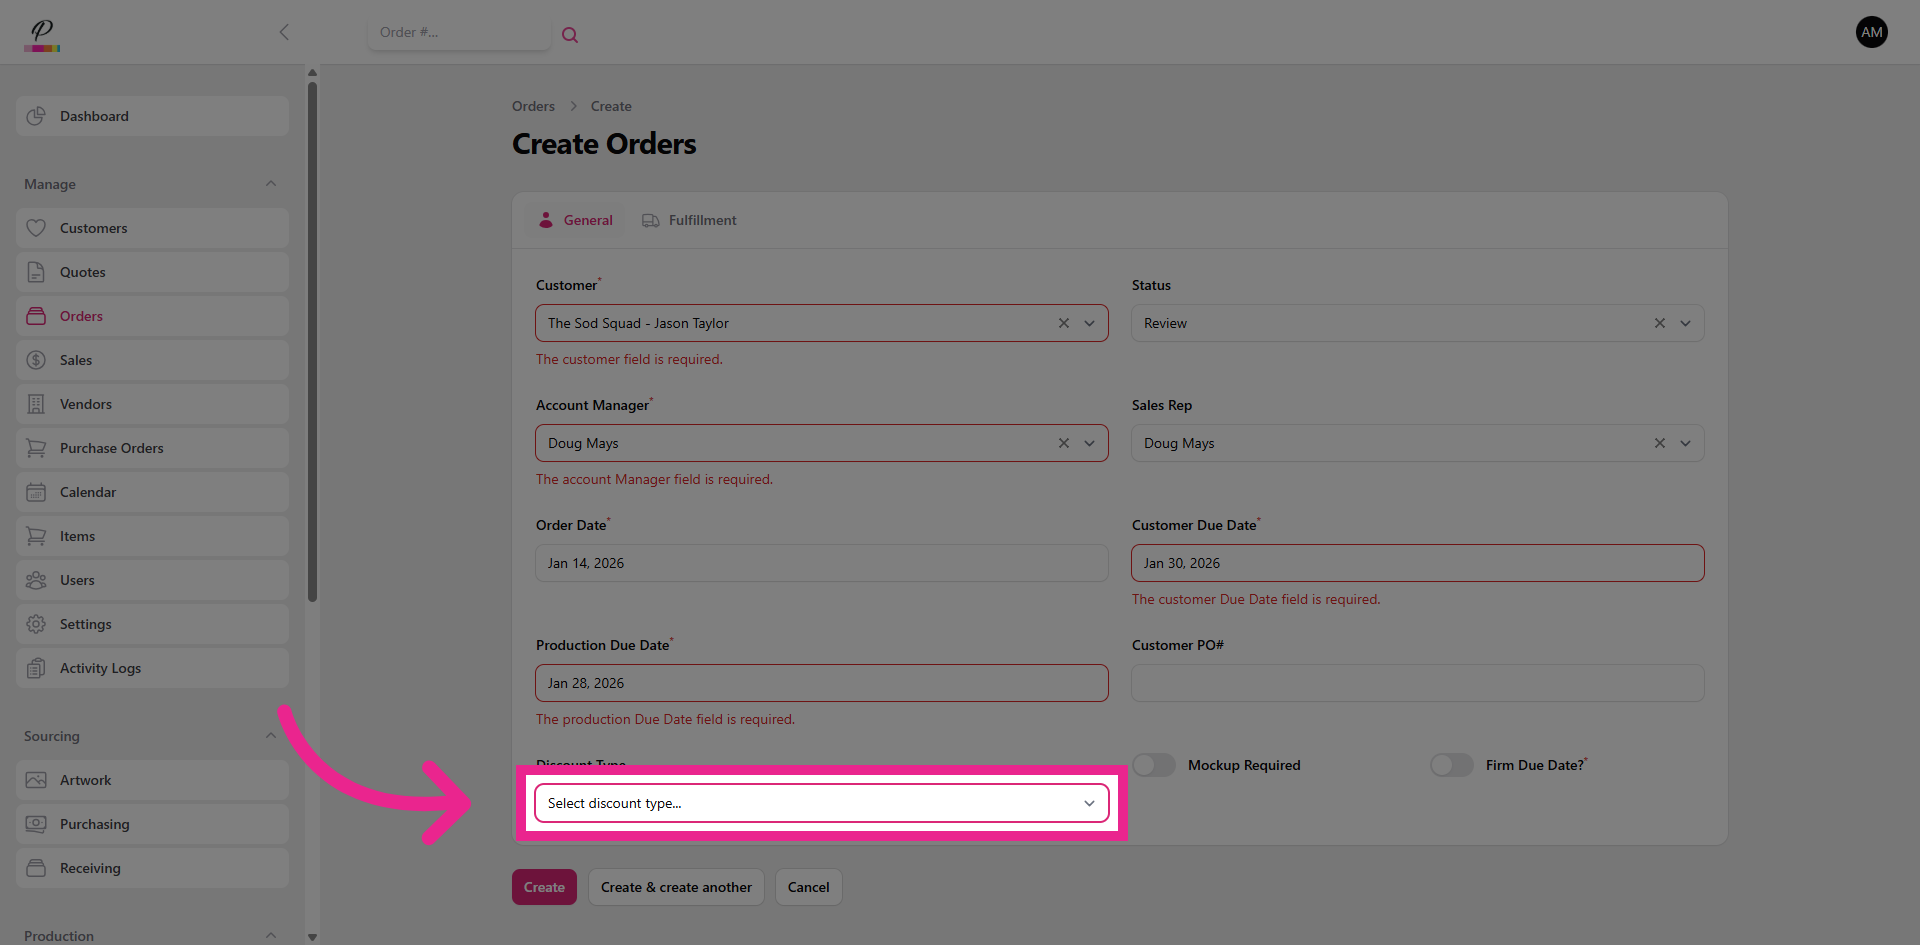
The discount type should only be used in special circumstances such as issuing a refund to the customer should it be needed.
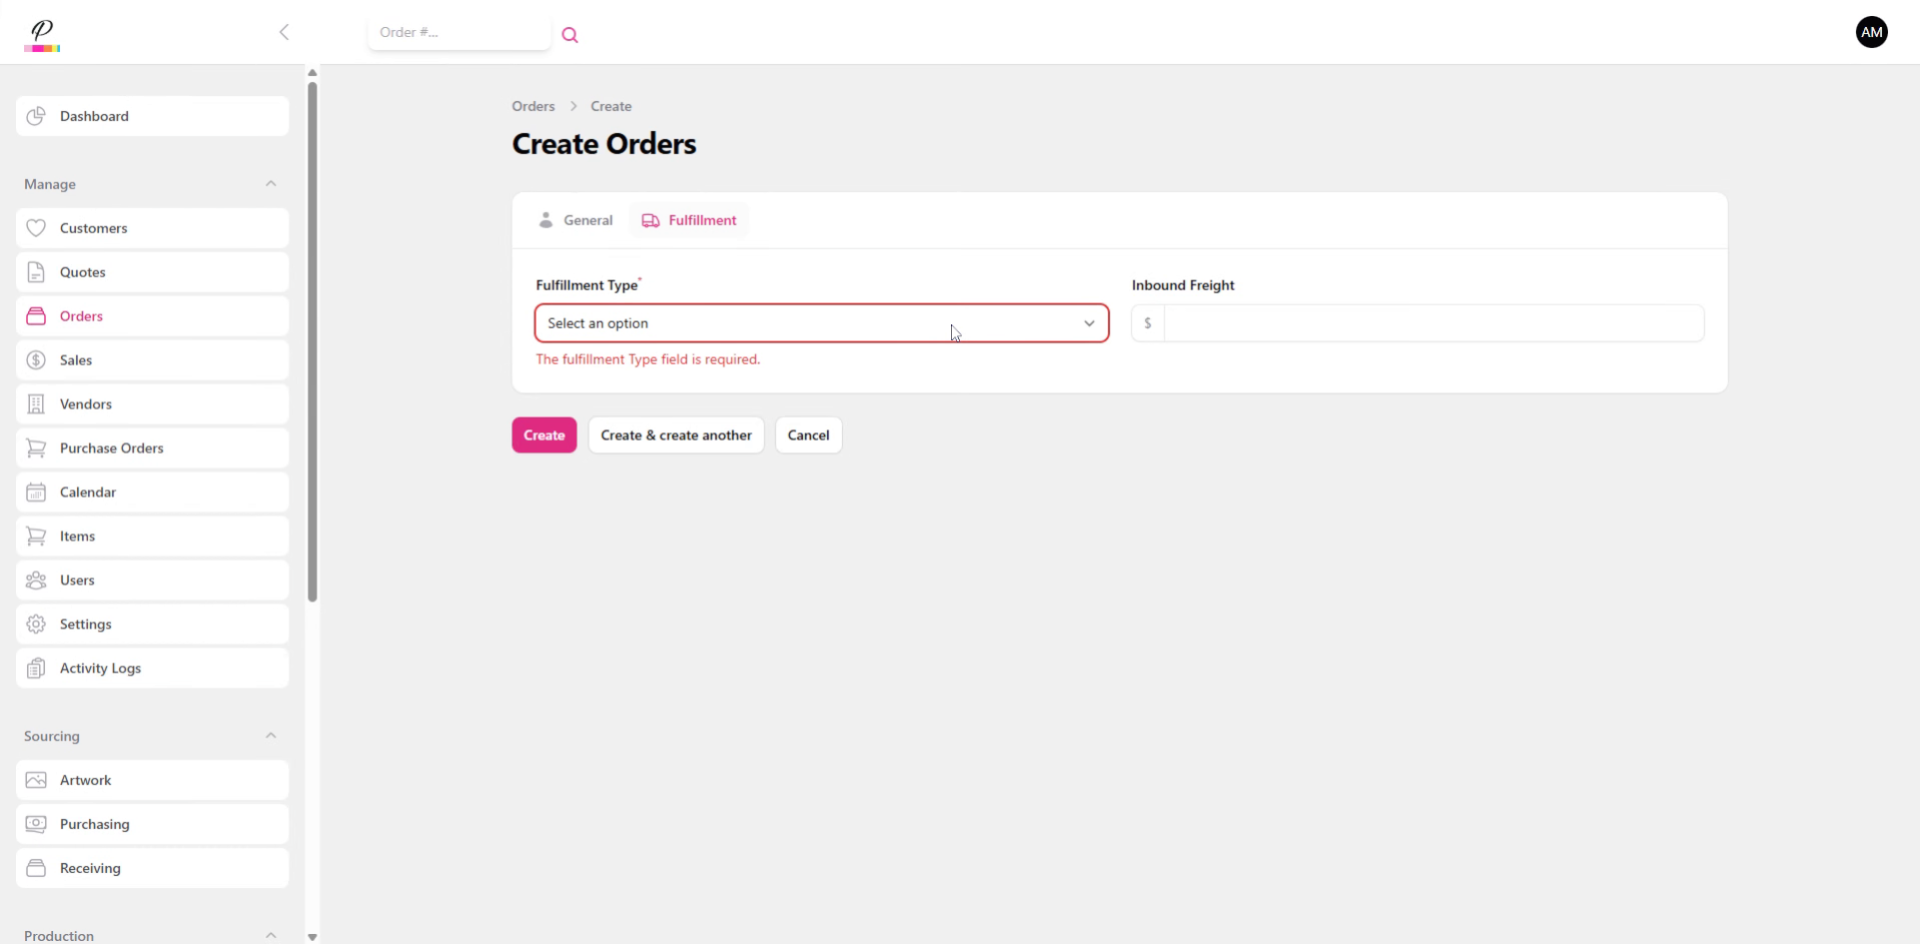
13. Fulfillment Type
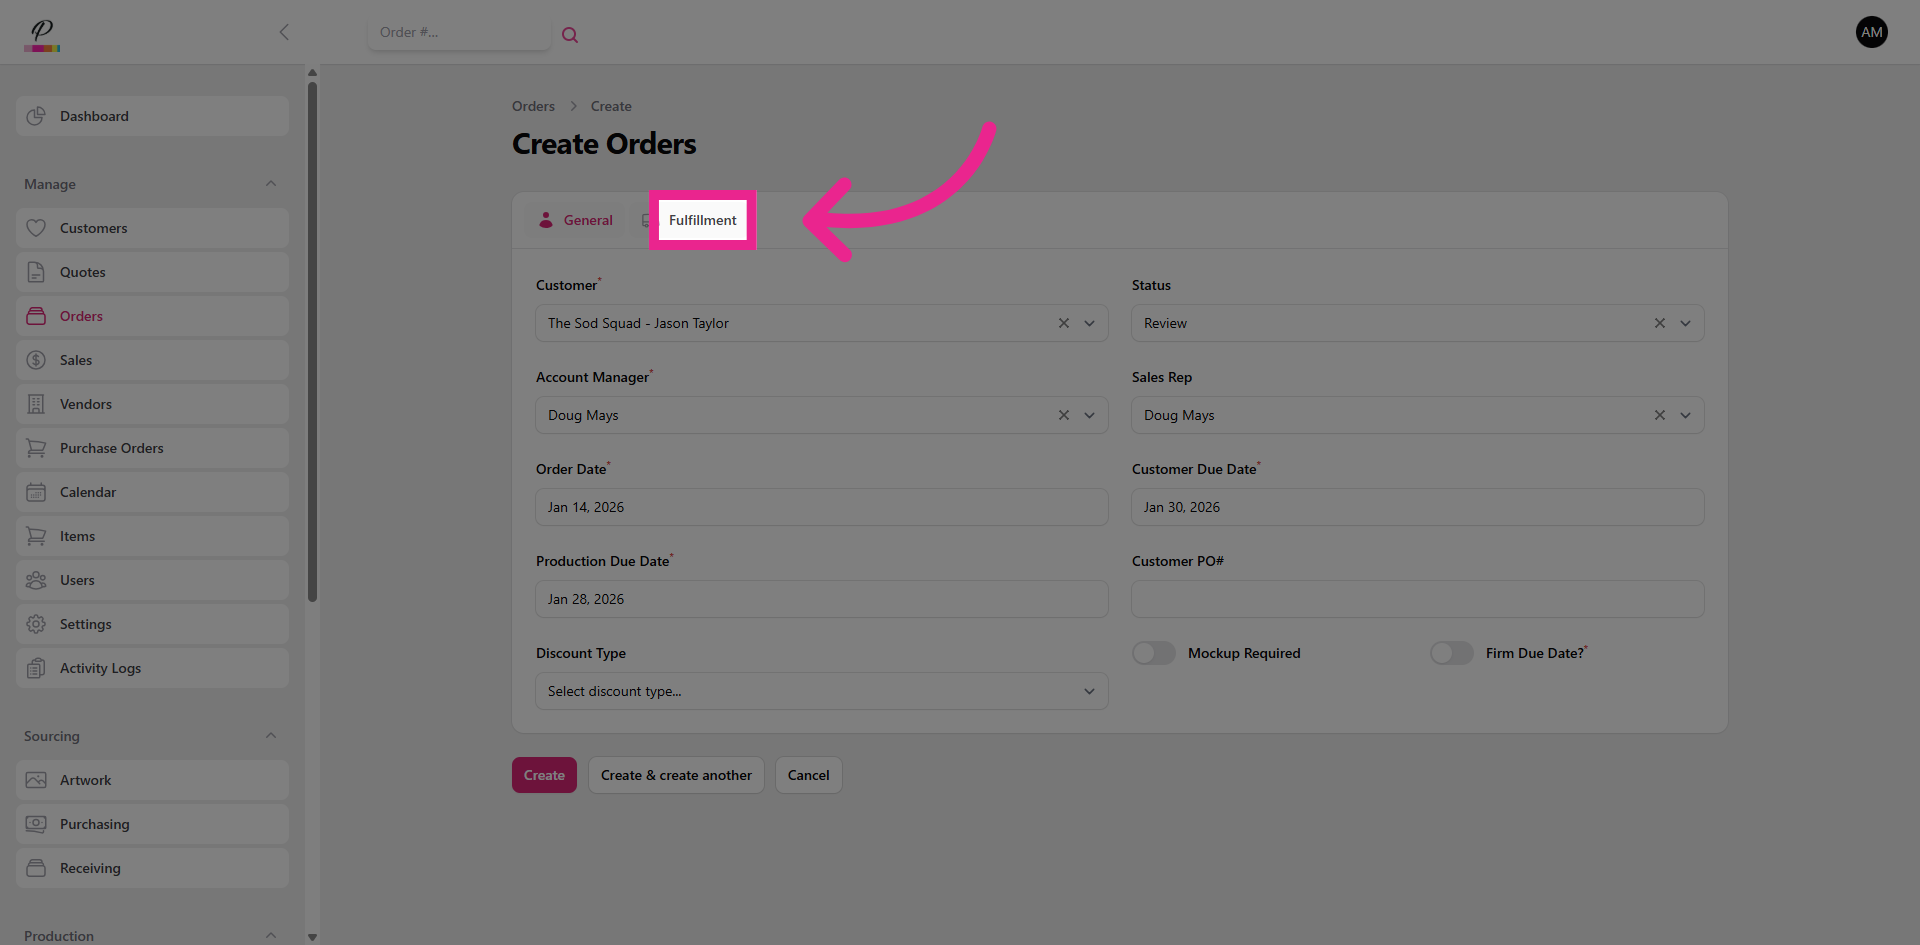
Next, be sure to set the fulfillment type.
14. Pick Up
Selecting Pickup will automatically notify the customer via email once the order has been com- pleted. The inbound freight field that you see can be used in special circumstances such as products that are drop-shipping directly to the customer and you need a way to keep account of those costs.
15. Local Delivery
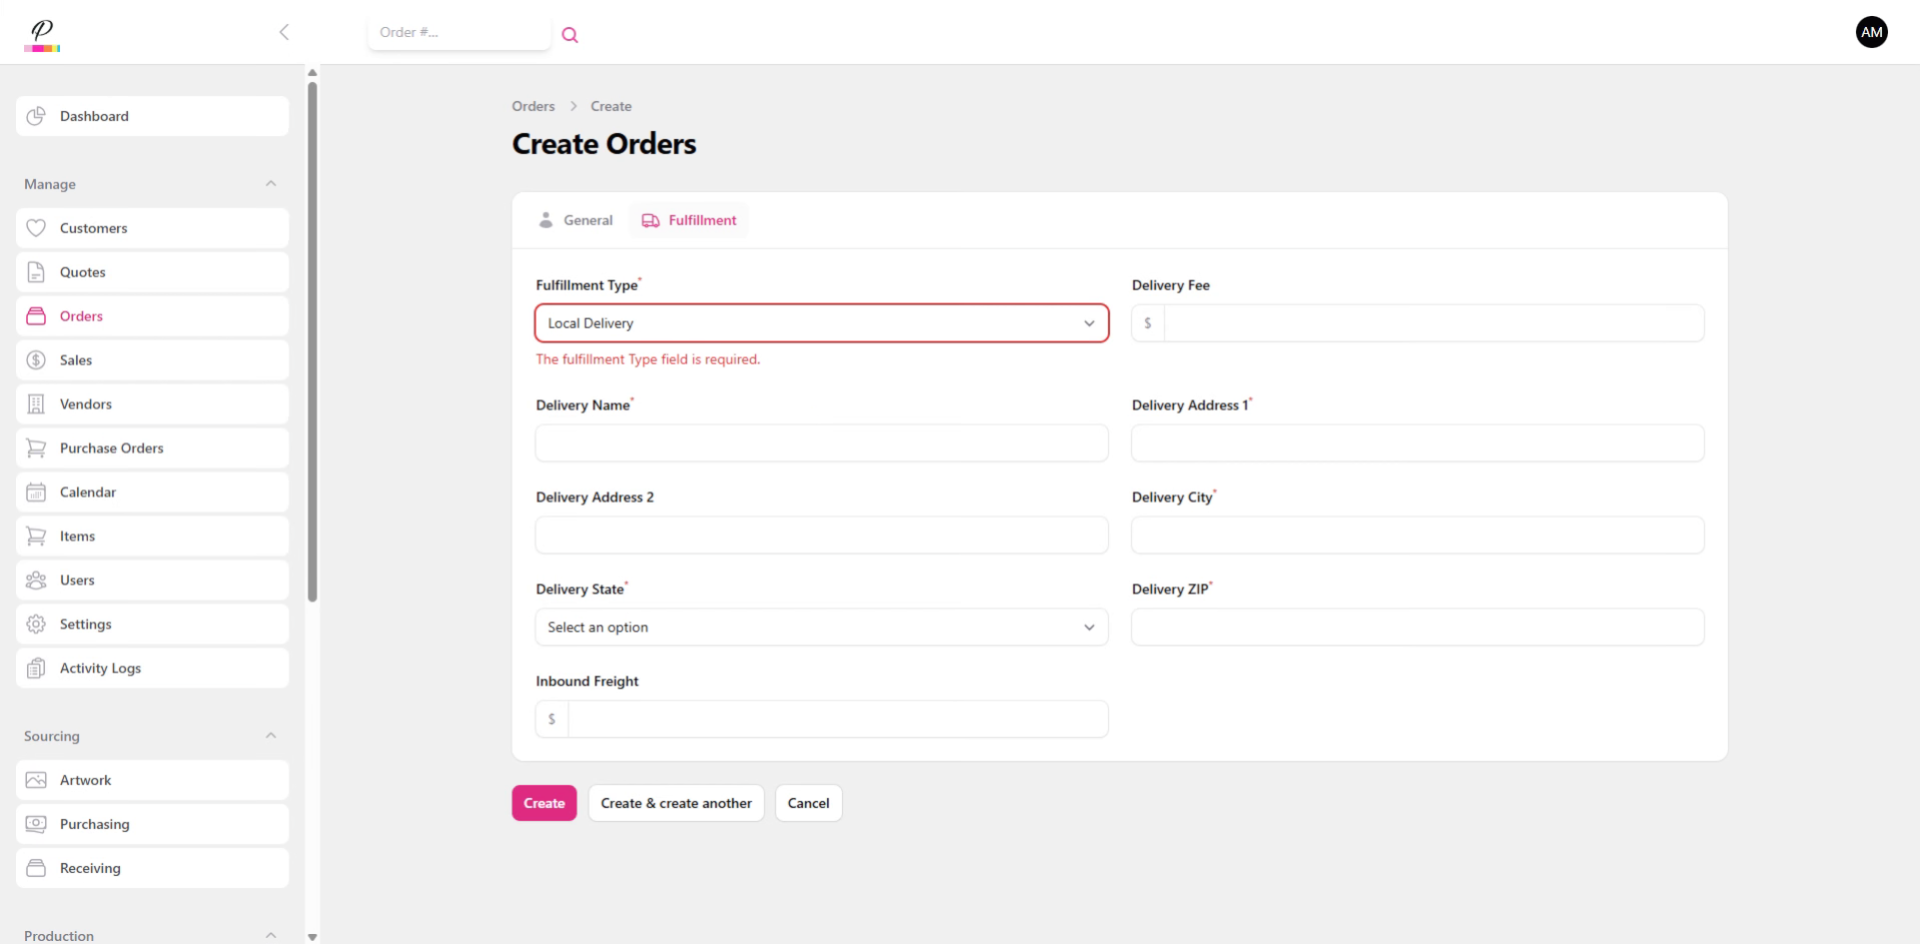
Local Delivery should be selected only if in-house delivery is offered as a service. Be sure to fill in the delivery information so that the delivery department knows exactly where to go.
16. Shipping
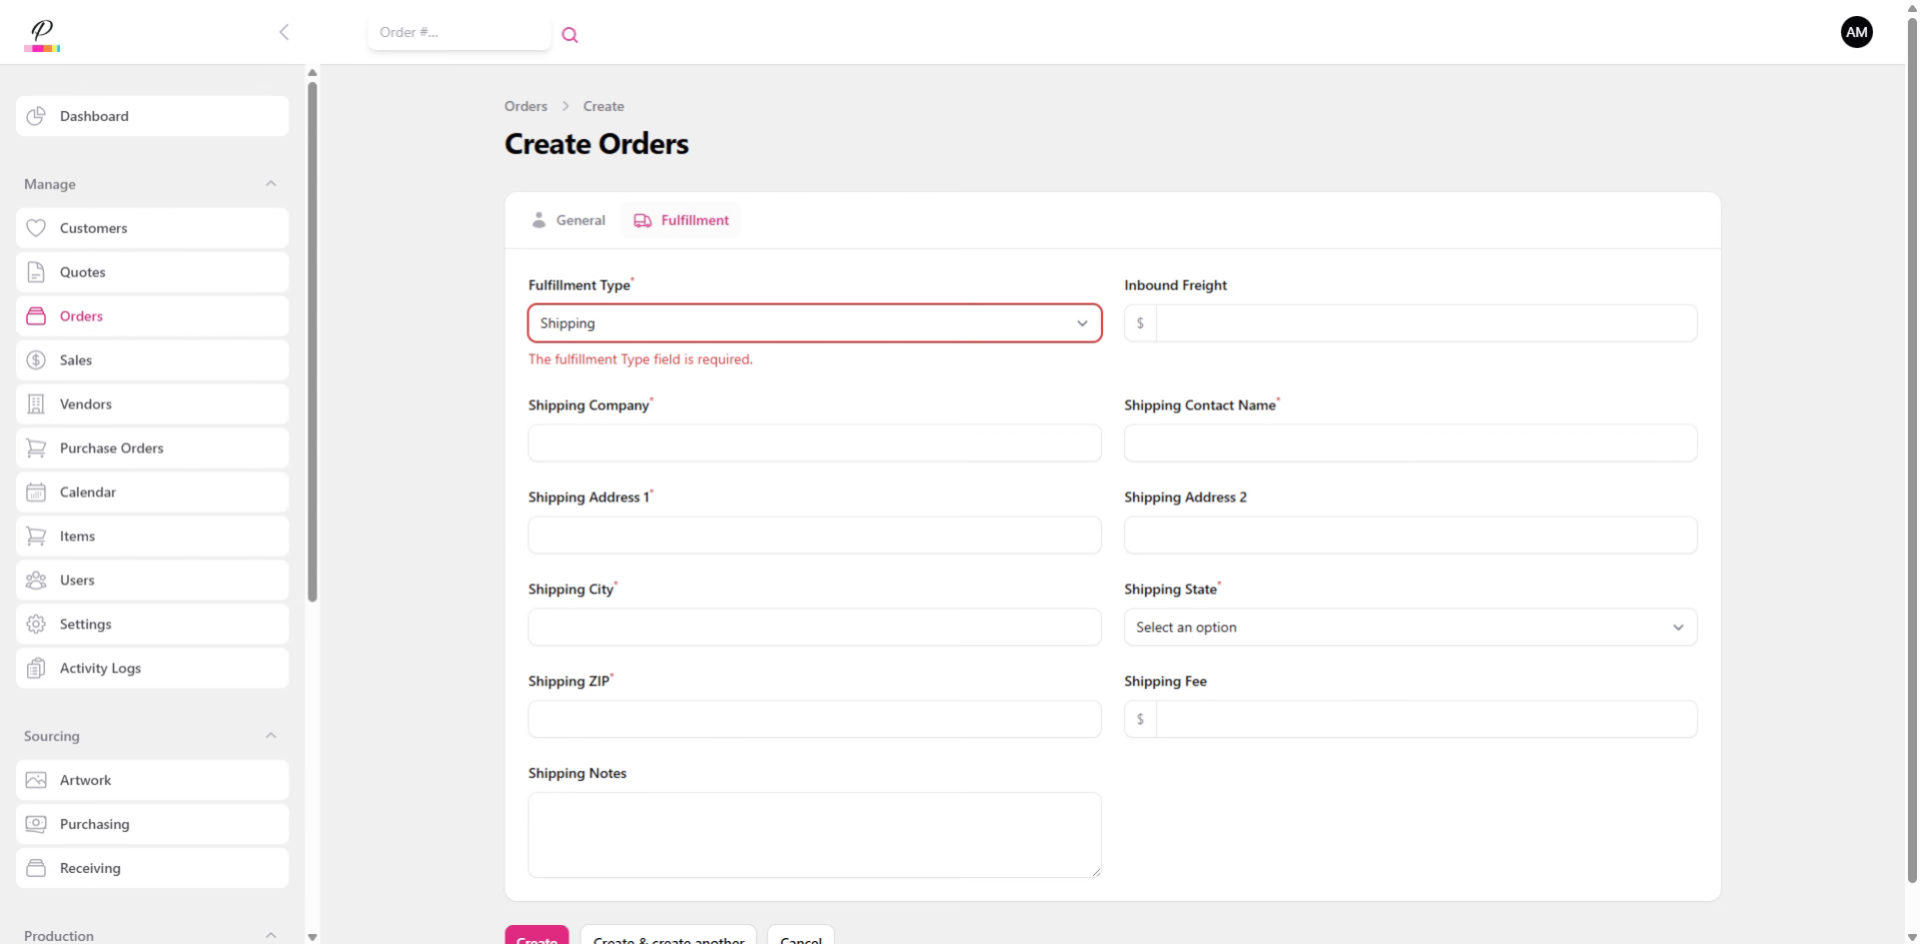
Shipping is used for third-party delivery such as UPS ground. Be sure to fill in the shipping address accurately as the system will later generate a shipping label based off of the information entered here. Be sure to add in any specific notes that the shipping department may need to see. Don't worry about filling in the shipping fee, the system will do so automatically. Check out the Shipping tutorial for more information on how that all works.
17. Create Order
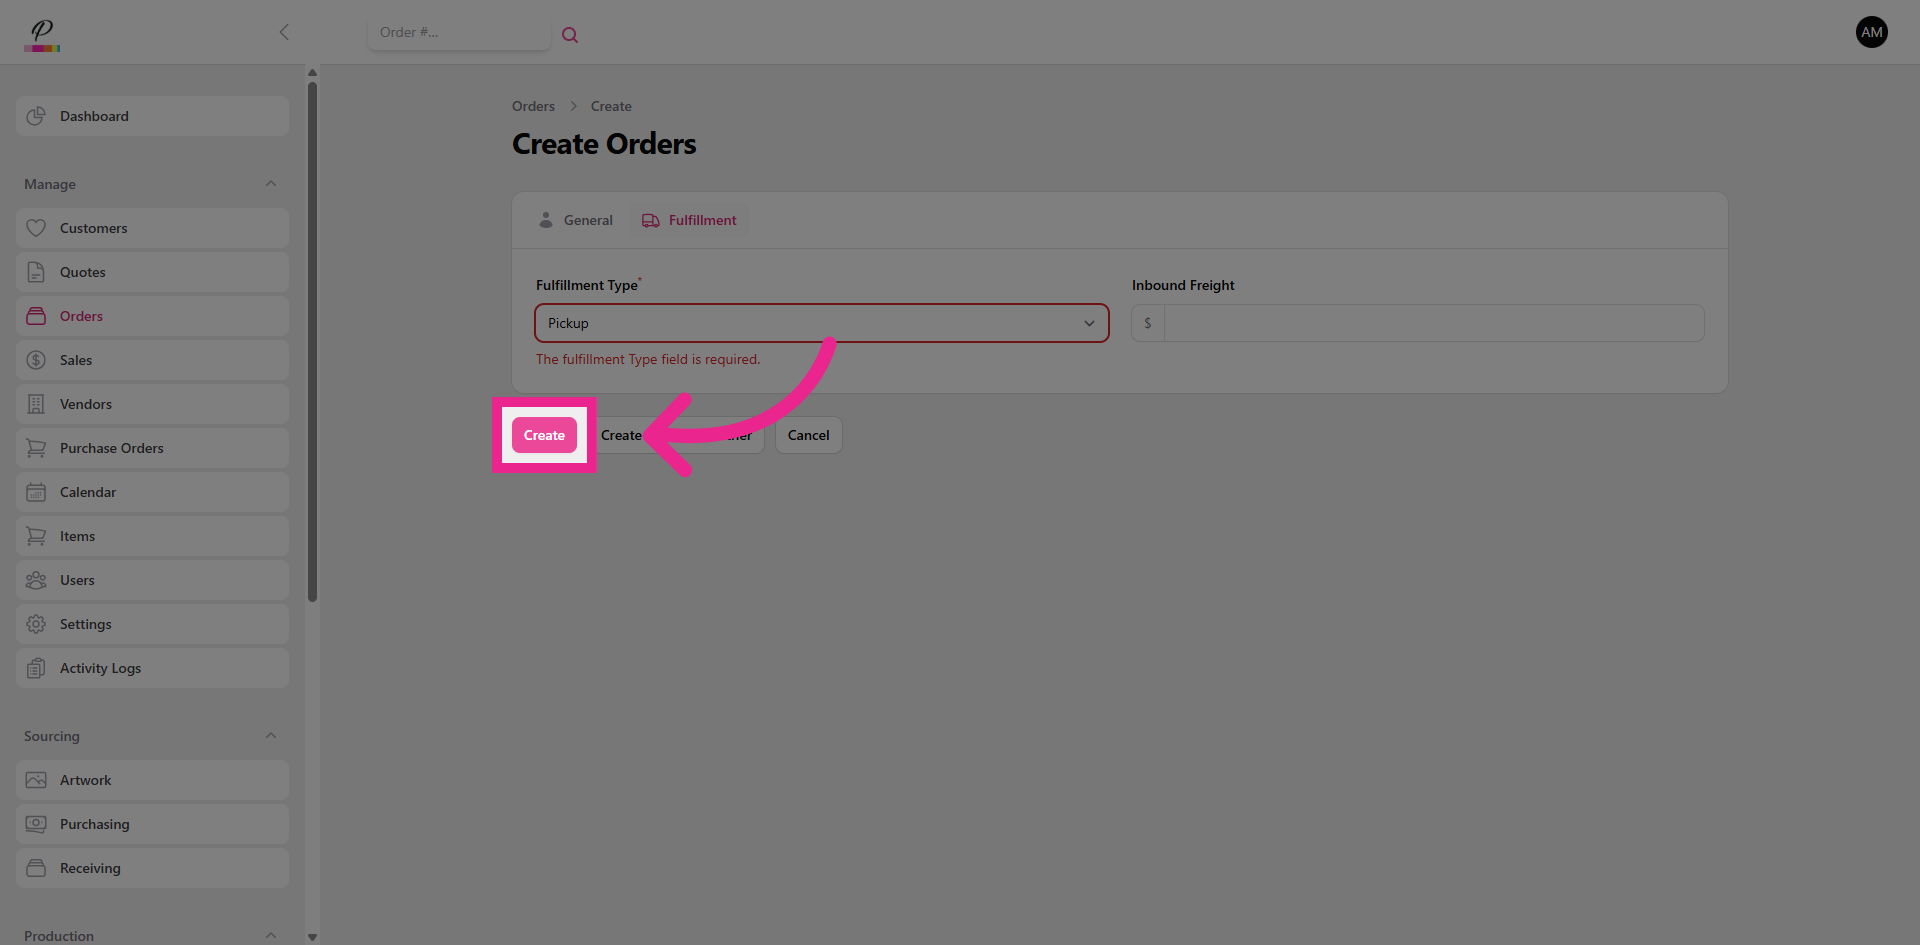
Now click Create and the system will then automatically generate an order identification number.
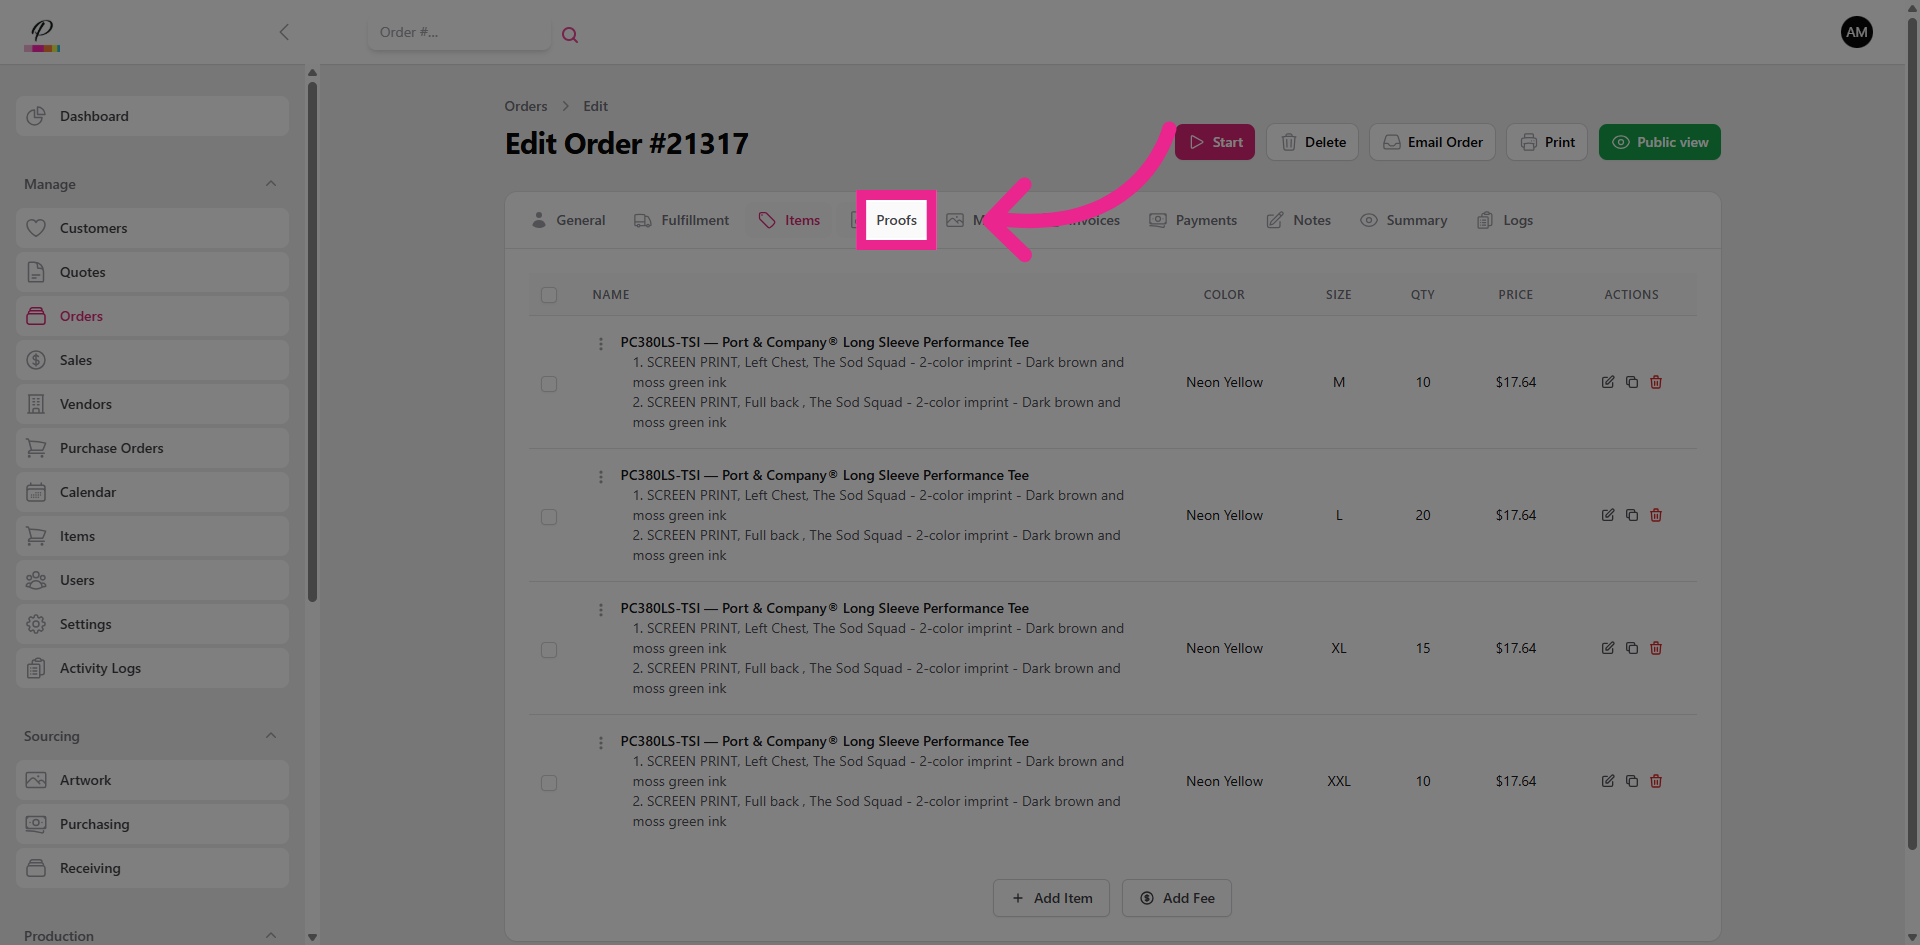
18. Items Tab
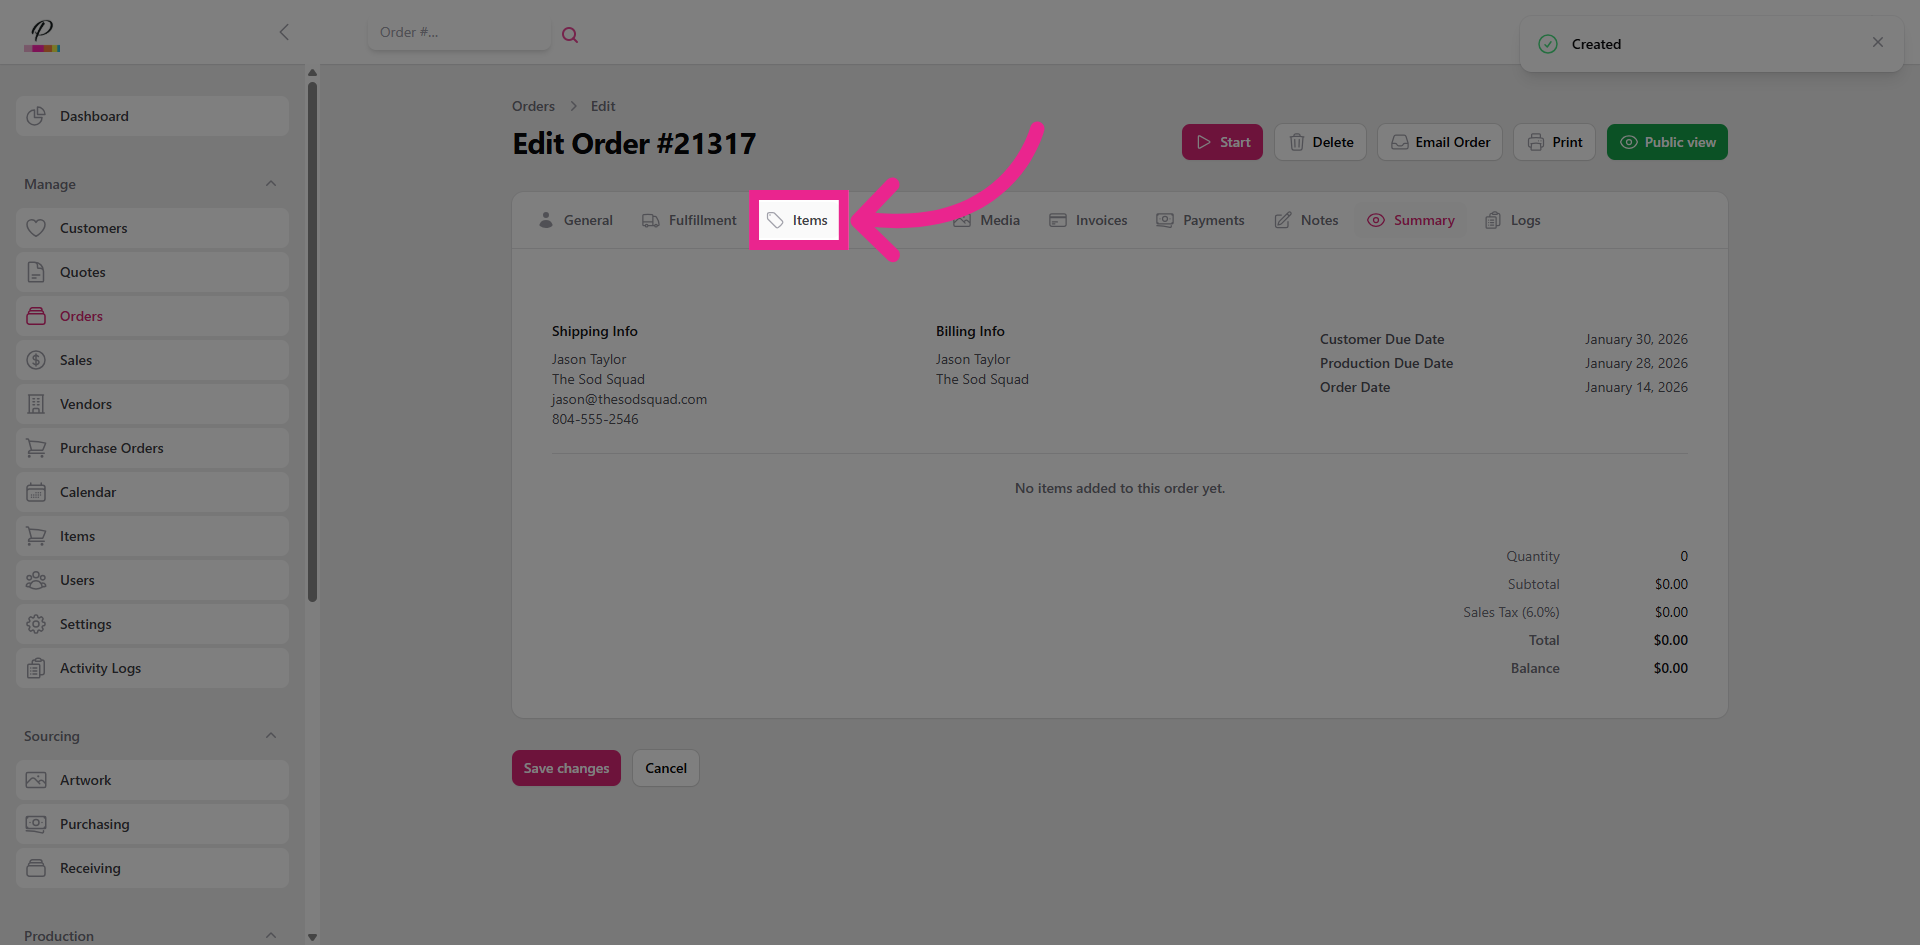
Next, let's add items.
19. Add New Item to Order
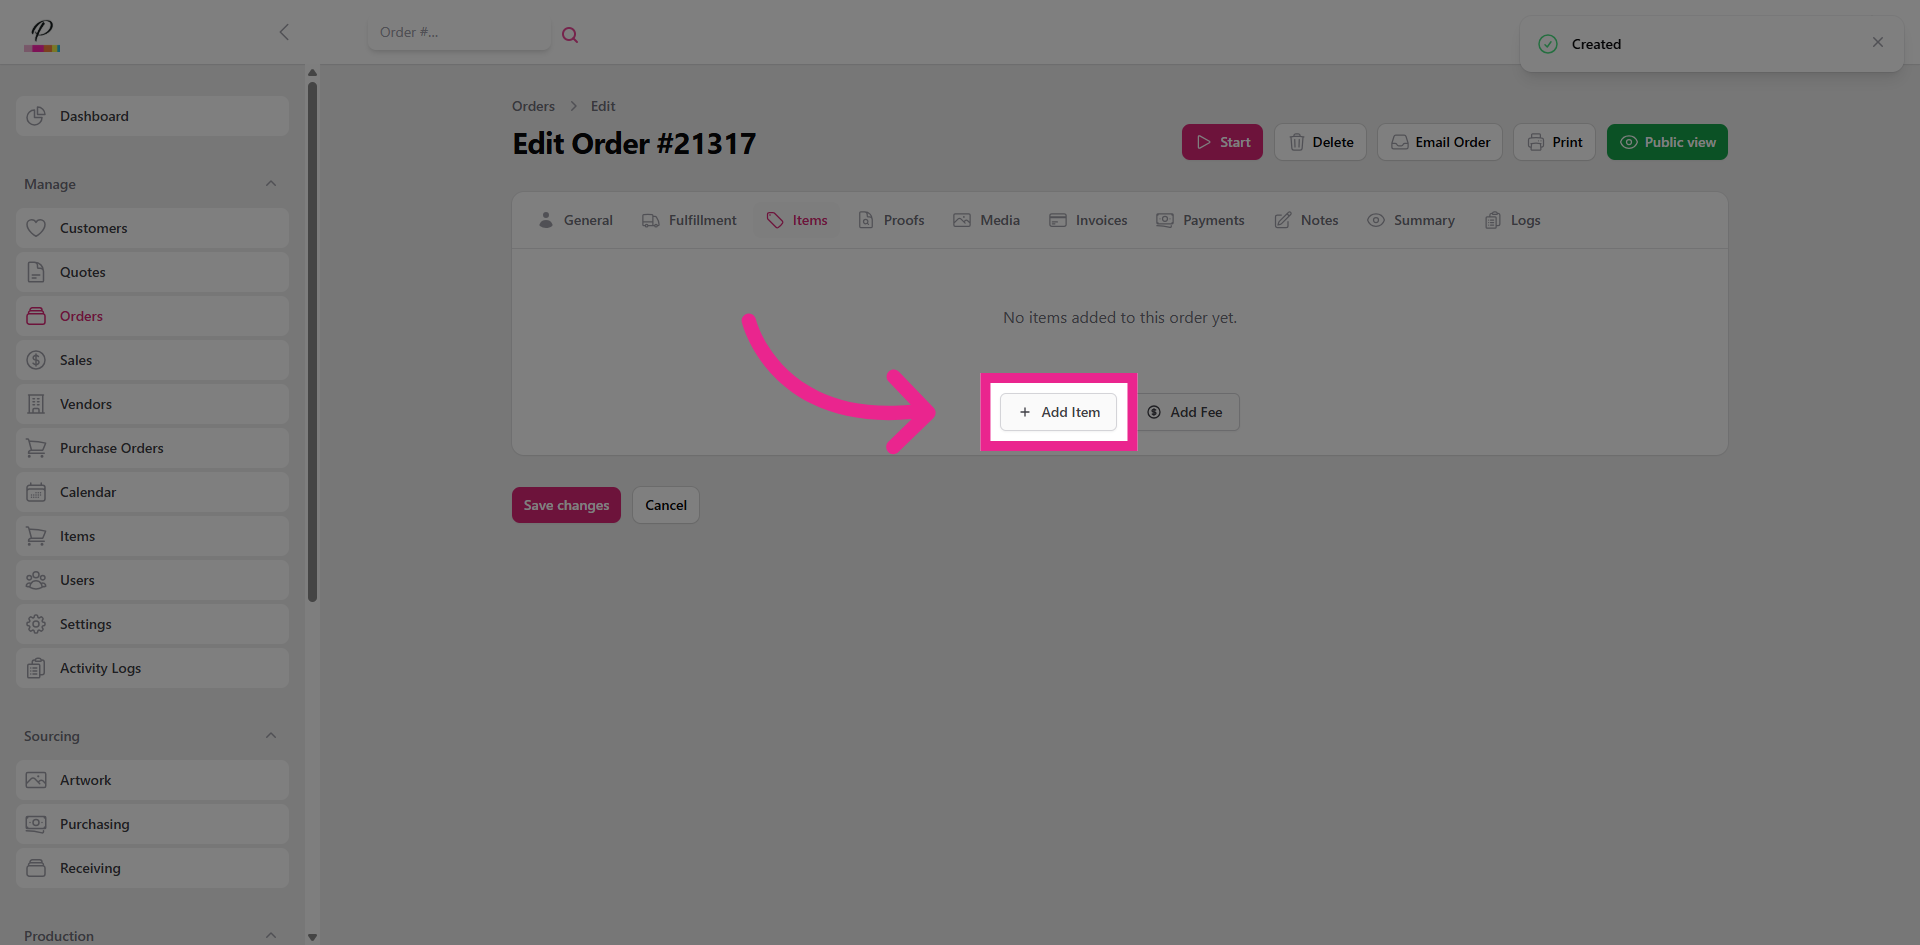
Click Add Item to include a new product in the order.
20. Enter Item Number/SKU

Enter the item number to locate the specific product for the order and select the color. If the item does not exist yet, you can create it. Check out the tutorial on how to create an item if you need help with that.
21. Enter Color
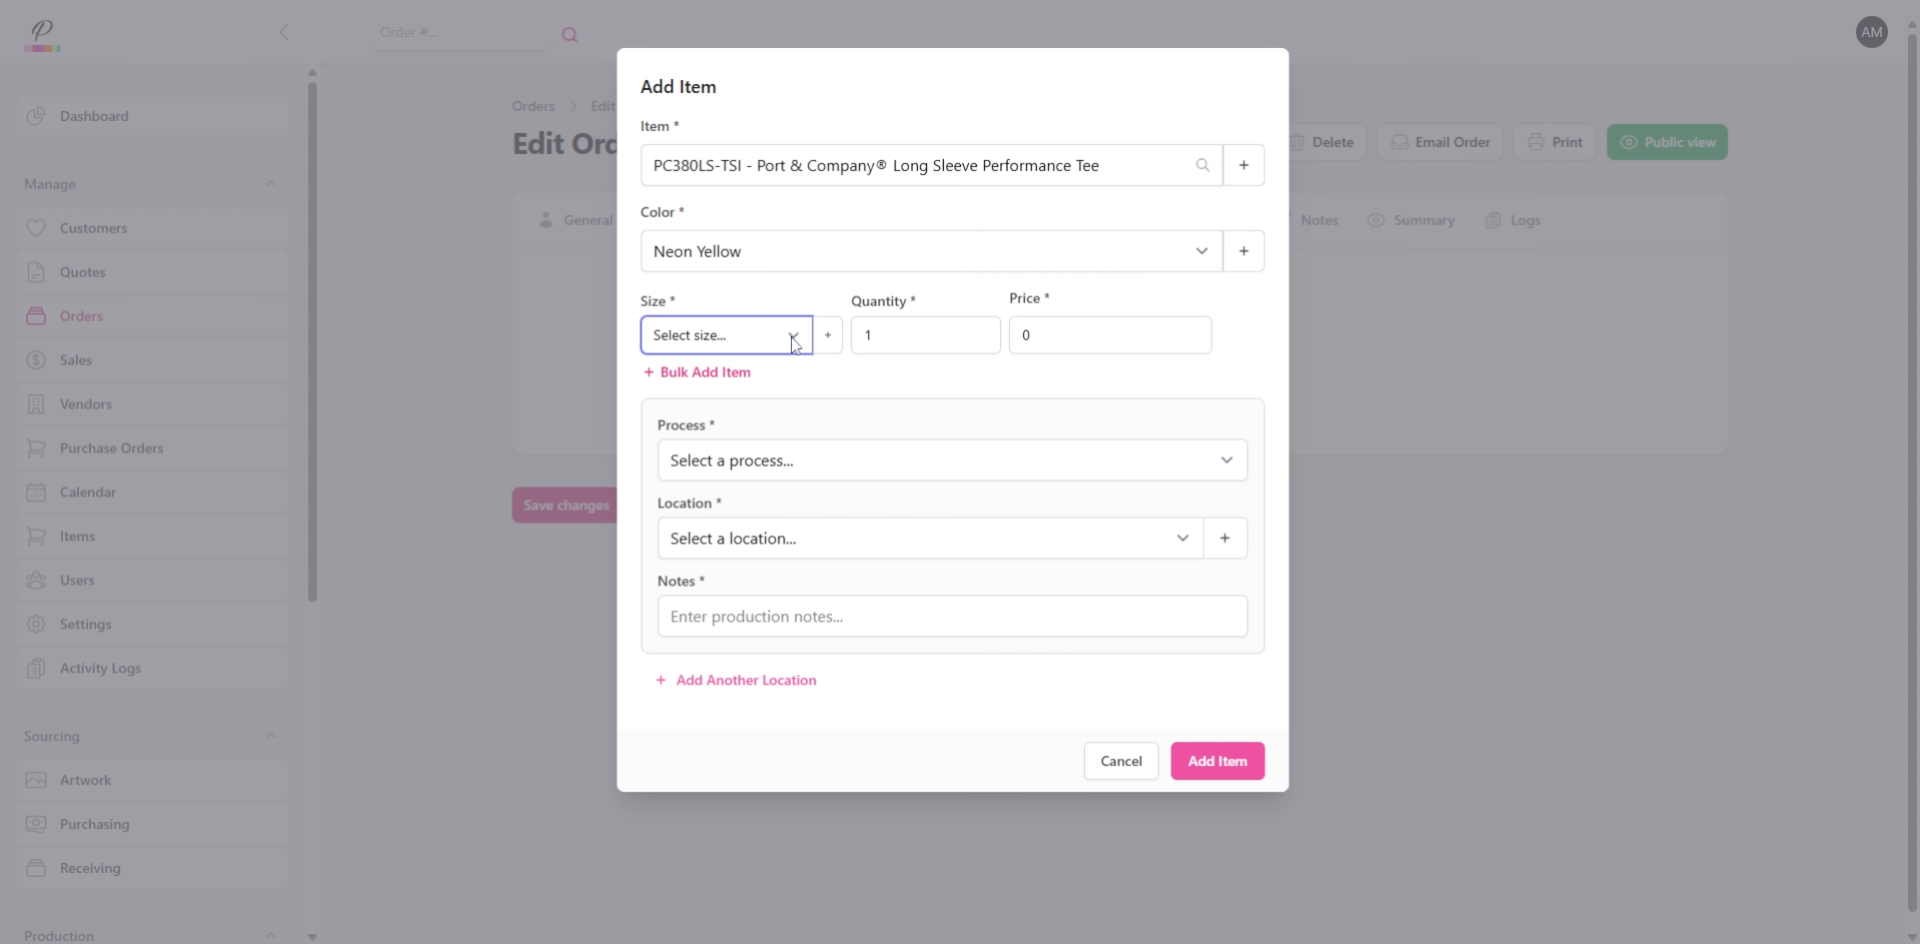
22. Enter Size, Quantity, and Price
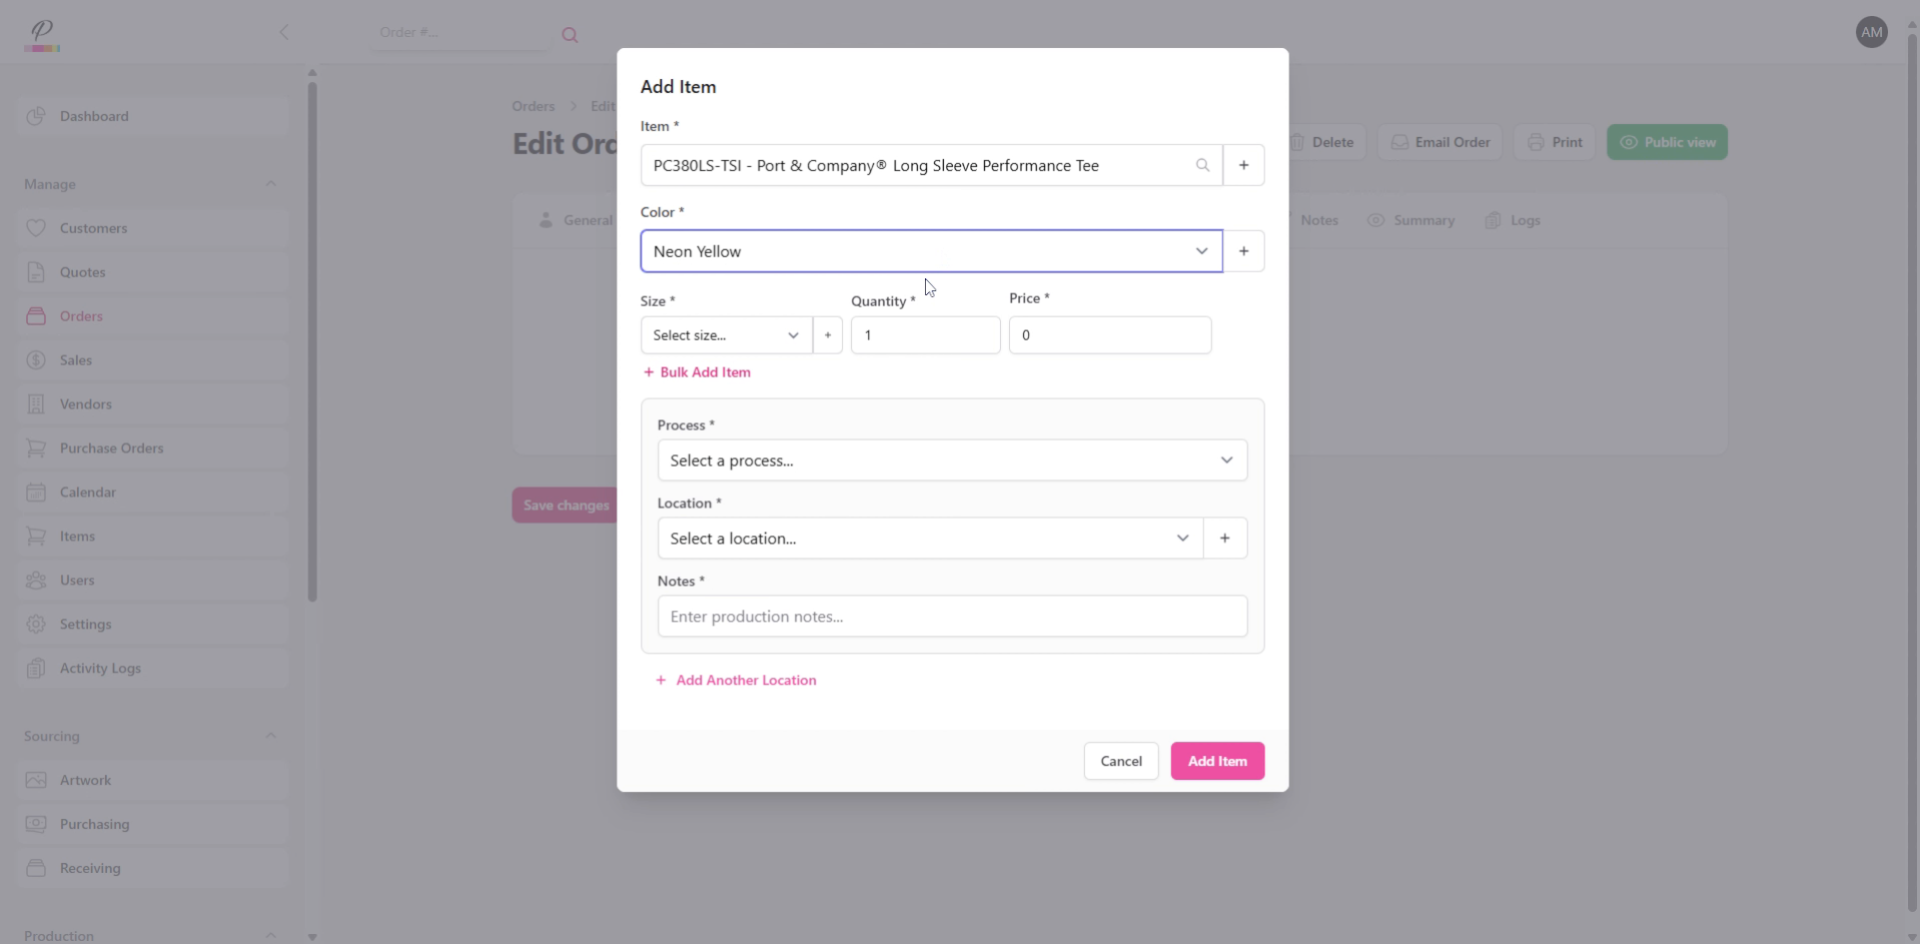
Next enter the size, quantity, and set the price per item.
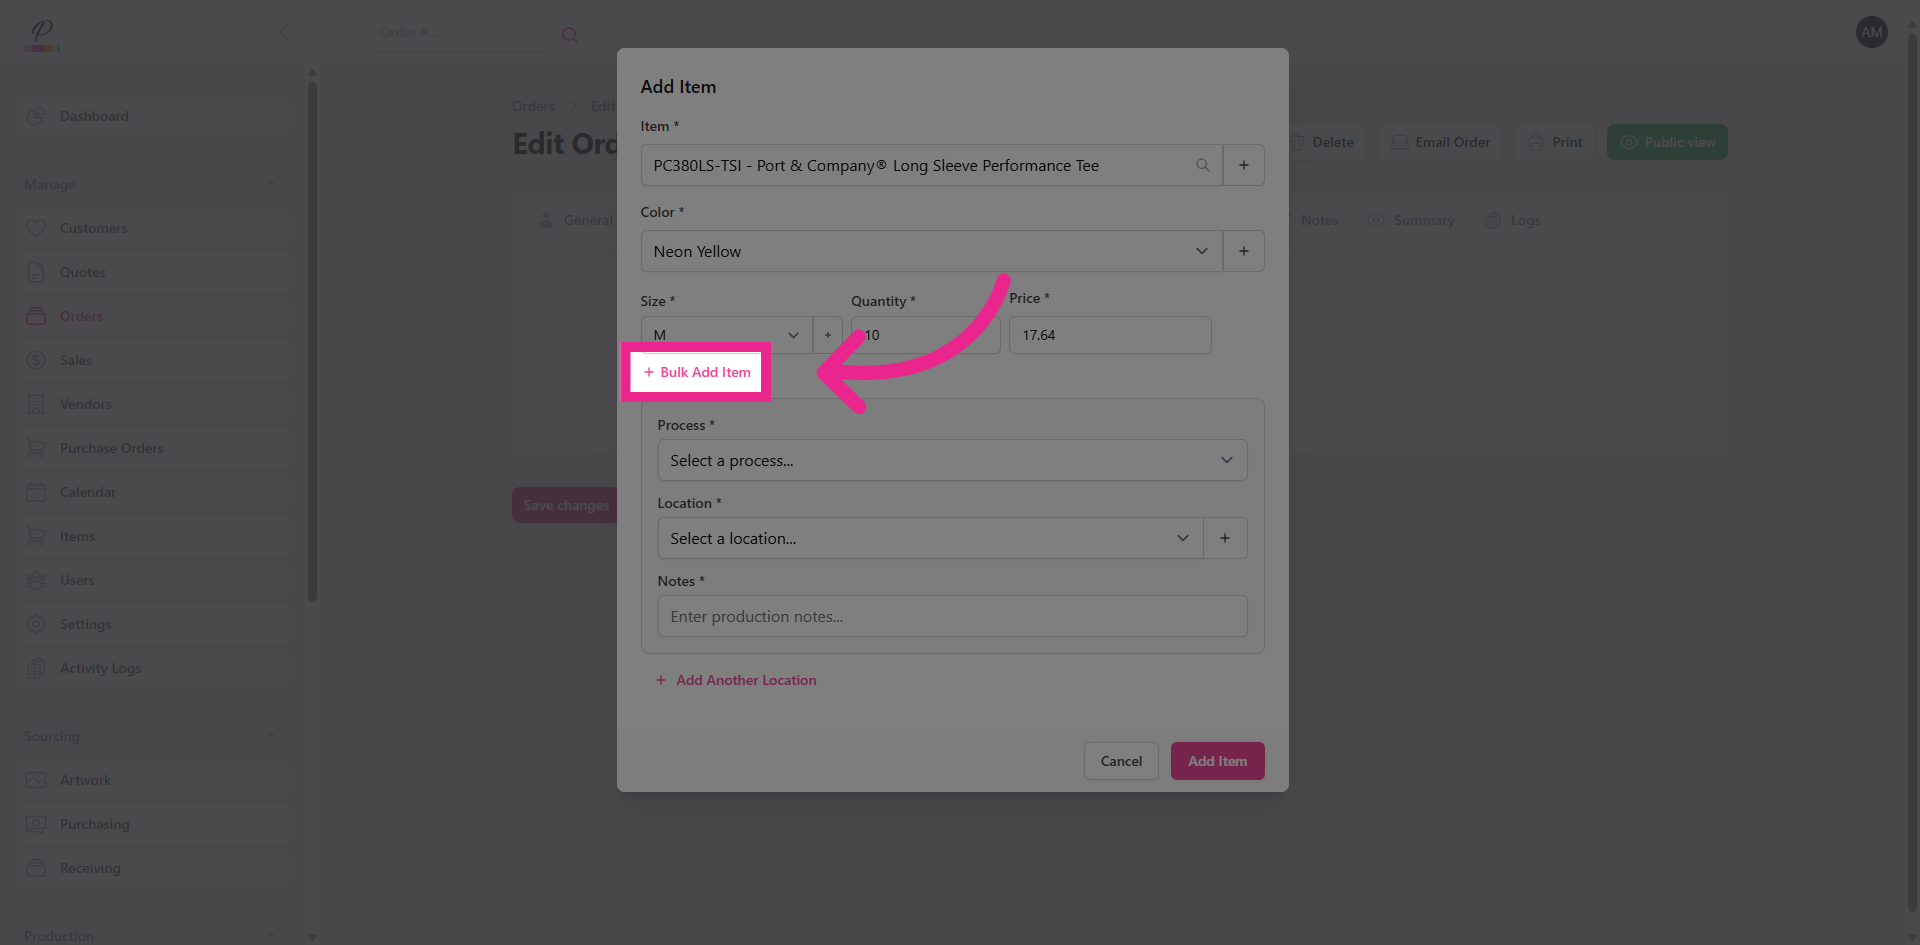
23. Bulk Add Items
If you need to add additional sizes, you can do so easily by clicking Bulk Add Item and repeating the previous steps.
24. Enter Production Details
Next, choose the production process, select the imprint location and enter the production details such as logo and logo color.
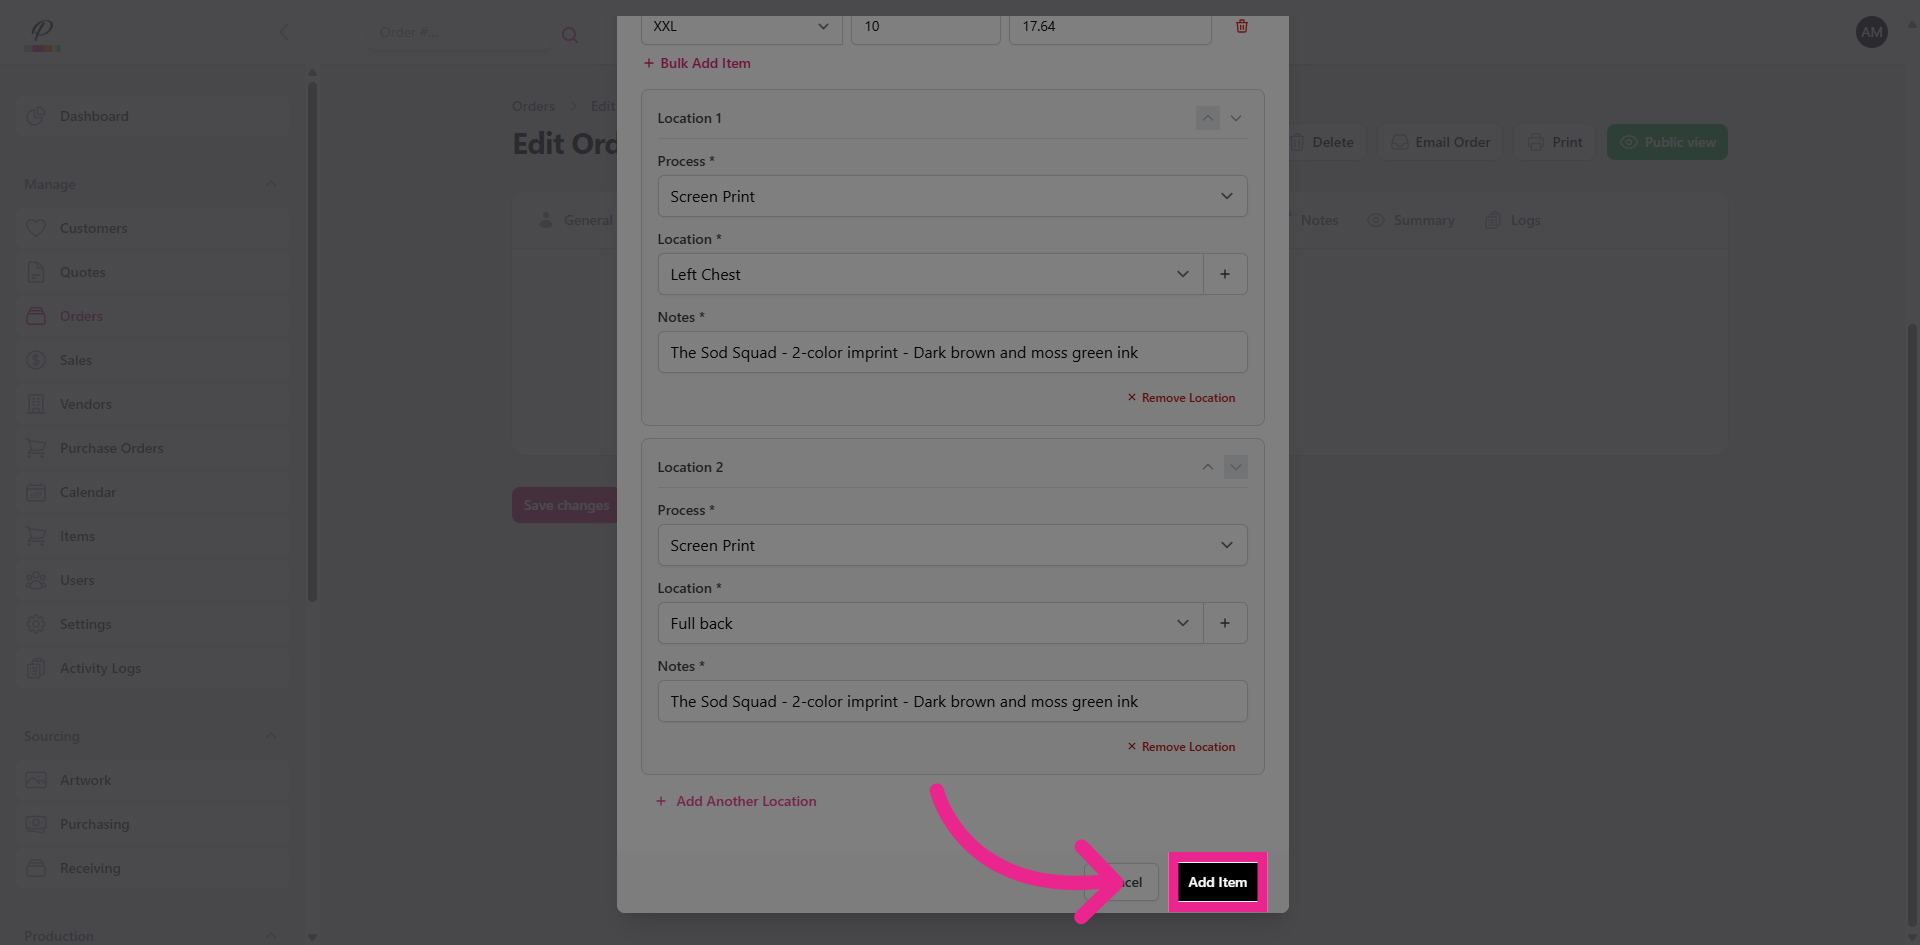
25. Add Additional Imprint Location
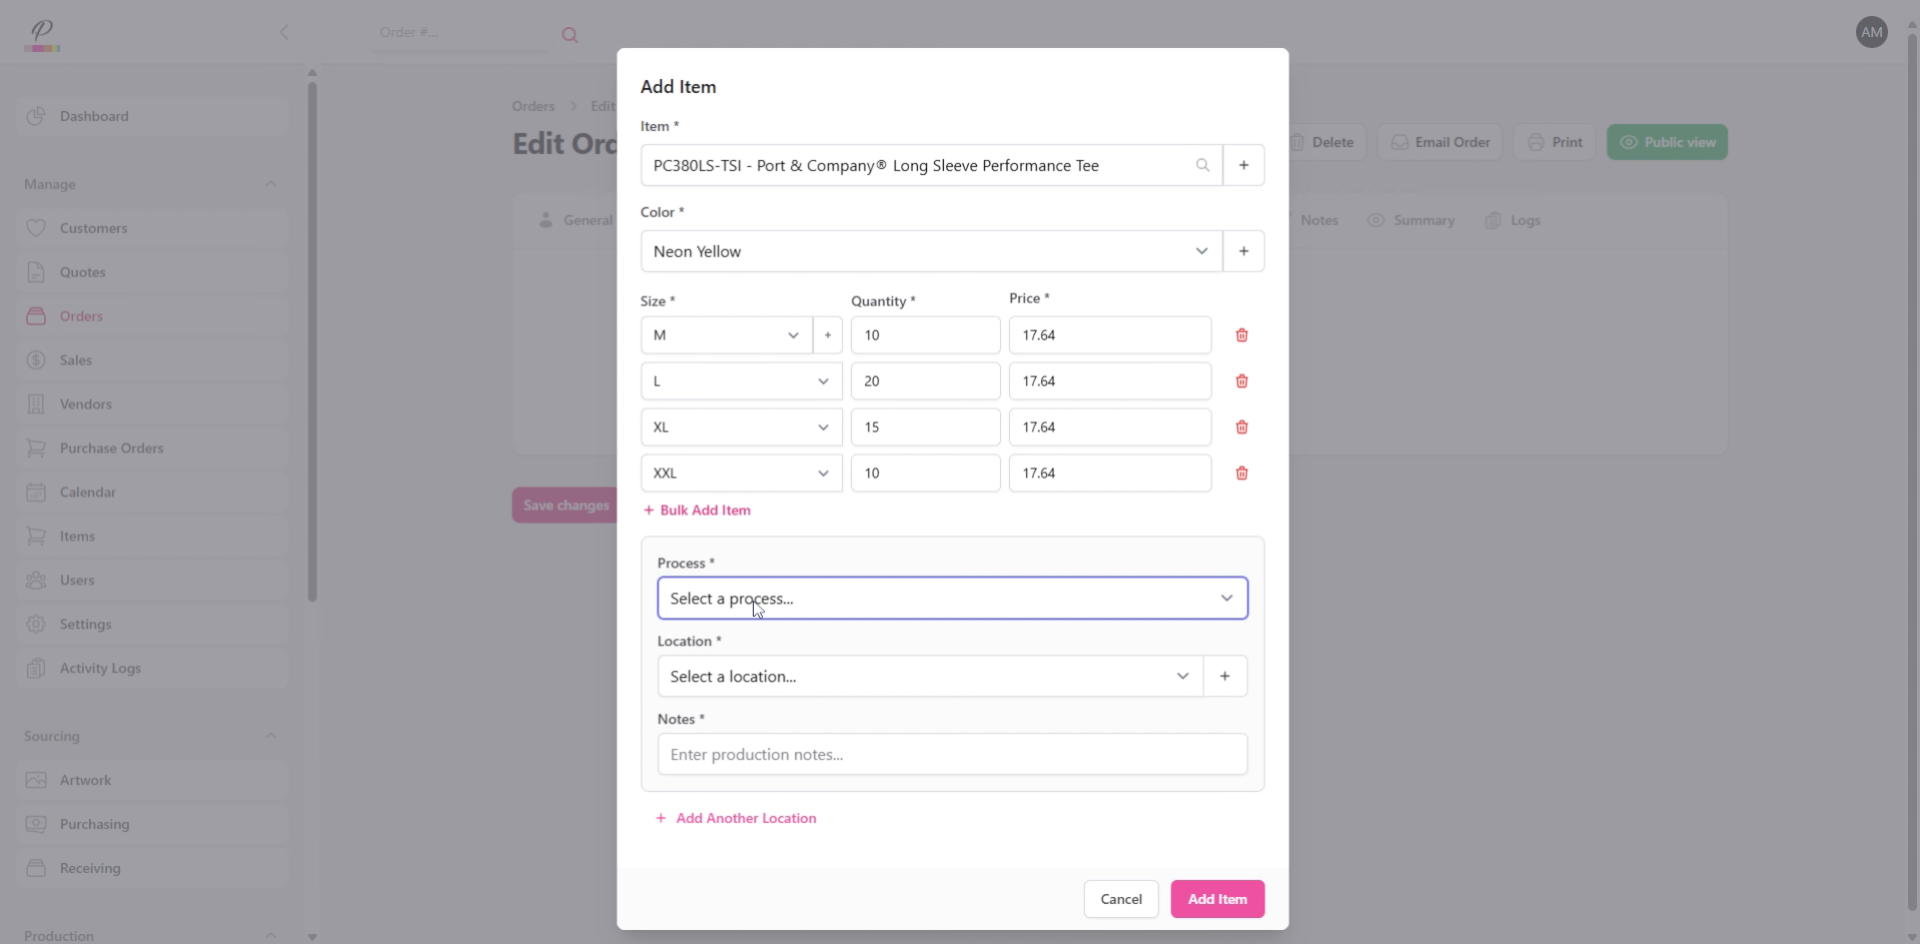
You can add additional imprint locations as needed, even if it is getting a different process. The system will automatically separate the production details for each department. In this case though, both imprint locations will be designated as screen-print.
26. Confirm Details
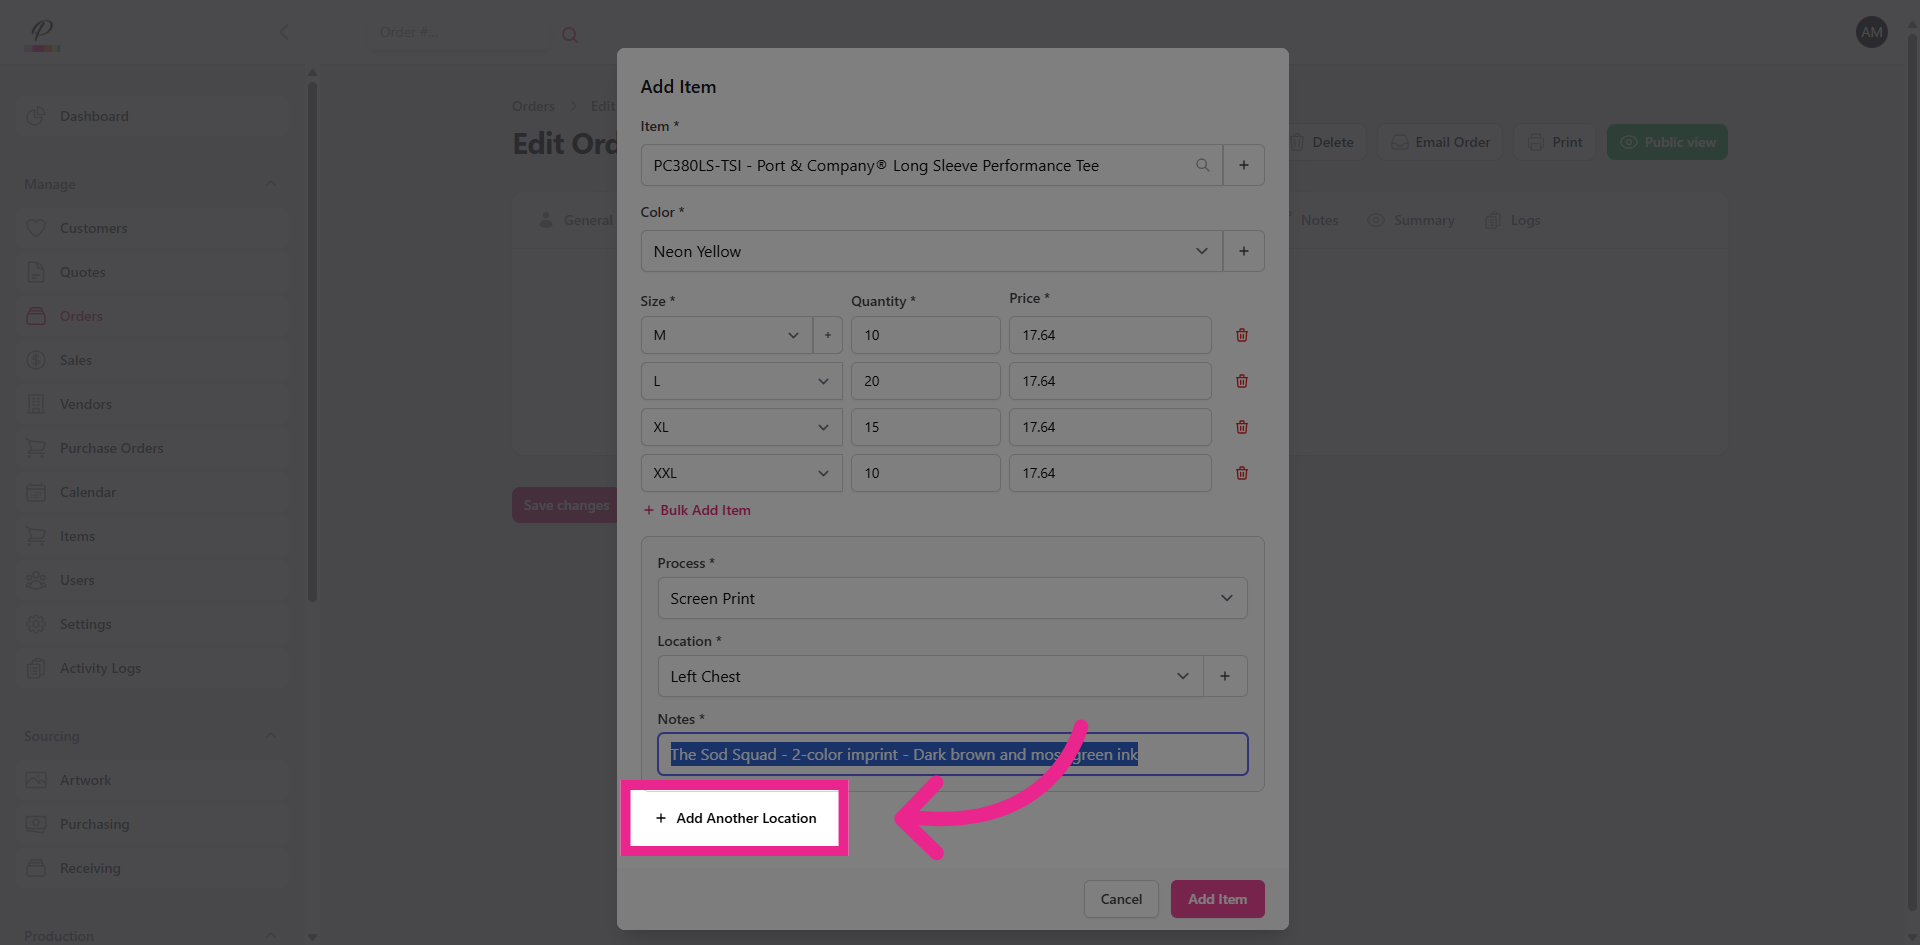
Click Add Item to confirm all of the details and add them to the order. You can then add any additional items as needed, or move on to the next steps.
27. Proofs Tab
Next, you can go to the proofs tab to upload the product mock up for the customer if you already have it.
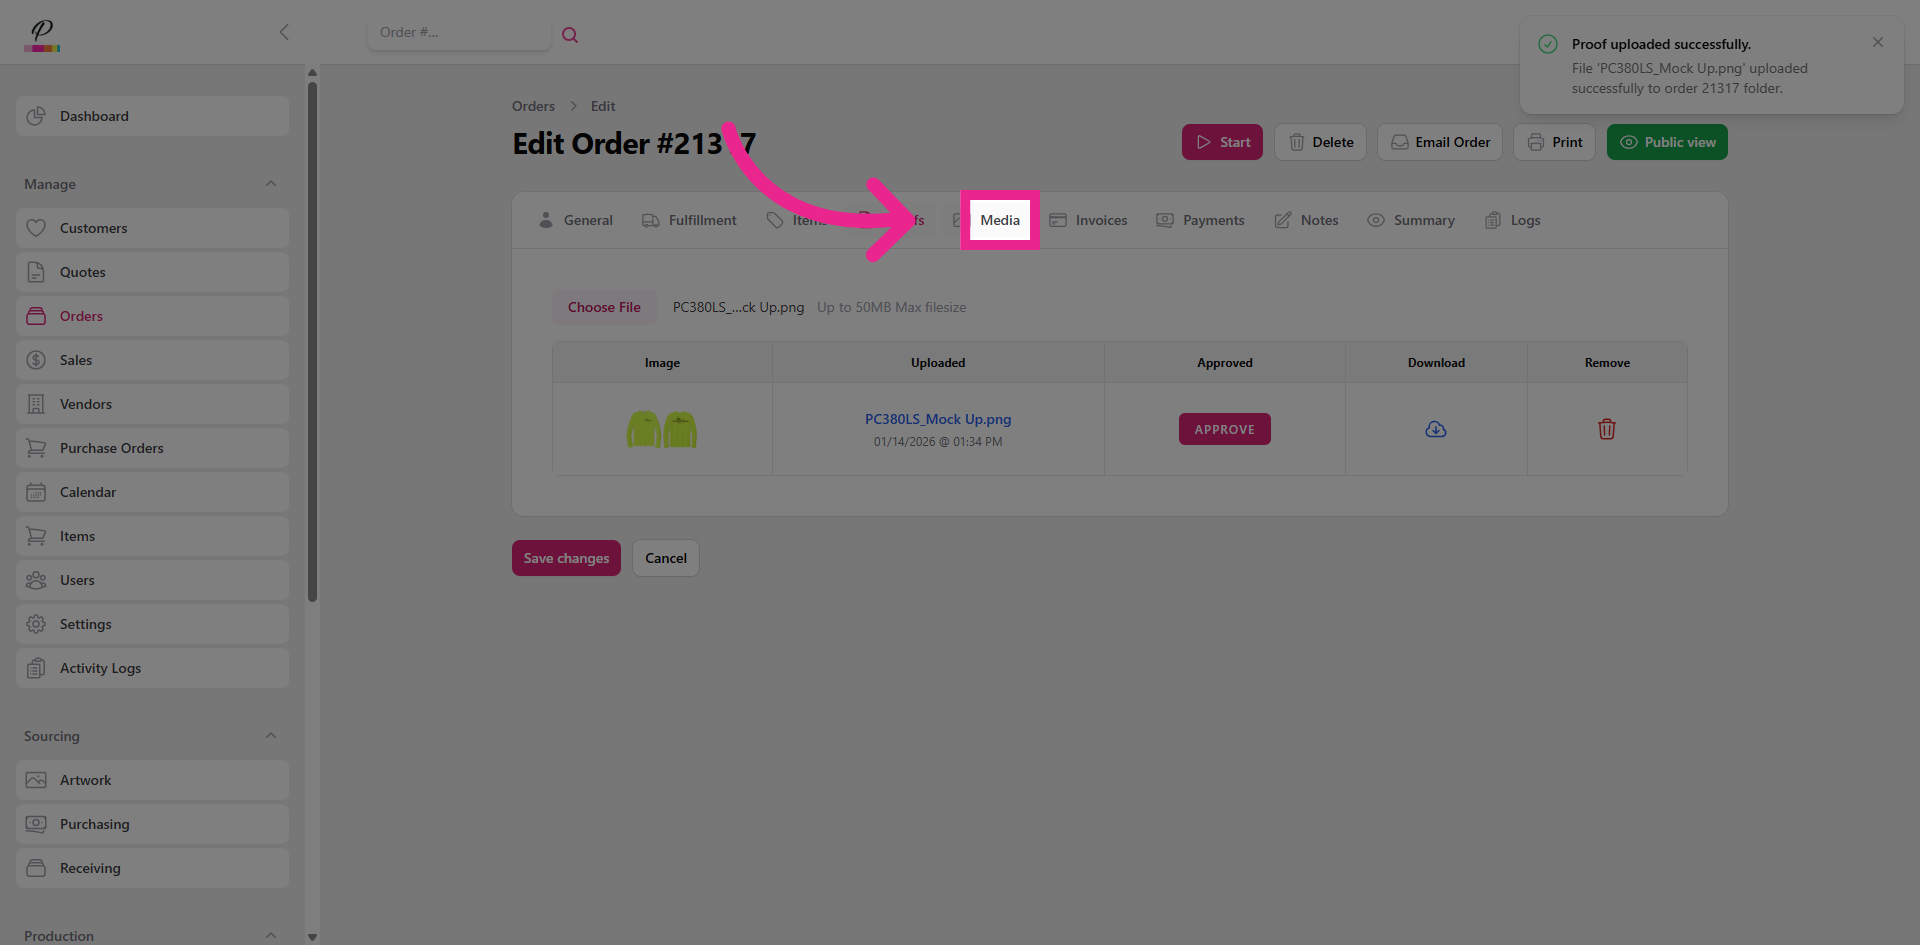
28. Media Tab
And don't forget to attach the necessary files for the art department in Media.
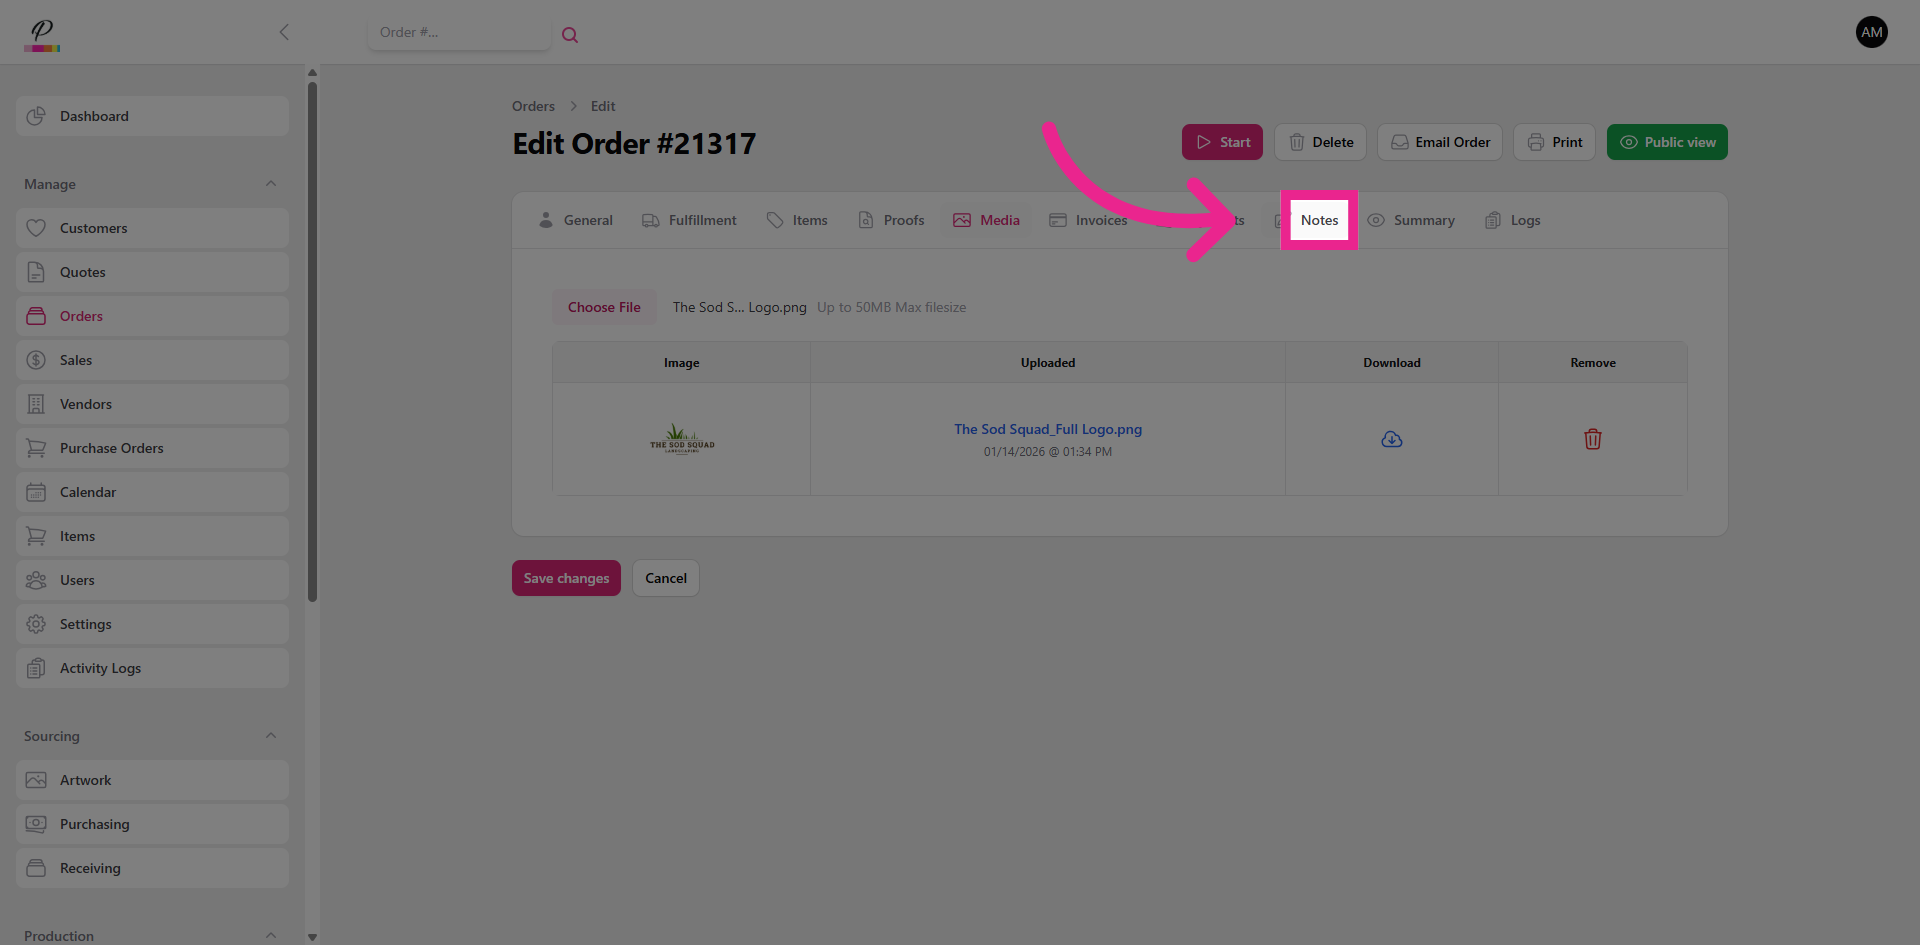
29. Notes Tab
You can add any notes as needed, just remember that this only serves the account manager or sales rep. The notes will not show up on the customer's copy of the order and the production team won't be able to see them unless they go directly into the order and then into the notes tab.
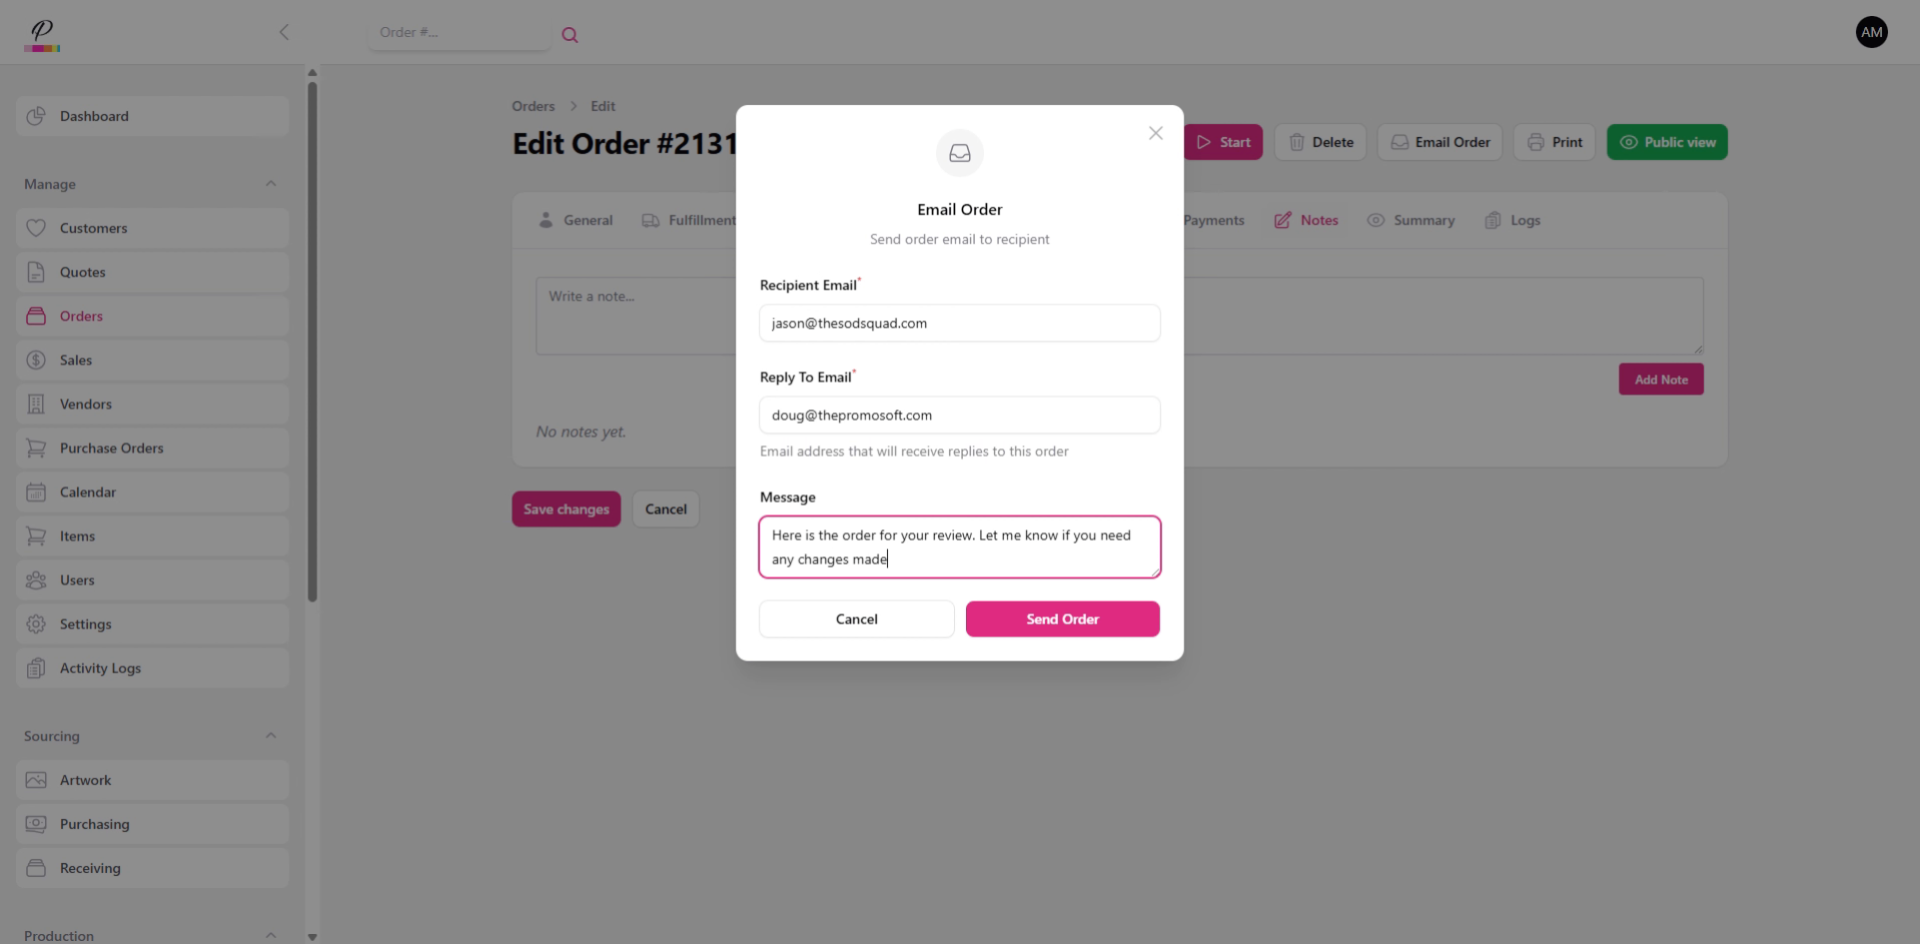
30. Email Order to Customer
Click Email Order to send a copy of the order to the customer. There they will be able to keep track of the production status, and if they are set up as a pre-pay customer they can enter their payment information directly from the page using either their credit card, or to avoid processing fees they can also use a bank transfer via an ACH link
31. Confirm Reply-To Email Address

Verify that the reply-to email is correct and type out a quick message for the customer.
32. Enter Email Message
33. Send Order Email

And send.
34. Start Order Processing
Right now, the order is still in review, but once payment is received from the customer, the order will automatically move forward into sourcing. You can also manually move the order forward by clicking start. Great! Next the order will move into the sourcing queues on it's way to production. Check out the other tutorials for a quick overview of those processes!